
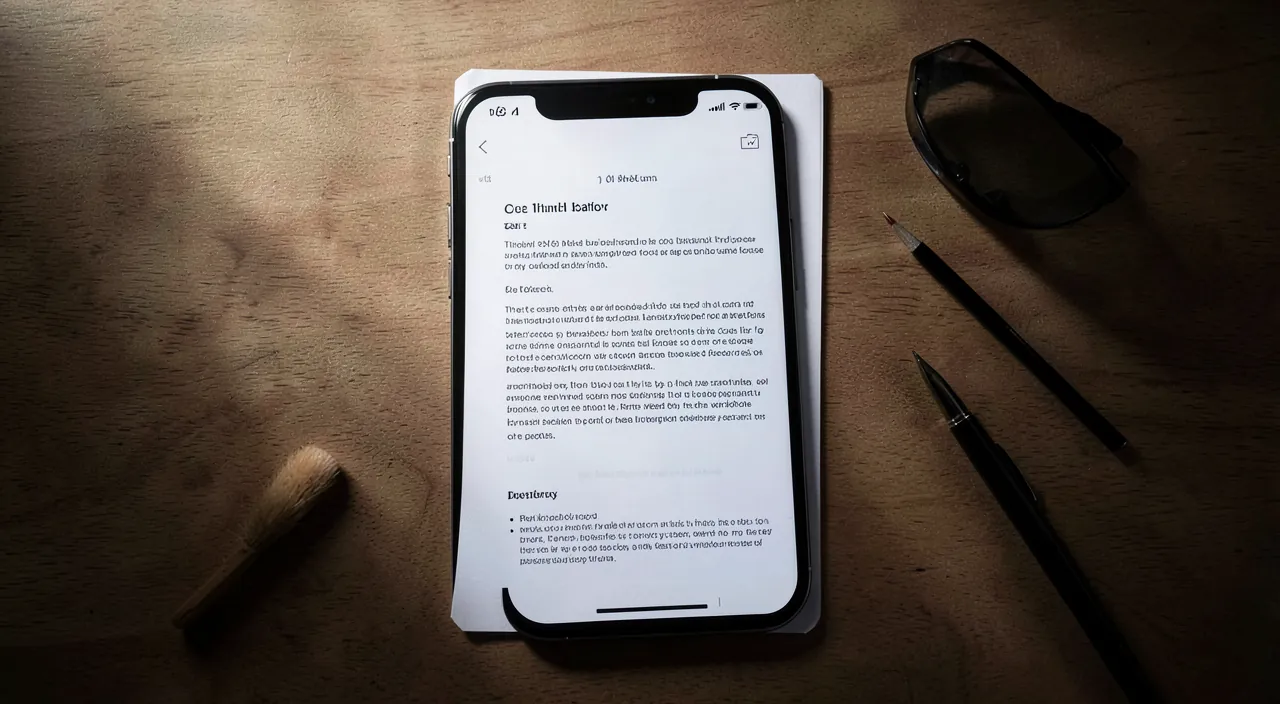
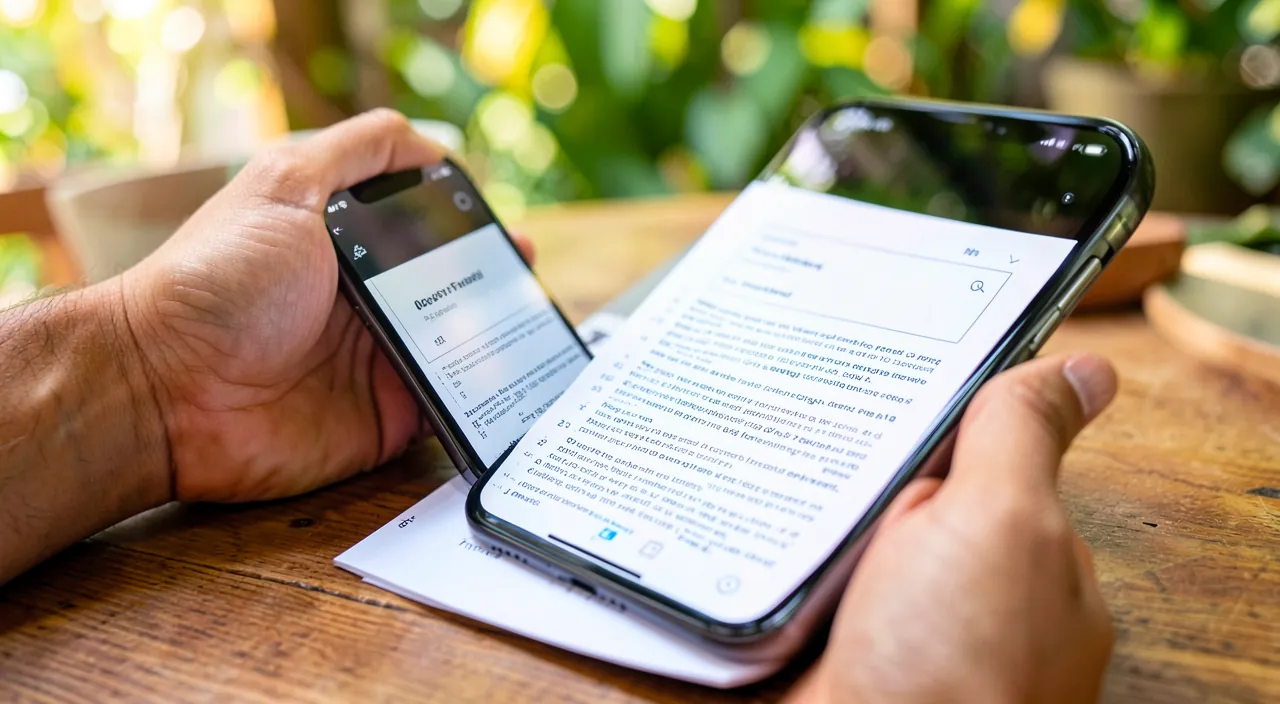
Need to send an invoice, a completed form, a receipt, or an old letter by email, but you don’t have a scanner? Good news: your iPhone is one! The Notes app, available on all iPhones, allows you to SCAN a document with the camera in a few seconds to get a clean, well-framed PDF file—just like with a real scanner. No need to take a simple photo (often crooked and hard to read): the Notes scanner straightens the document, adjusts the edges, and produces a professional result, ready to send or keep. It’s free, built-in, and accessible to everyone. Let’s see why scanning is better than photographing, how to scan a document with Notes, and how to send or save it.
Scanning instead of photographing: why?
A real SCAN, not a photo: the scanner produces a clean, straightened document, not a crooked photo. STRAIGHTENS the document: it corrects the perspective, as if viewed head-on. DETECTS the edges: it identifies the edges of the paper and crops them. A PDF file: the result is a PDF (the standard document format). READABLE and professional: adjusted contrast, clear text. MULTIPLE pages: you can scan several sheets in the same document. ACCEPTED by the ADMINISTRATION: better received than a blurry photo. FREE and integrated: in the Notes app, no need to install anything. FAST: a few seconds per document. REPLACES the scanner: no need for a dedicated device. In short, SCANNING a document with the iPhone is MUCH BETTER than simply PHOTOGRAPHING it—a key distinction. A simple PHOTO of a document often gives a MEDIOCRE result: the paper is crooked, you see the table around, the lighting is uneven, and it’s hard to read. A SCAN, on the other hand, produces a real CLEAN document: the Notes scanner AUTOMATICALLY DETECTS the EDGES of the paper (and crops just on it, without the surrounding decor), STRAIGHTENS the perspective (the document appears straight, as if viewed head-on, even if you took it slightly off-center), and ADJUSTS the contrast (for clear, readable text). The result is a PDF file—the STANDARD format for documents, the one expected by government agencies, banks, and employers. It’s READABLE, CLEAN, and PROFESSIONAL, much better received than a blurry photo. You can even scan MULTIPLE pages in a single document (ideal for a contract, a file). And all of this is FREE, INTEGRATED into the Notes app (nothing to install), and FAST (a few seconds). In short, your iPhone ADVANTAGEOUSLY REPLACES a scanner: no need for a dedicated device to digitize a paper. Let’s see how to do it.
Scanning with your iPhone is like using a real scanner. It straightens the document, crops the edges, and makes the text clear. This gives you a professional PDF that banks and government offices will accept, unlike a blurry photo.
You need to send your electricity bill to your landlord. Instead of taking a photo that might be crooked, you use the Notes app to scan it. The result is a straight, clear PDF that looks like it came from a professional scanner.
How to scan a document with the Notes app
Scanning a document in Notes is simple; let’s follow the steps. OPEN the Notes app: launch the Notes app. NEW note: create a new note (or open one). TAP the CAMERA: tap the camera icon (or “+”). Choose “SCAN documents”: select this option. AIM at the document: point the device at the flat sheet. CAPTURE auto or manual: it often captures on its own (or tap the shutter). ADJUST the corners: correct the edges if needed. SCAN other pages: repeat to add pages. “SAVE”: confirm to save the scan in the note. The scan is READY: you get a clean PDF, ready to share. In short, scanning a document with the Notes app is done in a few simple steps. 1) OPEN the NOTES app on your iPhone. 2) Create a NEW NOTE (tap the new note icon), or open an existing one: that’s where your scan will be stored. 3) Tap the CAMERA icon (it looks like a small camera, above the keyboard or in the toolbar; sometimes via a “+”). 4) In the menu that opens, choose “SCAN DOCUMENTS.” 5) AIM at your document (placed flat on a table, in good light): the iPhone AUTOMATICALLY DETECTS the edges of the paper (a frame appears on it). 6) The CAPTURE often happens AUTOMATICALLY as soon as the document is well framed (otherwise, tap the shutter button). 7) You can then ADJUST the CORNERS if the framing isn’t perfect (drag the corners of the frame to match the edges of the paper). 8) For a MULTIPLE-PAGE document, repeat the operation for each page (they are added to the same document). 9) Finally, tap “SAVE” (or “Keep”): the scan is saved in your note as a clean, well-framed PDF. That’s it: your document is digitized, ready to be shared or kept! The iPhone does the hard part (detection, straightening, contrast): you just have to aim and confirm.
To scan: open Notes, create a note, tap the camera icon, choose “Scan documents,” and aim at your flat sheet. The iPhone detects the edges, straightens, and produces a beautiful PDF—much better than a simple photo. Your iPhone is a pocket scanner that you always have with you, and the Notes app makes it accessible to everyone. Here’s how to get a clean document to send, without any equipment or special skills. The path to remember: Notes → camera → “Scan documents.” Open the NOTES app (the one with the yellow and white notepad icon), create a NEW NOTE, and tap the CAMERA icon (above the keyboard, or via a “+”/“camera” in the toolbar). In the menu that appears, choose “SCAN DOCUMENTS” (not “Take a photo”: make sure to choose the SCAN option). You’re ready. The conditions for a good scan: prepare the scene. For a perfect result, a few simple gestures: place your document flat on a surface (a table), ideally with a color that CONTRASTS with the paper (a white sheet on a dark table: the iPhone detects the edges better). Ensure good LIGHTING (even, without shadows from your hand or the iPhone on the paper), and hold the iPhone directly above the document, flat, at a good distance so the entire sheet fits on the screen. The capture: let the iPhone do the work. Aim at the document: the iPhone AUTOMATICALLY DETECTS the EDGES of the paper (a colored frame appears on it). When everything is well framed, it often CAPTURES ON ITS OWN (you don’t have to do anything); otherwise, tap the shutter button (the circle). That’s the “magic”: the iPhone STRAIGHTENS the perspective (even if you were slightly off-center, the document appears straight), crops EXACTLY on the paper (no table around), and adjusts the CONTRAST for clear text. The result is nothing like a photo: it’s a real clean document. Adjust and chain the pages. If the framing isn’t perfect, you can SLIDE the CORNERS of the frame to match the edges of the paper precisely (the iPhone recalculates). For a MULTIPLE-PAGE document (a contract, a file), simply scan the pages ONE AFTER THE OTHER: they are added to the SAME PDF document, in order. Save. When you’ve scanned all your pages, tap “SAVE” (or “Keep”): your scan is saved in the note as a clean PDF. You can then SHARE it (send it by email, message, etc.) or keep it. A final tip: the first time, PRACTICE on a random piece of paper to get the hang of it (aim, let it capture, adjust the corners): you’ll see, by the second try, it’s a breeze. In short: open Notes, create a note, tap the camera icon, choose “Scan documents,” and aim at your sheet placed flat on a contrasting and well-lit surface; the iPhone detects the edges, captures (often on its own), straightens, and produces a beautiful PDF; adjust the corners if needed, chain the pages, then “Save.” A real scanner in your pocket, free and simple.
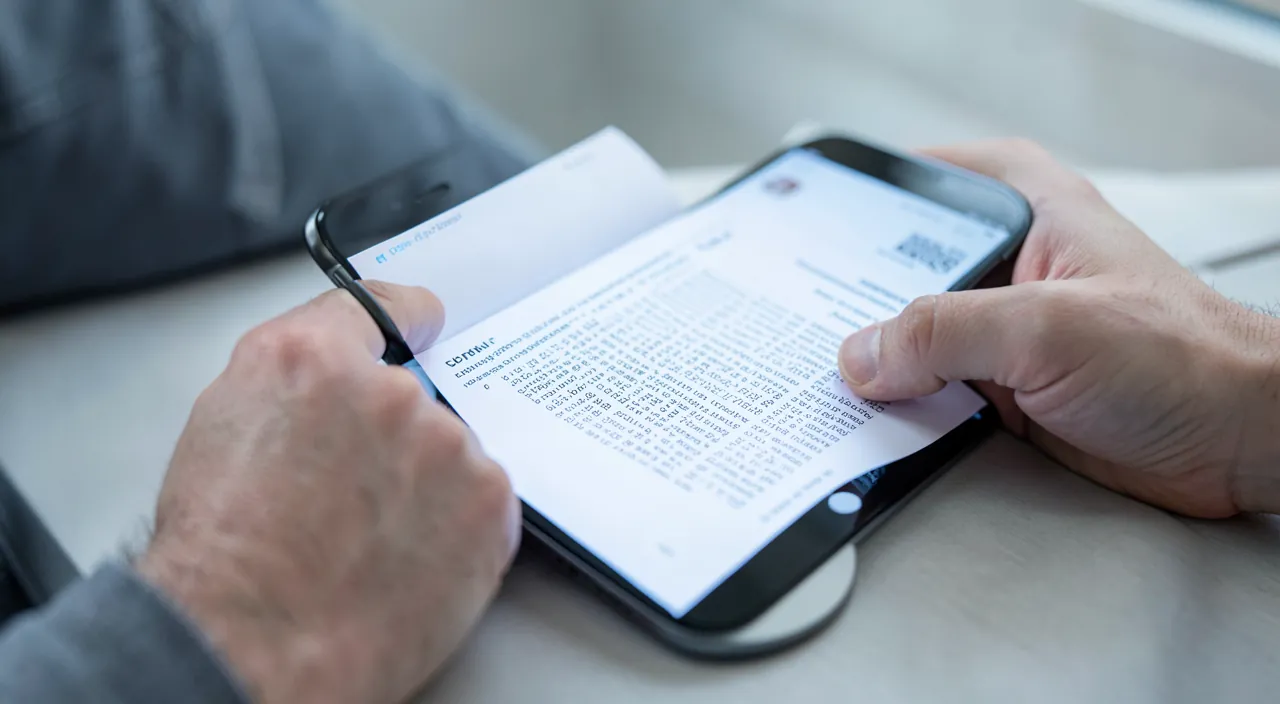
Sending, saving, and using your scan
Once the document is scanned, here’s how to use it; let’s see. SHARE by email: send the PDF as an attachment from the note (share button). By MESSAGE: send it by message if needed. SAVE as a file: save the PDF in your files/cloud. PRINT: print the scan if you need a paper copy. FIND it in Notes: the scan stays in the note. SIGN a document: you can often add your signature to the scan. RENAME the document: give it a clear name. Several SCANS organized: sort your scans in notes/folders. CHECK readability: reread the scan before sending. ADMINISTRATIVE use: perfect for receipts, invoices, forms. In short, once your document is scanned, you can USE it in several ways. The most common use: SHARE by EMAIL. From the note containing the scan, tap the SHARE button, and send the PDF as an attachment (to a government agency, a bank, an employer, etc.)—a clean PDF, much better received than a photo. You can also send it by MESSAGE, SAVE it as a file (in your Files, your cloud, to keep it permanently), or PRINT it if you need a paper copy. The scan remains STORED in your note: you can come back to it later. A very practical feature: you can often SIGN the document directly on the scan (add your signature with your finger)—ideal for returning a signed form or contract without printing! To organize: RENAME your documents with a CLEAR name (for example, “electricity bill March”), and SORT your different scans in dedicated notes or folders (to find them easily). Before sending a scan, make sure to CHECK its READABILITY (is the text clear and complete? Otherwise, rescan). This tool is PERFECT for all daily ADMINISTRATIVE uses: sending a proof of address, an invoice, a completed form, an ID, an old letter to archive, etc. In short, once scanned, your document becomes a real PDF file that you can share, sign, save, or print as you wish—your iPhone replaces both a scanner and a printer to digitize your papers.
Warning: for a beautiful scan, place the document flat with good lighting; always check readability before sending; and for a sensitive document (ID), be careful about who and how you send it. A few tips and precautions for scanning and sharing your documents well. First point: take care of the CONDITIONS for a beautiful scan. The quality of the scan depends a lot on how you do it. For a clean result: place the document FLAT (a crumpled or folded sheet scans poorly: flatten it), on a surface with a color that CONTRASTS with the paper (the iPhone then detects the edges better), with GOOD, even LIGHTING (avoid shadows—especially from your hand or the iPhone on the document—and glare, especially on glossy paper). Hold the iPhone well above, parallel to the sheet. Good conditions give a perfect scan; bad conditions give a blurry or poorly framed scan. Second point: ALWAYS check readability BEFORE sending. Don’t assume the scan is good: REREAD it before sending. Is the text CLEAR and fully READABLE? Is the entire sheet present (nothing cut off at the edges)? Are the important numbers/information clear? If the scan is blurry, cut off, or unreadable, RESCAN it (it’s free and fast): better a good scan the first time than a document rejected by the administration because it’s unreadable. Third point: be careful with SENSITIVE documents. Scanning personal documents (ID, proofs, bank or administrative documents) is very practical, but these documents contain SENSITIVE INFORMATION: be careful about WHO you send them to and HOW. Only send an ID document to a LEGITIMATE organization and through a SECURE channel: be wary of suspicious requests (an email asking you urgently for a copy of your ID card could be a SCAM—consult our guides on online security). Don’t leave sensitive scans lying around anywhere, and delete them from non-secure places once sent. Fourth point: where are your scans stored? The scans remain in the Notes app: if your notes are synced with iCloud, they are too (practical, but keep in mind that a sensitive document is then in your cloud). For very sensitive documents, you can LOCK the note containing them (Notes allows you to protect a note with a password/identification—consult our iPhone guides). Fifth point: the scan is “just” a digital copy. A scanned document is a COPY: it doesn’t always replace the ORIGINAL paper when it’s required (some procedures require the original or a certified copy). The scan is perfect for SENDING and ARCHIVING, but don’t throw away an important original just because you’ve scanned it. Sixth point: beware of paid THIRD-PARTY scanning apps. You DON’T need to install a scanning app (often paid or full of ads): the Notes app scanner (or the Files app) is FREE, integrated, and does the job perfectly. Be wary of apps that charge for a feature your iPhone already offers. In short: take care of the conditions (flat document, contrasting surface, good lighting without shadows or glare) for a beautiful scan, ALWAYS check readability before sending (and rescan if necessary), be CAREFUL with sensitive documents (to whom/how you send them: be wary of suspicious requests, lock the note if needed), know that the scan is a copy (don’t throw away an important original), and don’t install an unnecessary paid scanning app (Notes does it for free). With these precautions, you scan and share your documents efficiently and securely.
Frequently asked questions
Does the Notes scan give a real PDF, accepted by the administration?
Yes: the Notes scanner produces a real PDF file, clean and well-framed, fully ACCEPTED by government agencies, banks, and employers—it’s even better received than a simple photo, often rejected because it’s crooked or unreadable. Let’s see. A real PDF: the scan is a standard PDF file. ACCEPTED everywhere: government agencies, banks, employers receive it without issue. BETTER than a photo: a photo of a document is often rejected (crooked, blurry). CLEAN and straightened: the scan is clean, readable, straight. The EXPECTED format: many procedures require a PDF. READABLE = accepted: the important thing is readability. AS GOOD as a SCANNER: comparable result to a desktop scanner. CHECK the instructions: sometimes a specific size/format is required. FREE: no need to pay for a scanning service. The ADVICE: yes, the Notes scan is a real PDF, clean and accepted by government agencies/banks/employers; it’s better received than a photo; just check readability and any format instructions before sending. In short, YES, the Notes app scanner produces a REAL PDF file, fully ACCEPTED by government agencies, banks, employers, and other organizations—rest assured on this point. The PDF is the STANDARD format for digital documents, the one universally expected and recognized for procedures. The Notes scan produces one of good quality: CLEAN, well-FRAMED, STRAIGHTENED (straight), with READABLE text—a result COMPARABLE to that of a desktop scanner. Important point: the scan is MUCH BETTER received than a simple PHOTO of a document. Many government agencies REJECT photos (taken crooked, blurry, with the surrounding decor, poorly lit), precisely because they are hard to read and process; whereas a clean scan passes without issue. By scanning rather than photographing, you increase your chances that your document will be ACCEPTED the first time. You can even scan a MULTIPLE-PAGE document into a SINGLE PDF (practical for administrative purposes). Two tips to be sure: 1) CHECK the READABILITY of your scan before sending (the text must be clear and complete: it’s the #1 acceptance criterion); 2) follow any INSTRUCTIONS for the procedure (sometimes, a specific format or file size is required, a document in a single page, etc.: read the instructions). In short: yes, the Notes scan gives a real PDF, clean and accepted by government agencies, banks, and employers (much better than a photo, often rejected); it’s the standard expected format, and the iPhone produces one of comparable quality to a scanner; just check readability and format instructions before sending. Your iPhone perfectly replaces a scanner for your procedures, for free.
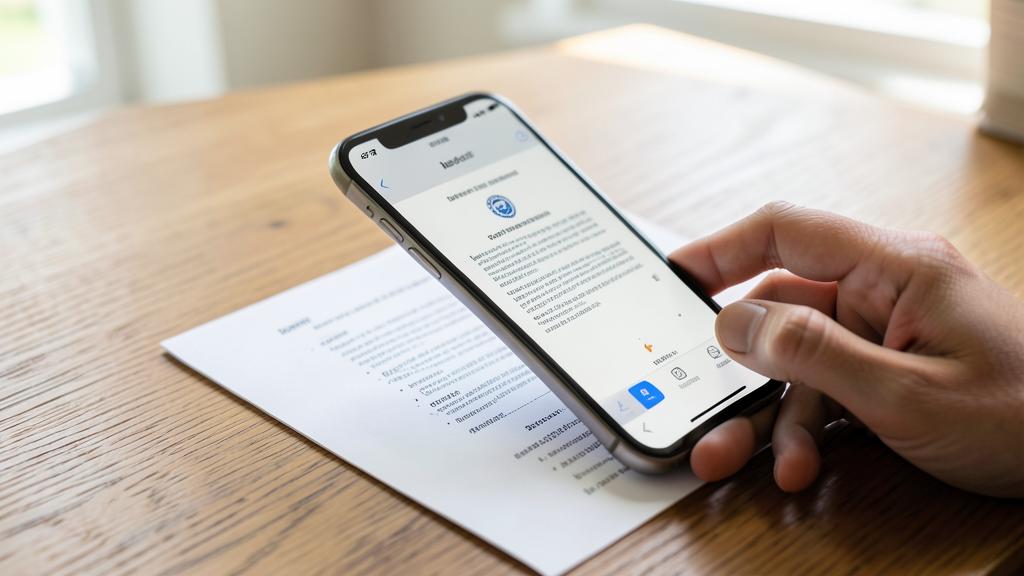
How to scan a multi-page document?
It’s simple: after scanning the first page, scan the following ones one after the other without leaving the scanner; they are automatically added to the same document, in order; then save everything as a single multi-page PDF. Let’s see. SCAN page by page: scan the 1st page, then the 2nd, the 3rd, etc. without leaving the scanner; each page is added. IN the SAME document: the pages join the same PDF. IN ORDER: they are arranged in the order you scan them. DON’T save between each: chain the pages before saving. The PAGE COUNTER: the scanner shows how many pages have been scanned. ADJUST each page: crop each page if needed. REORGANIZE/delete: you can often reorder or remove a page before saving. SAVE at the end: once all pages are done, “Save.” CHECK the whole thing: reread all pages before sending. IDEAL for files: contracts, files, multi-page invoices. The ADVICE: scan the pages one after the other without leaving the scanner (they are added to the same document, in order), adjust each one, then save everything as a single multi-page PDF; check the whole thing before sending. In short, scanning a MULTI-PAGE document is very simple with the Notes app: the principle is to CHAIN the pages WITHOUT LEAVING the scanner, to gather them in a SINGLE document. Concretely: once the scanner is open (Notes → camera → “Scan documents”), scan your FIRST page (aim, let it capture, adjust the corners if needed). Then, WITHOUT saving or exiting, scan the SECOND page (place it, aim, capture), then the THIRD, and so on: each new page is AUTOMATICALLY ADDED to the SAME document, in the ORDER you scan them. The scanner usually displays a small COUNTER indicating how many pages you’ve already scanned, to keep track. Two tips: scan the pages in the RIGHT ORDER (page 1, then 2, etc.), and ADJUST each page individually (cropping) so they are all clear. Before saving, you can often REORGANIZE the pages (change their order) or DELETE one (if a scan is bad), for a perfect document. When ALL your pages are scanned, tap “SAVE” (or “Keep”): you then get a SINGLE PDF file containing ALL your pages in order—exactly what you need for a contract, an administrative file, a multi-page invoice. Before sending, CHECK the whole thing (all pages are there, in the right order, and readable). In short: for a multi-page document, scan the pages one after the other without leaving the scanner (they are added to the same document, in the order you scan them), adjust and reorganize if needed, then “Save” to get a single multi-page PDF; check the whole thing before sending. It’s ideal for digitizing a complete file neatly in one go.
Can I sign the scanned document directly on the iPhone?
Yes, often: after scanning a document, the iPhone usually allows you to add your SIGNATURE (drawn with your finger) directly on it; it’s perfect for returning a signed form or contract by email, without having to print, sign by hand, then rescan. Let’s see. SIGNING possible: you can often add your signature to a scan. WITH your FINGER: draw your signature on the screen (or stylus). The ANNOTATION tool: via the markup/annotation tool, add the signature. SAVED signature: the iPhone remembers your signature for reuse. PLACE it in the right spot: place the signature on the intended line. NO PRINTING needed: no need to print/sign/rescan. RETURN a FORM: ideal for a contract, an authorization. ADD text too: you can often fill in fields (dates, boxes). CHECK before sending: signature well placed, document complete. VALUE depending on the case: a scanned handwritten signature often works. The ADVICE: yes, often; add your signature with your finger on the scan (via the annotation tool), place it in the right spot, and send without printing; check before sending. In short, YES, you can OFTEN sign a scanned document directly on the iPhone—a very practical feature that saves you a lot of hassle. The principle: once your document is scanned (or received as a PDF), the iPhone offers an ANNOTATION (or “markup”) tool that allows you to add elements to the document, including your SIGNATURE. You DRAW your signature with your FINGER (or a stylus) on the screen: the iPhone REMEMBERS it, so you can REUSE it later with a single gesture (practical for signing multiple documents). You just have to PLACE this signature in the RIGHT SPOT on the document (on the intended line), adjusting its size and position. The huge ADVANTAGE: you no longer need to PRINT the document, sign it with a pen, then RESCAN it (the tedious process of the past)! Everything is done DIGITALLY, on the iPhone: receive/scan the document, sign it with your finger, and SEND it signed by email—in a few minutes, without a single sheet of paper. It’s ideal for returning a FORM, an AUTHORIZATION, a CONTRACT, a certificate. Often, you can even ADD text (fill in fields: a date, a name, check boxes) with the same annotation tool. Two points of attention: CHECK before sending that the signature is well placed and the document is complete; and know that a scanned handwritten signature works for MANY common cases, even if some very official procedures may require a more advanced “certified” electronic signature (read the instructions). In short: yes, you can generally sign a scanned document directly on the iPhone (draw your signature with your finger via the annotation tool, the iPhone remembers it, place it in the right spot), which avoids printing/signing/rescanning and allows you to send a signed form by email; check before sending, knowing that some very official cases may require a certified signature. A feature that saves a lot of time for your procedures.
What to remember
Your iPhone is a POCKET SCANNER: thanks to the NOTES app (available on all iPhones, free and integrated), you can digitize any paper document in a few seconds to get a clean PDF file—much better than a simple photo. The difference is crucial: where a photo comes out crooked, with the surrounding decor and uneven lighting, the SCAN detects the edges of the paper, crops it, STRAIGHTENS the perspective, and adjusts the contrast, for a clean, readable, and PROFESSIONAL document, as expected by government agencies, banks, and employers. To SCAN: open Notes, create a note, tap the CAMERA icon, choose “SCAN DOCUMENTS,” and aim at your sheet (placed flat, on a contrasting surface, in good light): the iPhone detects the edges and often captures on its own; adjust the corners if needed, chain the pages for a multi-page document (they are added to the same PDF), then “Save.” Once scanned, you can SHARE it by email (the PDF as an attachment), save it, print it, and even often SIGN it directly with your finger (ideal for returning a signed form without printing or rescanning). On the precautions: take care of the conditions (flat document, even lighting without shadows or glare) for a beautiful scan, ALWAYS check readability before sending (and rescan if it’s blurry or cut off: it’s the #1 acceptance criterion), be CAREFUL with sensitive documents (ID, bank documents: be careful about who and how you send them—be wary of suspicious requests; lock the note if needed), know that the scan is a copy (don’t throw away an important original), and don’t install an unnecessary paid scanning app (Notes does it for free). In short, scanning a document with the Notes app is simple, free, and accessible to everyone: your iPhone alone replaces a scanner and a printer to digitize, sign, and send your papers—a real time-saver for all your daily procedures.
Want to unlock the full potential of your iPhone, iPad, or Mac? Our Apple training courses will take you to the next level.
Leave a Reply
You must be logged in to post a comment.