
The passerby who ruins the vacation photo, the washed-out white sky above a stunning landscape, the backlight that plunges faces into shadow: yesterday, it took hours of expert software to save these shots — today, a tap is enough. AI retouching has slipped into our phones and apps: removing an object, brightening shadows, restoring an old photo. Magical? Almost. This guide explores what AI really does to your images, how to get the best out of it — and where the line is between enhancing and falsifying.
What AI can do to your photos
The catalog has become impressive, directly in consumer tools: remove an element — the passerby, the trash can, the power line disappear, the AI reconstructing the background in a plausible way; improve overall — light, contrast, colors adjusted with a gesture, zone by zone (sky revived without darkening faces); fix mistakes — slight blur corrected, night photo noise smoothed, backlights brightened; restore the old — scratched, faded, or torn family photos revived, sometimes colorized; intelligently crop — and even extend an image beyond its original frame. What required mastery of professional tools now fits in the phone’s retouch menu.
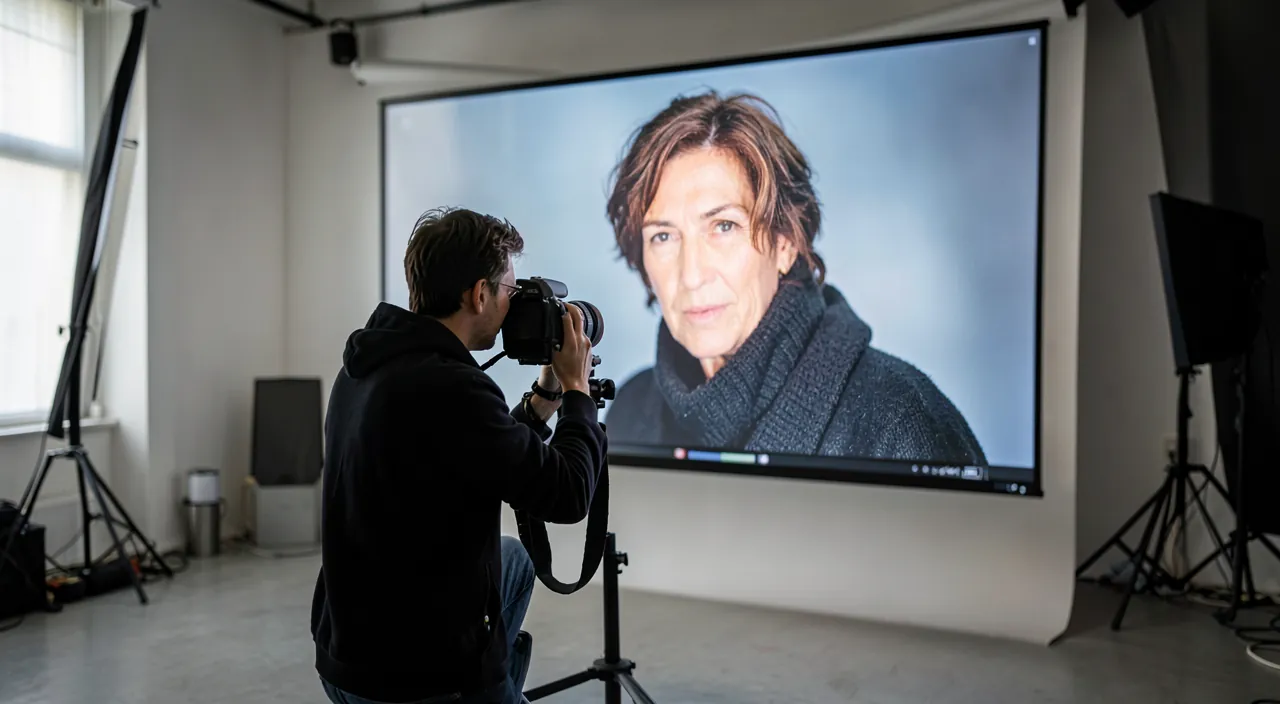
AI can now fix common photo problems like unwanted objects, bad lighting, or blurriness with just a few taps. It even helps restore old photos, making them look new again.
Imagine a vacation photo where a stranger walks into the frame. With AI, you can remove them and the software will fill in the background seamlessly, making it look like they were never there.
How to use automatic retouching well
A few habits make the difference between improvement and ruin. Start with auto, then adjust: automatic enhancement provides a base — then reduce its intensity, excess (garish colors, artificial sharpness) is always lurking. Retouch by zones: modern tools distinguish sky, faces, and background — correct what’s lacking without touching the rest. Always compare before/after with a tap: the eye quickly gets used to excess; returning to the original recalibrates. Keep the original: most tools retouch in a reversible way — check, a failed retouch should never be final. And remember the pros’ principle: the best retouch is the one you don’t notice.
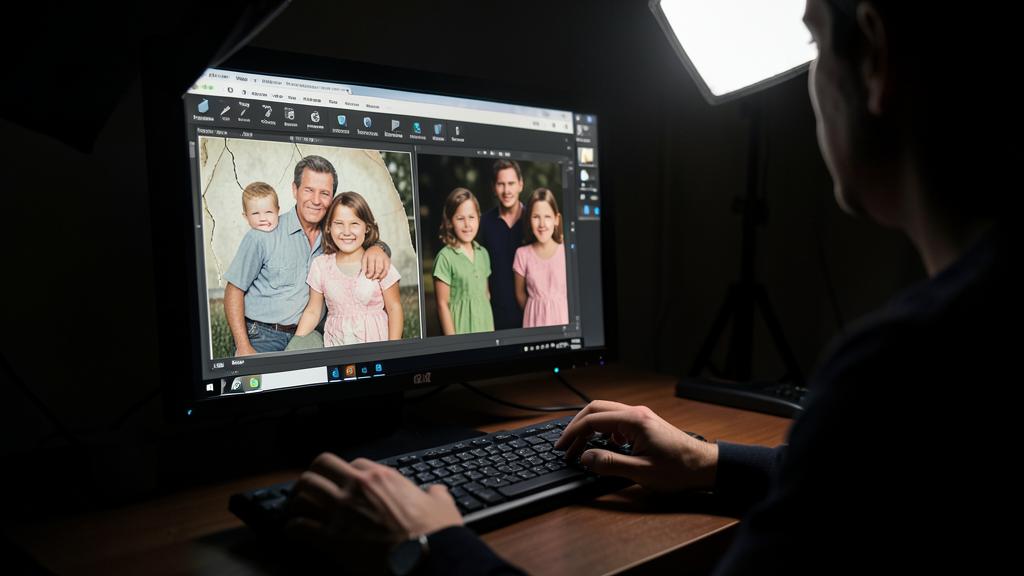
The right reflex. For important photos — family portraits, memorable moments — do the retouching in two steps: first remove unwanted elements (the real gain), then adjust the lighting, lightly. And for old family photos, try AI restoration: scan properly, let the tool revive — the result often brings tears, and the framed print makes the most beautiful of gifts.
The line: enhance or falsify?
The power raises the question: how far to retouch? A simple benchmark: intention and context. Removing a trash can from a vacation landscape: harmless enhancement. Over-smoothing faces: already more debatable — uniform porcelain skin fuels well-documented complexes, especially among the young. Adding or removing people, creating a scene that never happened and presenting it as real: you cross into falsification — unacceptable when it’s testimony, sales, information, or evidence. Your memories belong to you; the reality presented to others, not. And for ad or professional photos: honest improvement (light, framing) yes, deception about the real state, no — it always backfires on its author.
Family photos: real-life cases
Some typical situations and their solutions: the almost-perfect group photo — someone has their eyes closed: some tools merge multiple shots to create the version where everyone looks good; the backlight of party photos — dark faces in front of candles: selective shadow brightening saves the scene; the finger in front of the lens, the dirty window, the reflection — generative removal takes care of it; the unique but damaged photo of an ancestor — restoration, then AI enlargement for a worthy print. So many saved memories that would have ended up in the trash yesterday — perhaps the greatest service of all automatic retouching.
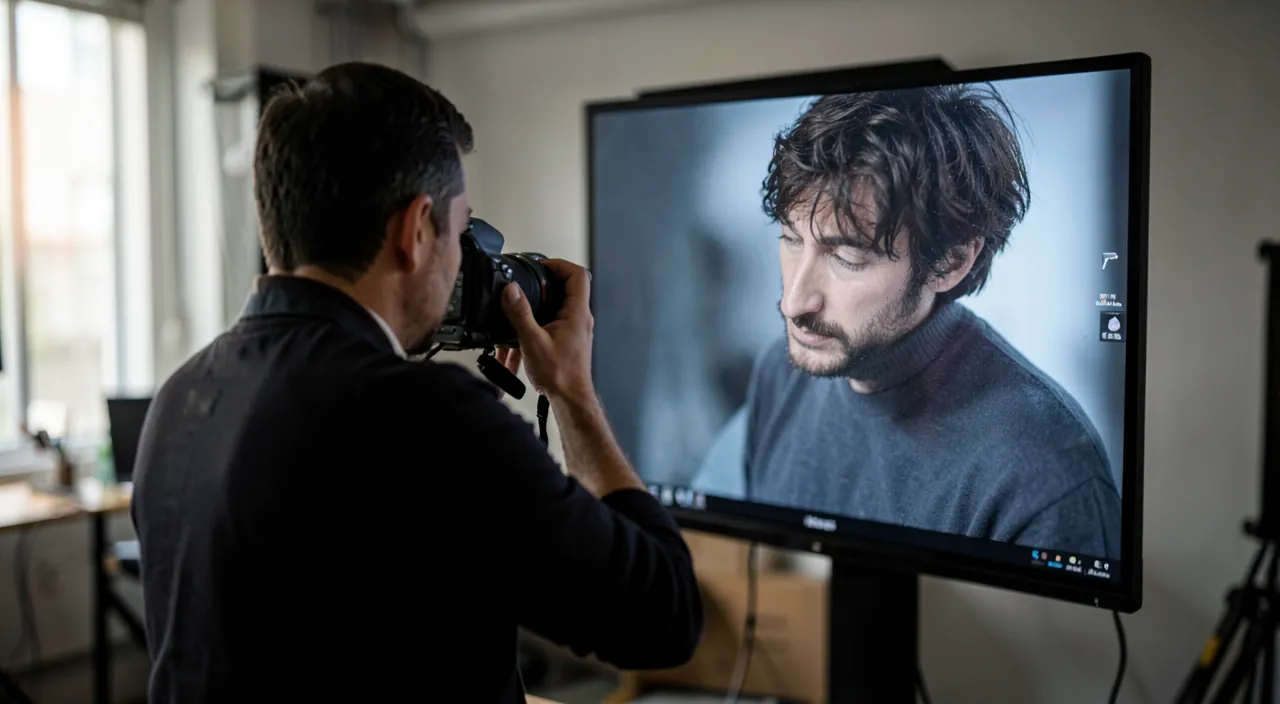
To keep in mind. AI-generated or heavily reconstructed faces may seem “almost right” but strangely fake — especially for people you know by heart. On portraits, prefer light corrections to heavy reconstructions. And respect the photographed people: retouching someone else’s face (thinning it, “correcting” it) without their consent is a faux pas — or worse if the image circulates.
Frequently asked questions
Do you need a paid app to retouch well?
No: the tools built into phones and free apps cover the basics — removal, enhancement, portraits. Subscriptions are justified for advanced creative or professional uses.

Does retouching degrade the file quality?
Modern retouches usually work in a non-destructive way: the original is preserved and modifications are reversible. Check this behavior in your app, and export in full quality for prints.
Can you improve a very blurry photo?
Slight blur is well corrected; severe blur forces the AI to invent details — the result may impress but strays from reality. On faces, be careful: a soft photo is better than a reconstructed portrait.
What to remember
AI retouching has put in everyone’s pocket what once required years of practice: removing unwanted elements, balancing light zone by zone, saving mistakes, restoring old memories. Good practices: start with automatic then reduce, compare to the original, always keep the original version — and the lighter the hand, the more the image matters. Remains the ethical compass: enhance your memories, yes; falsify what you present to others as real, never. Your photos tell your life story: AI finally gives them the light they deserved — it’s up to you to ensure they stay true.
Want to master AI and make it a real daily asset? Our training courses support you at your own pace.
Leave a Reply
You must be logged in to post a comment.