
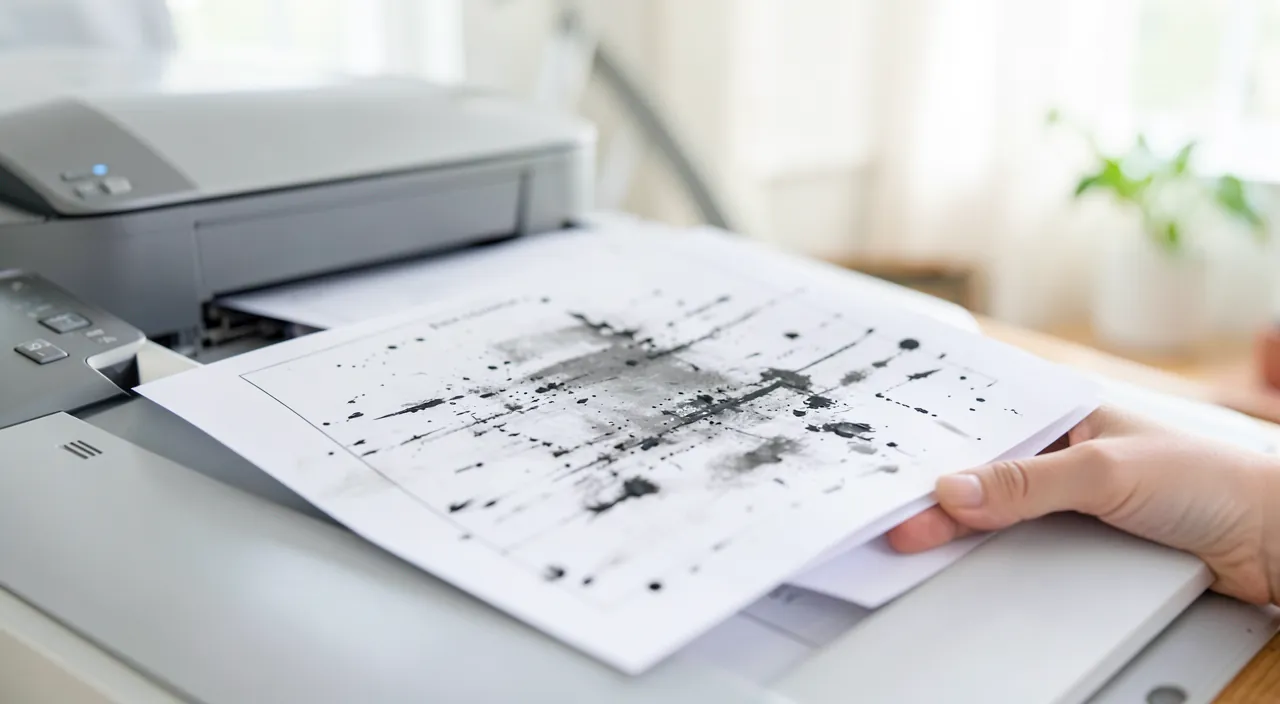
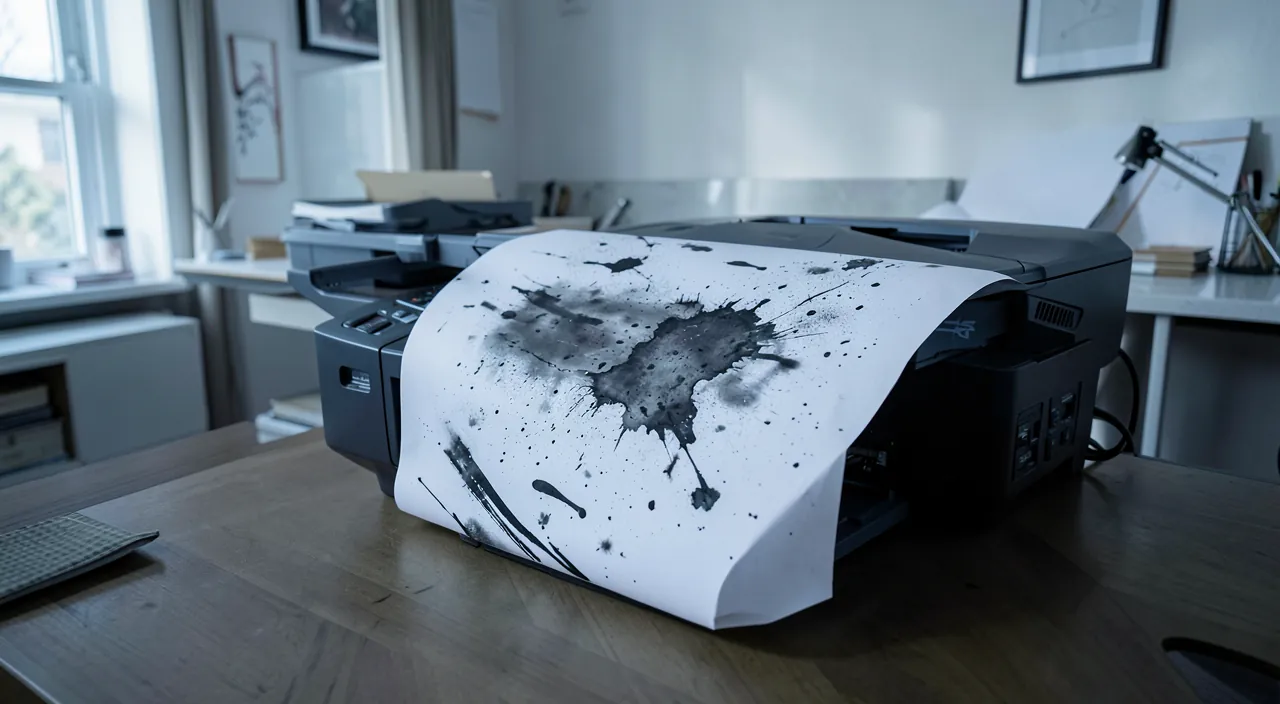
You start a print job, and the result is disappointing: ink stains, streaks, smudges on the paper, missing lines, bleeding colors, or marks that reappear at regular intervals. Instead of a clean document, you get a dirty page. This is a common printer issue, often easy to fix: clogged or dirty print heads, an empty or faulty cartridge or toner, dirty drum or rollers, unsuitable paper, or simply spilled ink. The good news: most of these defects can be corrected with proper cleaning or replacing consumables, without calling a repair technician. Let’s see how to fix print stains and streaks: understanding their origins based on the printer type, the steps to restore clean prints, and how to maintain your printer to prevent recurrence.
Where do print stains and streaks come from?
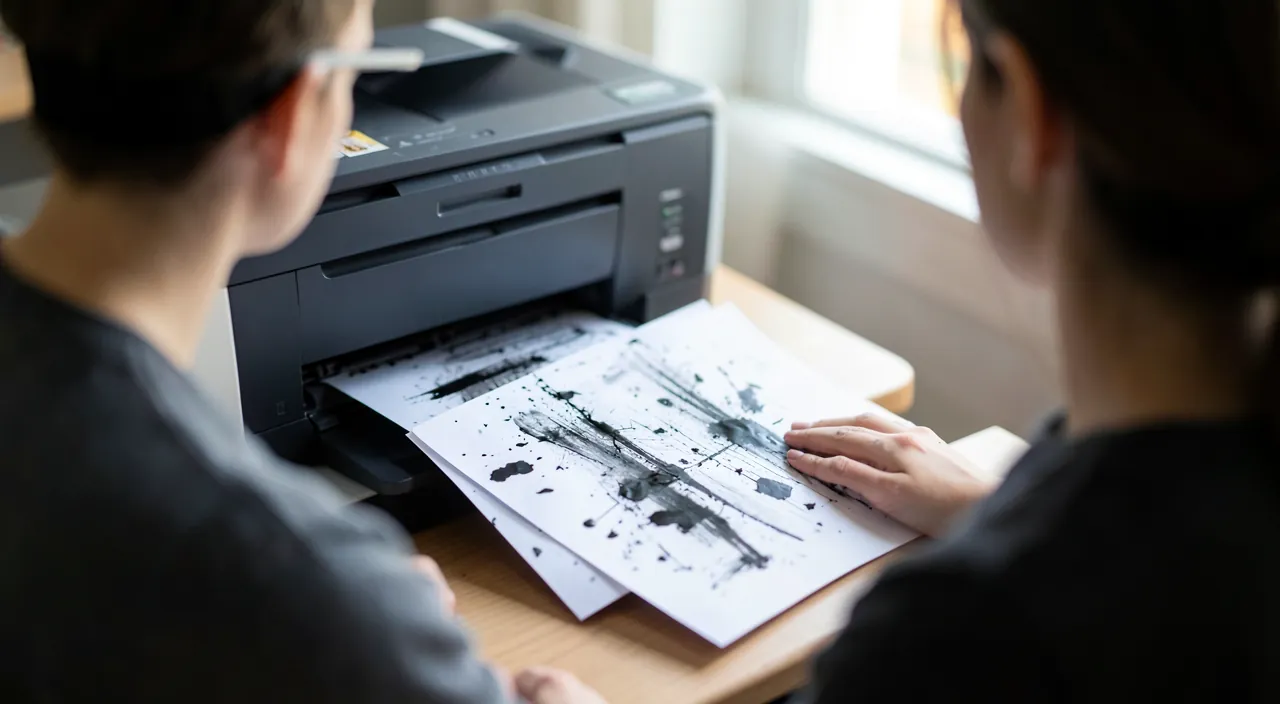
Print defects have various causes, depending on the printer type. Here are the main ones. The PRINTER TYPE matters: causes differ depending on whether you have an INKJET (liquid ink cartridges) or LASER (toner powder, drum) printer. Identify your type; the problems and solutions are not the same. Inkjet — CLOGGED HEADS: on an inkjet printer, the print heads (nozzles) can get CLOGGED (dried ink), especially if the printer is used infrequently. This causes missing lines, incomplete colors, streaks; a head cleaning often resolves this (we’ll return to it). Inkjet — END-OF-LIFE CARTRIDGE: a nearly empty or faulty cartridge produces pale, streaked, incomplete prints; replacing it fixes the issue; ink level matters; check it. Laser — DRUM or TONER: on a laser printer, a worn or dirty drum, or end-of-life toner, causes repeated stains, streaks, gray background, regular marks; cleaning or replacing the consumable resolves it; regular marks suggest the drum. DIRTY ROLLERS: the rollers that feed the paper can get dirty (ink, dust) and leave marks on the sheets; cleaning helps; repeating marks may come from the rollers. SPILLED INK: sometimes, ink has spilled or overflowed in the printer (leaking cartridge, residue); it dirties the pages; cleaning the affected areas resolves it; spilled ink stains. UNSUITABLE or HUMID PAPER: low-quality, too thin, or humid paper may poorly absorb ink (bleeding) or jam; using suitable, dry paper helps; paper matters more than you think. REGULAR MARKS: stains or marks that reappear at REGULAR INTERVALS (with each roller or drum rotation) indicate a dirty or damaged component that “marks” with each turn; regularity is a valuable clue; it points to the culprit. MISALIGNMENT: misaligned, blurry, or doubled prints may come from misaligned heads; an alignment function (in printer settings) corrects it; distinct from stains but related to quality. PRINT QUALITY SETTING: sometimes, print quality is set low (draft, ink-saving); increasing quality in settings improves it; check this parameter before suspecting hardware. WHY THIS MATTERS: knowing that inkjet printers mainly suffer from clogged heads, lasers from drum/toner, and that regular marks point to a dirty component, helps target the right action (clean heads, replace a consumable, clean rollers). The key idea: print stains and streaks have causes that depend on the PRINTER TYPE. On an INKJET PRINTER, the most frequent culprit is CLOGGED PRINT HEADS (dried ink, especially if the printer is used little) — hence missing lines, incomplete colors, streaks — or an END-OF-LIFE CARTRIDGE (pale, streaked prints). On a LASER PRINTER, check the DRUM (worn or dirty) or TONER (repeated stains, gray background, regular marks). Other causes affect both: dirty ROLLERS, spilled INK, unsuitable or humid PAPER, misalignment, or too low print quality setting. A valuable clue: marks that reappear at REGULAR INTERVALS point to a dirty or damaged component that marks with each rotation. Most of these defects are fixed by proper cleaning (heads, rollers, drum) or replacing a consumable (cartridge, toner). Identifying the printer type and defect nature guides you to the right solution.
The type of printer (inkjet or laser) determines the most likely cause of print defects. Inkjet printers usually have clogged print heads or empty cartridges, while laser printers often have dirty drums or toner issues. Regular marks on pages point to a dirty rotating part like a roller or drum. Most problems can be fixed by cleaning or replacing parts, not by buying a new printer.
On an HP OfficeJet 8010 inkjet printer, you notice horizontal white lines on color prints. This is likely clogged print heads. Running the head cleaning function 2-3 times, then printing a test page, should restore clean prints. If the issue persists, check if the color cartridge is empty or needs replacement.

How to restore clean prints
Here’s the step-by-step approach, from simplest to most advanced, to correct print defects. CHECK LEVELS: first, check the ink or toner level (in printer settings or screen); a nearly empty cartridge/toner causes paleness and streaks; replace if needed; depleted consumables are a common cause. RUN HEAD CLEANING (inkjet): most inkjet printers have a HEAD CLEANING function (in settings or printer software); run it; it unclogs the clogged nozzles; this is the #1 action for streaks and missing lines (we’ll return to it). Print a TEST PAGE: print a TEST PAGE (often offered by the printer); it shows the state of colors and nozzles; after cleaning, it checks improvement; the test guides diagnosis. REPEAT CLEANING if needed: if a first head cleaning isn’t enough, repeat it (two or three times); a stubborn clog sometimes requires multiple cycles; let it rest a bit between; persistence often unclogs. ALIGN HEADS: if prints are misaligned, blurry, or doubled, run the HEAD ALIGNMENT function (in settings); it realigns the print; useful for sharpness; distinct from cleaning. CLEAN ROLLERS and interior: if marks come from dirty rollers or spilled ink, gently clean accessible areas (suitable cloth, per manufacturer’s instructions); follow the manual; internal cleaning removes marks; be careful. Check the DRUM (laser): on a laser with regular marks, the drum may be dirty or worn; clean it gently (per manual) or replace it (drums have a lifespan); regular marks suggest the drum. REPLACE CONSUMABLE: if cleaning and adjustments don’t suffice, the cartridge, toner, or drum may be end-of-life; replace the affected consumable with a new, quality one; a worn consumable can’t be repaired. CHANGE PAPER: try high-quality, dry, printer-compatible paper; humid or unsuitable paper causes bleeding and jams; good paper significantly improves; test this simple fix. INCREASE PRINT QUALITY: check the quality setting (switch from “draft/save ink” to “normal” or “quality”); low quality causes pale prints; the setting improves without hardware changes. LET INK DRY: if ink bleeds right after printing, let pages dry; don’t stack them while wet; some inks/papers require drying time; patience prevents handling marks. UPDATE/RESTART: restart the printer (power off/on) and check for updated drivers/software; a bug may cause defects; restarting and software updates help. In summary, to restore clean prints: check INK/TONER LEVELS (replace if empty), run HEAD CLEANING (inkjet) — #1 action for streaks and missing lines, to repeat if needed —, print a TEST PAGE, ALIGN HEADS if prints are misaligned, clean ROLLERS and interior (per manual), check the DRUM (laser, regular marks), replace WORN CONSUMABLE, change PAPER (good, dry, compatible), increase PRINT QUALITY, let ink dry, and restart/update. This approach fixes most defects; head cleaning, consumable checks, and good paper are the first keys.
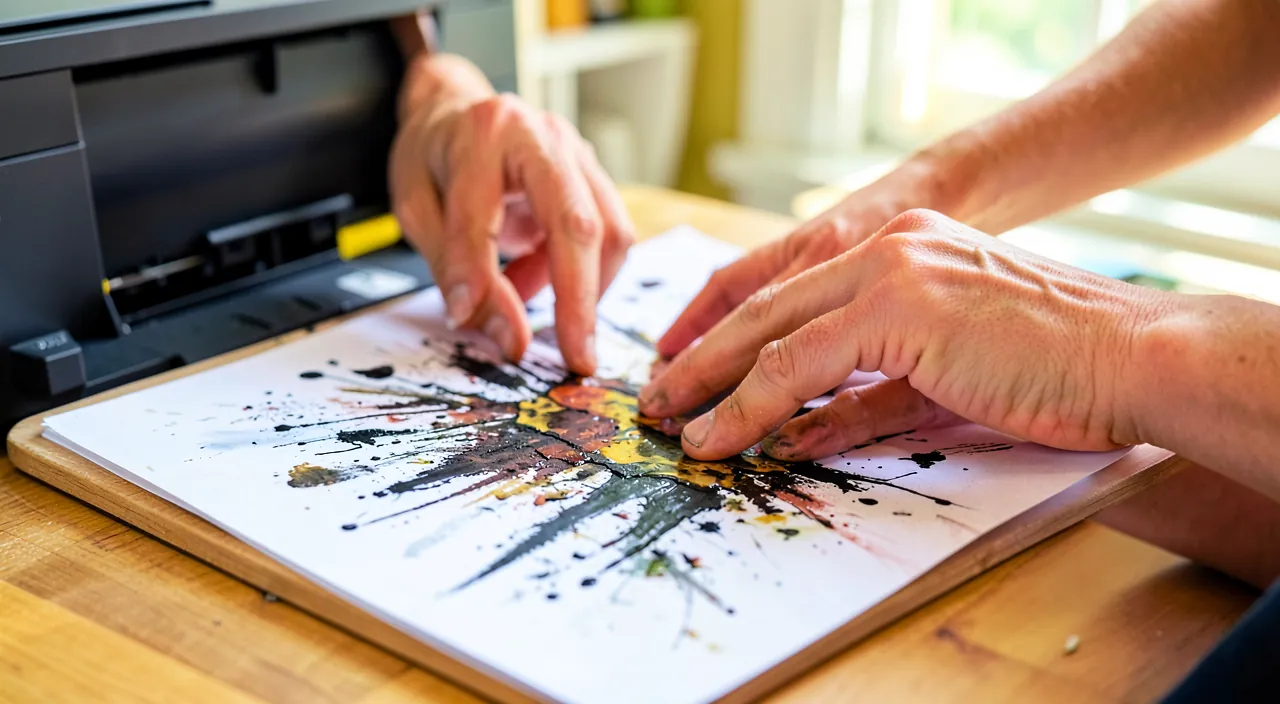
Reflex #1 for an inkjet printer: head cleaning. If your printer is an INKJET (liquid ink cartridges, the most common type at home) and your prints show streaks, missing horizontal lines, incomplete colors (as if a color isn’t printing), or a streaked appearance, the culprit is almost always the same: CLOGGED PRINT HEADS. Print heads are tiny nozzles through which ink is sprayed onto the paper. The problem is that liquid ink can DRY in these nozzles and clog them, partially or completely — a phenomenon especially common if the printer is used LITTLE (ink has time to dry between uses) or has been unused for a long time. A clogged nozzle no longer sprays its ink, hence the missing lines or absent colors. The good news: almost all inkjet printers include a HEAD CLEANING function specifically for this. You’ll find it in the printer settings (on its screen) or in the printer software installed on your computer (often in a “maintenance” or “care” section). This function circulates ink under pressure to unclog the nozzles. Run it, then print a TEST PAGE (the printer usually offers one, displaying color and line patterns to check which nozzles work) to verify the result. Important point: a single cleaning cycle isn’t always enough for a stubborn clog. If the first test page shows improvement but not complete resolution, REPEAT the cleaning — two, three times if needed —, printing a test page between each to track progress. A useful tip for stubborn clogs: let the printer rest for a while (sometimes a few hours) between cycles, allowing the ink to “soften” the clog before running another cleaning. In most cases, a few cleaning cycles restore clean prints, without replacing or disassembling anything. However, be aware: head cleaning CONSUMES ink (it circulates ink to unclog). Don’t chain it endlessly: if after three or four cycles there’s no improvement, the issue is probably elsewhere (truly empty cartridge, too damaged head), and continuing would only waste ink. Then check the ink level (an empty cartridge doesn’t unclog: it’s replaced) and overall condition. Finally, the best way to AVOID clogged heads is prevention: use your printer REGULARLY. An inkjet printer that prints at least occasionally (a few pages per week or every two weeks) keeps its ink circulating and dries much less in the nozzles. Paradoxically, a printer used “only when needed,” after weeks of inactivity, is the one that clogs the most. If you print rarely, consider running a small print (a color page) occasionally to “circulate” the ink. In summary, for an inkjet printer with streaks or missing lines: first think of head cleaning (repeated if needed, with a test page to check), it’s the action that resolves most cases; and to avoid the issue, print regularly.
Maintaining your printer to avoid defects
Good maintenance prevents most print defects; here are useful habits. PRINT REGULARLY (inkjet): the best way to avoid clogged heads; use the printer occasionally (ink circulates and dries less); a never-used printer clogs; regularity prevents; print a page occasionally. USE GOOD PAPER: use quality paper, suited to your printer, and store it DRY; humid or low-quality paper causes bleeding and jams; good paper improves and preserves; don’t neglect this. QUALITY CONSUMABLES: use quality cartridges, toners, and drums (original or reliable compatibles); low-quality consumables may dirty, leak, or print poorly; consumable quality matters; choose well. PERIODIC CLEANING: dust and gently clean the printer occasionally (exterior, accessible areas per manual); dust and residue dirty; preventive maintenance keeps cleanliness; follow manufacturer’s instructions. REPLACE CONSUMABLES ON TIME: replace cartridges, toners, and drums when end-of-life (before they degrade prints); a depleted consumable dirties; monitor levels; anticipate replacement. STORE PROPERLY: keep the printer in a clean, dry place, away from dust and humidity; cover it if used little; proper storage prevents defects; protect it. HANDLE CARTRIDGES CAREFULLY: handle cartridges and toners gently (without touching sensitive parts, without shaking a toner); rough handling may cause leaks or dirt; care prevents leaks; follow instructions. RUN PREVENTIVE MAINTENANCE: use printer maintenance functions (head cleaning, alignment) when needed, without excess; they maintain quality; built-in tools help; use them wisely. KEEP DRIVERS UPDATED: keep printer drivers and software updated; updates fix bugs and improve; software updates help; consult our guides on updates. SHUT DOWN PROPERLY: turn off the printer properly (via its button), not abruptly; some printers “protect” heads on proper shutdown (they go to safe position); proper shutdown preserves; don’t cut power abruptly. In summary, to maintain your printer and avoid defects: PRINT REGULARLY (best remedy against clogged heads on inkjet), use good PAPER stored dry and quality CONSUMABLES, CLEAN PERIODICALLY (gently, per manual), REPLACE CONSUMABLES ON TIME (before they degrade prints), store the printer clean and dry, handle cartridges carefully, use preventive maintenance (cleaning, alignment) wisely, keep drivers updated, and shut down properly. These habits prevent most defects and extend your printer’s life; regular use, good paper, and preventive maintenance are the keys to durably clean prints.
Warning: don’t overuse cleaning cycles (they consume a lot of ink), and never force internal mechanisms. Two points of vigilance help maintain your printer effectively without damaging it or wasting ink. The first concerns HEAD CLEANING, that useful action for inkjet printers: use it wisely, without overdoing it. Each head cleaning cycle CONSUMES ink — sometimes a significant amount — as it circulates ink under pressure to unclog nozzles. Running cleaning after cleaning “just in case,” or stubbornly repeating the cycle ten times when nothing improves, amounts to EMPTYING your cartridges quickly for nothing. The common-sense rule: run a cleaning, print a test page to check; if it improves, possibly repeat once or twice (with a pause between cycles to let the clog soften); but if after three or four cycles there’s NO IMPROVEMENT, STOP. Continuing won’t unclog further: the issue is elsewhere (truly empty cartridge that needs replacing, too damaged head), and you’d only waste remaining ink. So use this function when needed (streaks, missing lines), but not compulsively or preventively to excess. The second point of vigilance, even more important: NEVER FORCE internal printer mechanisms. When cleaning the interior, removing a paper jam, or changing a consumable, the temptation may be to yank a stuck sheet, force a stubborn part, or roughly handle components. This is prohibited: printers contain DELICATE mechanisms (print heads, rollers, drum, gears) that easily damage under force. Forcing risks breaking a part, tearing paper that leaves residue, or damaging the drum or heads — turning a minor issue into an expensive breakdown. Several precautions: to remove a paper jam, pull GENTLY and in the paper path direction (never by ripping), after turning off the printer; always follow the MANUAL’s instructions to access and clean internal areas (each printer is different, and the manual indicates what can be touched and how). Don’t touch sensitive parts with bare hands when discouraged (some head or drum surfaces shouldn’t be touched with fingers, as grease and scratches damage them). For internal cleaning, use soft cloths and recommended products, never sharp objects or aggressive products. And for the DRUM of a laser printer in particular, a photosensitive and fragile component: handle it with great care, away from bright light, without touching its surface. If in doubt about internal handling, or if a problem resists all simple actions (cleaning, consumable replacement, good paper), it’s better to consult the manual, manufacturer support, or a professional, rather than forcing and risking worsening. In summary: head cleaning is precious but costs ink (don’t overuse it), and the printer’s interior is delicate (never force, follow the manual, handle consumables carefully). Moderate and careful maintenance preserves your printer and consumables; stubbornness and roughness cost dearly.
Frequent questions
Missing lines or a color isn’t printing: what to do?
On an inkjet printer, this is typically a clogged head or empty cartridge: run head cleaning (repeated if needed) and check ink levels; this duo resolves most cases. Let’s detail. The TYPICAL SYMPTOM: missing horizontal lines, a color that doesn’t print (or is incomplete), a streaked appearance; this is the classic sign of clogged nozzles or an empty cartridge on an inkjet printer; a very common and often easy-to-fix issue. CHECK LEVELS FIRST: check the level of the affected color; if the cartridge (of that color) is empty or nearly so, that’s the cause; replace it; an absent color = often its empty cartridge; level is the first check. RUN HEAD CLEANING: if levels are good, run HEAD CLEANING (printer function); it unclogs the nozzles of the missing color; this is the main action; repeat if necessary (two-three times). PRINT A TEST PAGE: print a test page to see which nozzles/colors work; it precisely shows the issue and improvement after cleaning; the test guides; use it before/after. REPEAT WITH PAUSE: if one cleaning isn’t enough, repeat; for a stubborn clog, let the printer rest a moment between cycles (ink softens the clog); persistence often unclogs; don’t give up too soon. CHECK THE CARTRIDGE: ensure the cartridge is properly installed (click), that the protective film was removed at installation, that it’s not defective; a poorly installed or faulty cartridge causes these defects; check installation. DON’T OVERUSE CLEANING: if after three-four cycles nothing improves, stop (cleaning consumes ink); the issue is elsewhere (empty cartridge, too damaged head); replace the cartridge or consider other options; overuse wastes. On a LASER PRINTER: if it’s a laser, missing or streaked areas suggest the toner (end-of-life, to redistribute by gently shaking, or to replace) or the drum; adapt to the type; laser differs from inkjet. PREVENTION: to avoid clogged heads in the future, use the printer regularly (ink circulates); an unused printer clogs; print occasionally; regularity prevents. THE ADVICE: for missing lines or absent color (inkjet), check ink levels, run head cleaning (repeated with pause if needed), print a test page, check cartridge installation; replace if empty; don’t overuse cycles. In summary, missing lines or absent color on an inkjet printer are typically caused by a CLOGGED HEAD or EMPTY CARTRIDGE. The solution is a simple duo: first check INK LEVELS (an absent color often comes from its empty cartridge — replace it), then run HEAD CLEANING (repeated two-three times if needed, with a pause between cycles for a stubborn clog), using a TEST PAGE to check which nozzles work. Also ensure the cartridge is properly installed and its protective film removed. Don’t overuse cleaning cycles (they consume ink): if three-four cycles change nothing, the issue is elsewhere (cartridge to replace, too damaged head). On a laser printer, these symptoms suggest the toner or drum. And to prevent recurrence, print regularly: it’s the best prevention against clogged nozzles.
Stains keep reappearing in the same spot on each page: why?
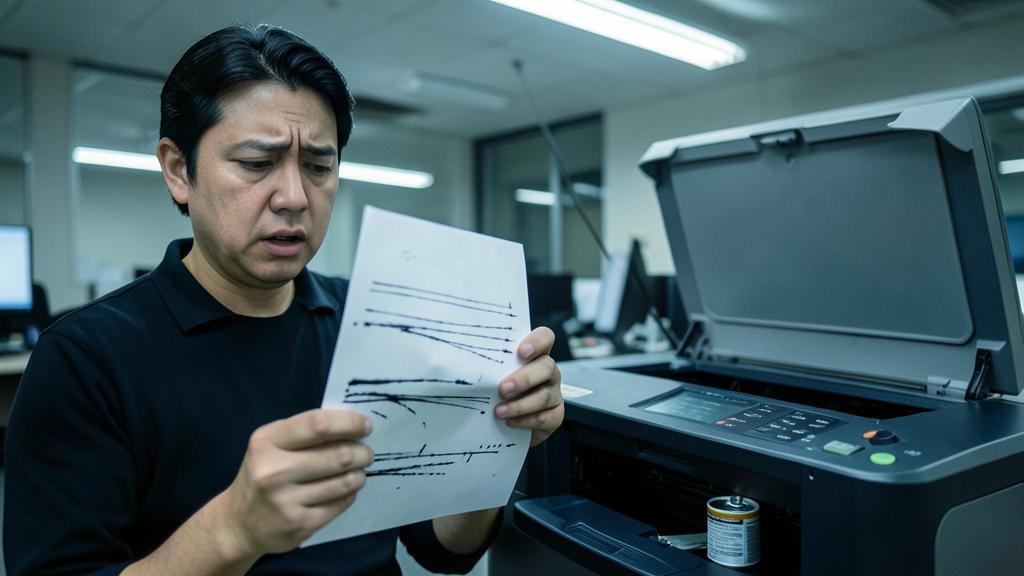
Regular, repeated marks indicate a component that “marks” with each rotation: a dirty roller or, on a laser, a dirty or worn drum; clean or replace the affected component. Let’s analyze. The clue of REGULARITY: when stains or marks reappear in the SAME SPOT on each page (or at regular intervals on a single page), it’s a valuable clue; this points to a ROTATING component that’s dirty or damaged and leaves its mark with each turn; regularity identifies the culprit. The principle of ROTATION: a roller or drum rotates while printing; if it has a defect (dirt, stuck ink, scratch, wear) at one point on its circumference, this defect “prints” its mark with each turn, at regular spacing (spacing corresponds to the component’s circumference); hence the repeated marks. On a LASER PRINTER — the DRUM: on a laser, the DRUM is often the culprit of regular marks; dirty, worn, or damaged, it marks with each rotation; clean it gently (per manual) or replace it (drums have a lifespan); the drum is suspect #1. DIRTY ROLLERS: on any printer, a roller (that feeds paper or transfers ink) dirty with ink or dust leaves regular marks; gently clean accessible rollers (per manual); rollers are a common cause. CLEAN GENTLY: clean the affected component carefully (soft cloth, suitable product, per manufacturer’s instructions); for the drum (fragile, photosensitive), extreme caution; cleaning often removes the mark; follow the manual. REPLACE IF WORN: if cleaning isn’t enough, the component (especially the drum) may be worn or scratched; a worn drum is replaced (it’s a consumable on many lasers); a damaged component can’t be cleaned; replacement resolves. MEASURE SPACING (clue): the spacing between repeated marks indicates which component is at fault (each roller/drum has a different circumference); a precise, regular spacing helps identify; a useful technical clue. SPILLED INK: sometimes, ink has spilled in the printer and a component reapplies it with each page; cleaning the area and component resolves; look for a leak or overflow; spilled ink repeats. CHECK MARK TYPE: is the mark an ink stain (dirty component), a missing area (clogged nozzle, but then not “regular in rotation”), a scratch? the type specifies the cause; regular ink marks mainly point to rollers/drum. THE ADVICE: regular, repeated stains indicate a roller or drum (laser) that’s dirty or worn and marks with each rotation; gently clean the component (per manual), replace it if worn (especially the drum), and look for possible spilled ink; regularity guides to the culprit. In summary, stains that reappear in the same spot on each page (or at regular intervals) are a valuable clue: they indicate a ROTATING component — a roller or, on a laser printer, the DRUM — that’s dirty, damaged, or worn, and leaves its mark with each turn (regular spacing corresponds to this component’s circumference). The solution: identify the affected component (the drum is suspect #1 on a laser; feeding rollers on any type), then GENTLY CLEAN it per the manual’s instructions (with great care for the drum, fragile and photosensitive). If cleaning isn’t enough, the component is probably worn or scratched and must be REPLACED (the drum is a consumable on many laser printers). Also look for possible spilled ink inside that a roller might reapply. Unlike clogged nozzles (which cause missing areas, not regular rotation marks), repeated marks clearly point to a dirty rotating component: it’s a fairly reliable diagnosis that leads you straight to the right action.
Is it better to repair a printer or buy a new one?
It depends on the issue, age, and price: cleaning or replacing a consumable is quickly cost-effective; but an expensive mechanical failure on an old, cheap printer often leans toward replacement. Let’s weigh. EASY CASES TO FIX: many defects (clogged heads, empty cartridge/toner, dirty rollers, unsuitable paper) are resolved by cleaning or replacing a consumable; these are simple, low-cost actions; in these cases, you “repair” easily yourself; no need to buy. COST OF CONSUMABLES: beware; on some cheap printers, cartridges/toners are expensive (sometimes almost the price of a new printer); if the issue is just a consumable to replace, compare its cost to a new printer’s price; a point to consider. MECHANICAL FAILURE: if it’s a real mechanical failure (broken mechanism, dead head, faulty electronics), repair may be expensive (labor, parts); on an old or cheap printer, this often outweighs the interest; evaluate repair cost. PRINTER AGE: an old printer is more likely to have further failures; expensively repairing an old printer is less cost-effective than replacement; age weighs in the decision; think about remaining lifespan. PRICE OF NEW: entry-level printers are relatively affordable; if repair approaches or exceeds the price of new, replacement is necessary; compare repair vs. price of an equivalent new one; the calculation is often clear. ECOLOGICAL ASPECT: throwing away a repairable printer is wasteful; if it’s repairable at reasonable cost, keeping it is more ecological; don’t replace too quickly; the environment matters too; repair when sensible. RECYCLING: if you replace, recycle the old printer (recycling center, collection points); don’t throw it with regular trash; electronic devices are recyclable; be responsible. QUALITY OF REPLACEMENT: if you buy, choose a printer suited to your needs (usage, cost of consumables over time); the real cost includes future consumables; buy wisely; think about total cost. THE ADVICE: for a simple defect (cleaning, consumable), repair/maintain yourself (low-cost); for an expensive mechanical failure on an old, cheap printer, replacement is often more sensible; compare repair cost to new price, considering age and ecology. In summary, repairing or replacing a printer depends on the issue, age, and price. For common defects — clogged heads, empty cartridge or toner, dirty rollers, bad paper — “repair” is actually simple cleaning or consumable replacement: easy, low-cost, and this never justifies buying new. However, for a real MECHANICAL or electronic failure (broken mechanism, dead head), the calculation changes: compare repair cost (labor + parts) to the price of an equivalent new printer. On an OLD and CHEAP printer, expensive repair is rarely cost-effective (other failures may follow, and new is affordable); replacement is then necessary. Also watch the cost of CONSUMABLES: on some printers, they’re so expensive they weigh in the decision. Ecologically: don’t replace too quickly a repairable printer at reasonable cost (keeping is more ecological), and if you replace, RECYCLE the old one (collection points) and choose a replacement suited to your needs, considering consumable cost over time. The good reflex: repair/maintain simple defects yourself (most cases), and only buy new when facing an expensive failure on an old device where the calculation clearly leans toward new.
What to remember
Print stains and streaks are a common and usually easy-to-fix issue, whose cause depends on the PRINTER TYPE. On an INKJET PRINTER, the #1 culprit of streaks, missing lines, or incomplete colors is CLOGGED PRINT HEADS (liquid ink dries in nozzles, especially if the printer is used little): the key action is to run the HEAD CLEANING function (in settings or printer software), repeating two-three times if needed, checking with a TEST PAGE, and with a pause between cycles for a stubborn clog. Also check INK LEVELS (an absent color often comes from its empty cartridge). On a LASER PRINTER, check the DRUM (worn or dirty) or TONER for stains and gray backgrounds. A valuable clue: marks that reappear at REGULAR INTERVALS on each page point to a rotating component — roller or drum — that’s dirty or damaged and marks with each turn; gently clean it (per manual) or replace it. Other checks: QUALITY PAPER, dry and suited (humid paper bleeds), print QUALITY SETTING (switch from “draft” to “normal”), HEAD ALIGNMENT (for misaligned prints), and replacing an end-of-life consumable. Two important precautions. First, don’t OVERUSE head cleaning cycles: each consumes ink, so if three-four cycles improve nothing, stop — the issue is elsewhere (cartridge to replace, too damaged head) and you’d only waste ink. Second, never FORCE internal mechanisms (delicate): remove a paper jam gently and in the right direction (printer off), always follow the manual to access internal areas, and handle fragile components (the laser drum, photosensitive, isn’t touched with bare hands) with great care. To durably prevent defects: the best remedy against clogged heads is to PRINT REGULARLY (ink circulates and dries less — a never-used printer is the one that clogs the most); use good paper stored dry and quality consumables; clean periodically; replace consumables on time; store the printer clean; and shut it down properly (some protect their heads on proper shutdown). Finally, on repairing or replacing: common defects (cleaning, consumable) are fixed yourself at low cost and never justify buying new; only an expensive mechanical failure on an old, cheap printer leans toward replacement (compare repair cost to new price, and recycle the old one). In short, most stains and streaks are fixed by proper cleaning (heads, rollers, drum) or replacing a consumable: identify your printer type and defect nature, apply the right action without forcing or wasting, and maintain regularly — you’ll restore and keep clean prints without calling a technician.

Persistent breakdown, finicky device? Our remote troubleshooting service quickly resolves your issue, without jargon.
Leave a Reply
You must be logged in to post a comment.