
Do you have an activity where the RESULT of your work is visible and impactful — renovation, gardening, hairdressing, aesthetics, cleaning, repair, decoration, coaching, craftsmanship? Showing your achievements in BEFORE / AFTER on your website is one of the most convincing ways to prove your expertise. An « before » image followed by an « after » image concretely shows the transformation you bring: it’s visual, immediate, and far more persuasive than a long speech. The visitor sees with their own eyes what you can do, visualizes the outcome, and gains confidence. However, pay attention to the quality of the photos, honesty (no manipulation), and the consent of the people involved. Let’s see why before/after is so effective, how to present it, and the rules to follow.
Why before/after is so convincing
Before/after has a unique power of persuasion; let’s see why. VISUAL PROOF: you see the concrete result of your work; seeing is better than reading; proof by image; powerful. SHOWN TRANSFORMATION: the before/after gap makes visible what you bring; the change is obvious; demonstrative; effective. IMMEDIATE and impactful: in one glance, the visitor understands your value; no need for explanation; instant; useful. Stronger than a SPEECH: showing convinces more than promising; demonstration beats words; credible; important. VISUALIZING: the visitor imagines the same result for themselves; they project; it creates desire; clever. CONFIDENCE: seeing your real results inspires trust; you believe what you see; reassuring; useful. Proving EXPERTISE: before/after concretely demonstrates your skills; proof by example; convincing; important. An EMOTIONAL IMPACT: a beautiful transformation impresses, leaves a mark; emotion engages; powerful; useful. VALUING your work: highlighting your successes; showing your worth; empowering; useful. A SALES ARGUMENT: convincing before/afters turn visitors into customers; a commercial lever; effective; important. In short, before/after is so convincing because it provides VISUAL PROOF: you SEE the concrete result of your work, and seeing is far better than reading. By showing the TRANSFORMATION (the gap between before and after makes visible what you bring: the change is obvious), it is IMMEDIATE and impactful (in one glance, the visitor understands your value, without explanation). It’s far stronger than a SPEECH: showing convinces more than promising — demonstration beats words. Above all, before/after helps the visitor to VISUALIZE (they imagine the same result for themselves, which creates desire) and inspires CONFIDENCE (you believe what you see: your real results concretely prove your EXPERTISE). A beautiful transformation also has an EMOTIONAL IMPACT (it impresses and leaves a mark), VALUES your work, and is a powerful SALES ARGUMENT (convincing before/afters turn visitors into customers). In short, if your activity produces visible results, before/after is one of your best assets to prove what you can do — far more effectively than a long text. Let’s see how to present it well.
Before/after photos work because they let people see real results instantly. When someone looks at a clear transformation, they trust you more and imagine what you could do for them. It’s like showing instead of telling – much more convincing!
A hairdresser shows a client’s hair before (dull, damaged) and after (shiny, healthy) a treatment. The “before” photo shows split ends and lackluster color, while the “after” reveals smooth, vibrant hair. This visual proof makes the treatment’s effectiveness obvious to potential clients.
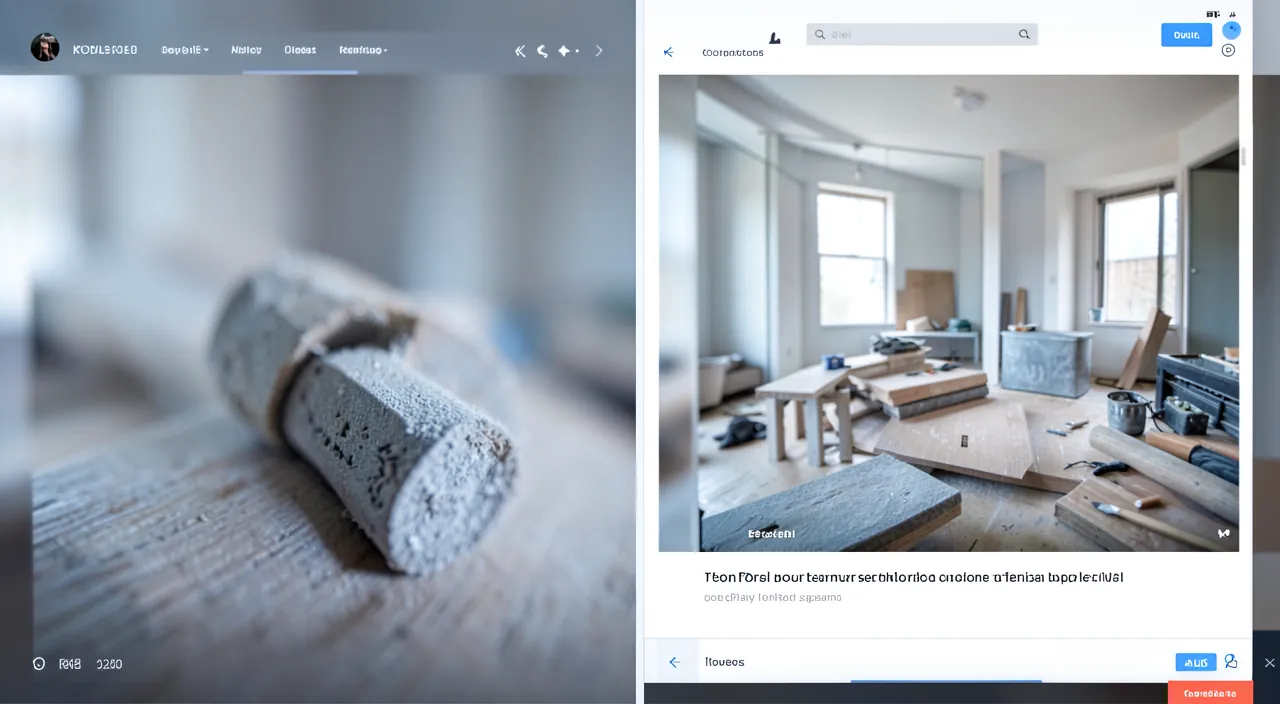
How to present your achievements in before/after
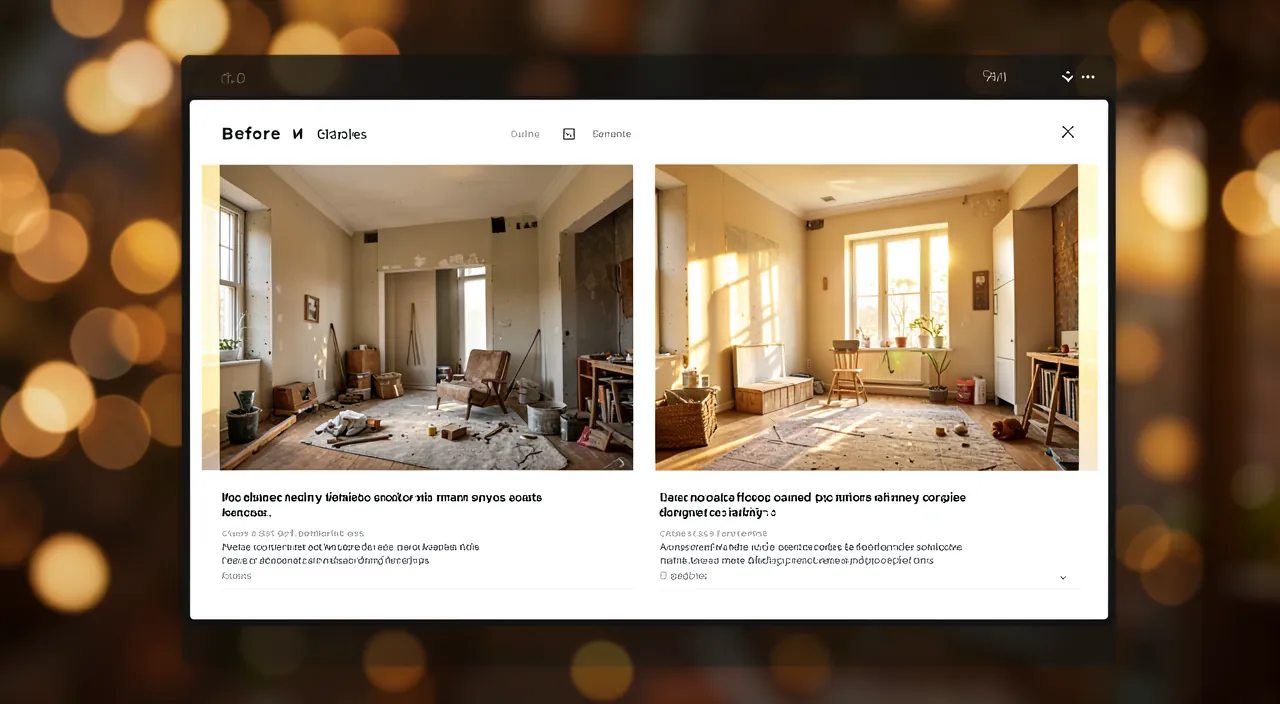
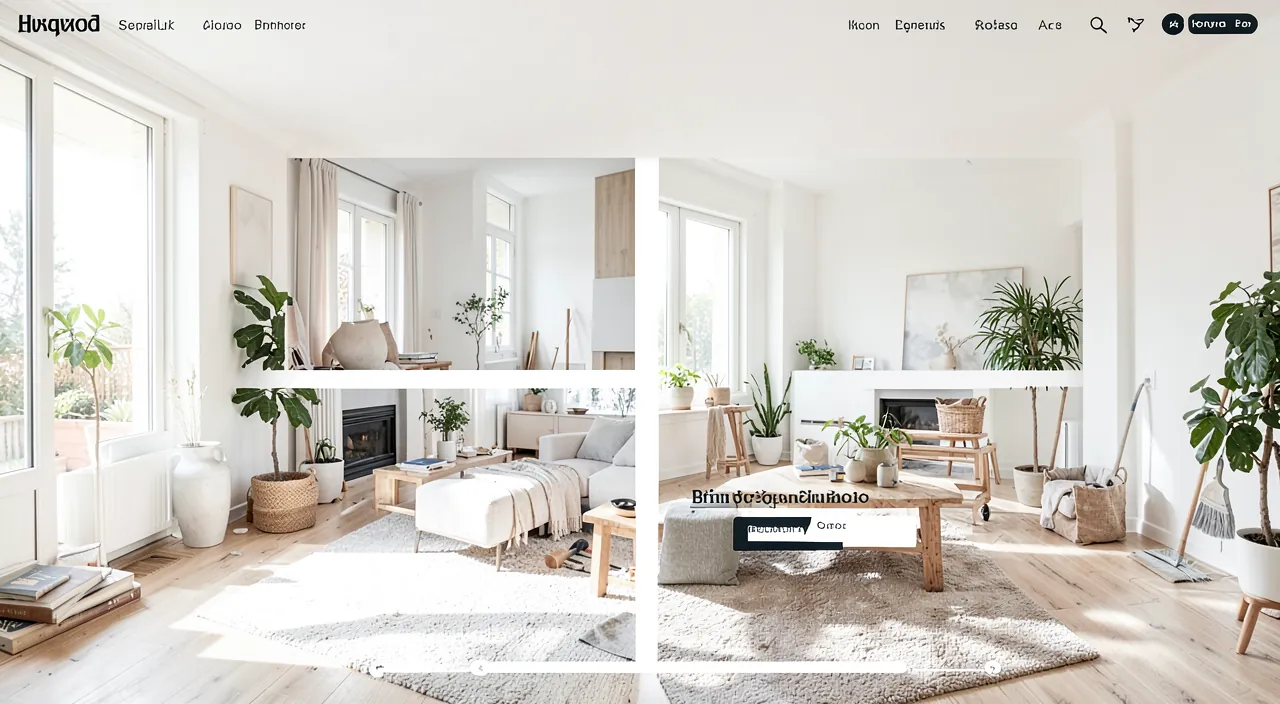
Here’s how to present your before/afters well; follow these principles. QUALITY photos: clear, well-lit; quality lends credibility to the result; never blurry; essential. SAME FRAMING: photograph before and after from the same angle; the comparison is fair; consistent; important. SIDE BY SIDE or with a slider: before/after juxtaposed, or a cursor that toggles; the comparison is clear; visual; useful. CLEARLY IDENTIFIED: label « before » and « after » clearly; no confusion; clear; useful. A GALLERY of achievements: several varied before/afters; show the scope of your work; rich; useful. Describe the PROJECT: a word about what was done, the context; give meaning; informative; useful. VARY the examples: different types of work, situations; show your versatility; credible; useful. The INTERACTIVE slider: a slider that reveals the after; playful and impactful; engaging; option. HIGHLIGHTING: neat presentation, consistent with your site; valorize; polished; useful. GUIDE to action: after the before/after, a call to contact you; turn the impression into action; effective; important. In summary, to present your achievements in before/after well: use QUALITY photos (clear, well-lit: quality lends credibility to the result — never blurry), with the SAME FRAMING for before and after (same angle, same distance: for a fair and honest comparison). Present them SIDE BY SIDE (juxtaposed) or with a TOGGLE CURSOR (a slider that reveals the after: playful and impactful), clearly IDENTIFYING « before » and « after » (no possible confusion). Create a GALLERY of several varied before/afters (different types of work and situations: to show the scope of your expertise and versatility), and DESCRIBE each project briefly (what was done, the context: to give meaning). Take care with the PRESENTATION (consistent with your site), and above all GUIDE to action (after impressing with your before/afters, a call to contact you: to turn admiration into contact). High-quality, honest, varied, and well-presented before/afters make a demonstration of expertise that is terrifyingly effective.
The key to an effective before/after: high-quality photos, taken from the same angle, and perfectly honest. Before/after is a powerful tool of persuasion — provided you respect three requirements that make all the difference between a convincing demonstration and a display that sows doubt. Requirement 1: the QUALITY of the photos. Your before/afters must be SHARP, well LIT, and of good quality. This is essential, as the quality of the photo influences the perception of the result: blurry, dark, or poorly framed photos devalue your work (even if excellent) and discredit the whole. Pay particular attention to the « AFTER » photo (the one that shows your success): it must highlight the result in the best possible light, with good lighting and framing. An impressive transformation deserves to be shown with beautiful images. Requirement 2: the SAME FRAMING for before and after. This is a crucial and often overlooked point. For the comparison to be FAIR and CONVINCING, the before and after must be photographed from the SAME ANGLE, at the same distance, under similar conditions (same viewpoint, identical framing). Why? Because a before/after taken from different angles makes the comparison confusing and unconvincing (you no longer know if it’s the same place, you suspect an « arrangement »). So, get into the habit, from the start of a project, of photographing the « BEFORE » state from an angle that you can REPRODUCE exactly for the « AFTER » photo. This rigor makes the transformation obvious and undeniable. Tip: note or mark the angle and framing of your « before » photos to reproduce them faithfully at the end. Requirement 3, the most important: ABSOLUTE HONESTY. Your before/afters must be TRUE and UNMANIPULATED. Never CHEAT: no deceptive retouching that would artificially enhance the « after » (or darken the « before » to exaggerate the contrast), no manipulated lighting to distort the comparison, no examples that are not yours. Why? First, because it’s dishonest (and may fall under deceptive advertising, which is punishable). Then, because it’s COUNTERPRODUCTIVE: a before/after that seems too good or manipulated arouses SUSPICION (visitors are savvy); and above all, if a client then notices a gap between your flattering before/afters and the actual result, the DISAPPOINTMENT and loss of trust are severe. An HONEST before/after, showing a real transformation (even if not spectacular), is infinitely more credible and effective than a manipulated demonstration. Sincerity is your best asset. In summary, the key to an effective before/after lies in three requirements: QUALITY photos (sharp, well-lit — especially the « after »: quality lends credibility), the SAME FRAMING for before and after (same angle, same distance: for a fair and undeniable comparison — faithfully reproduce the viewpoint), and ABSOLUTE HONESTY (true and unmanipulated before/afters: no deceptive retouching or manipulation — because a manipulated before/after arouses suspicion and causes disappointment, while an honest real transformation convinces). These three requirements transform your before/afters into proofs of expertise that are terrifyingly persuasive: beautiful, honest photos, taken from the same angle, show the reality of your talent — and it’s this reality, well shown, that convinces your future clients.
How to best use your before/afters
Beyond presentation, here’s how to get the most out of your before/afters; follow these tips. On the HOMEPAGE: show a beautiful before/after right from the start; immediate proof; effective; useful. A DEDICATED GALLERY: a « realizations »/ « before/after » page gathers your proofs; centralize; practical; useful. Near the OFFERS: a before/after near the related service; prove at the right time; strategic; useful. On SOCIAL MEDIA: before/afters work very well on social media; attract, share; viral; clever. ENRICH regularly: add your new achievements; a living gallery; maintain; advice. Accompany with a TESTIMONIAL: before/after + customer review; double proof; powerful; useful. GUIDE to contact: after impressing, a call to action; transform; effective; important. The INTERACTIVE slider: a slider engages the visitor (they slide, discover); playful; captivating; option. VARY the projects: show different cases to reassure about your versatility; credible; useful. VALUING over time: your before/afters are a growing capital of proofs; exploit it; durable; clever. In summary, beyond presentation, make the most of your before/afters: show a beautiful before/after right on the HOMEPAGE (immediate proof that grabs attention), create a dedicated GALLERY « Realizations » or « Before/After » (which gathers and centralizes your proofs), and place before/afters NEAR THE OFFERS or related services (to prove at the right moment, when the visitor is interested). Also use them on SOCIAL MEDIA (where before/afters work very well to attract and be shared), and ENRICH your gallery regularly with your new achievements (a living gallery). Strengthen the impact by ACCOMPANYING a before/after with a TESTIMONIAL from the customer concerned (before/after + review = double proof, very powerful), by VARYING the projects shown (to reassure about your versatility), and by using an INTERACTIVE SLIDER when relevant (a slider that engages the visitor). After impressing with your achievements, always GUIDE to contact (a call to action to turn admiration into contact). Your before/afters are a CAPITAL of proofs that grows with each project: exploit it over time — it’s one of your most effective commercial arguments.
Warning: never manipulate your before/afters, get the consent of the people or places shown, and respect privacy. Before/afters are convincing, but their use calls for ethical and legal rules that must be absolutely respected. First point, fundamental: never MANIPULATE your before/afters. This is a matter of honesty, but also often of LEGALITY: presenting falsified results (deceptive retouching artificially enhancing the « after » or darkening the « before », manipulated lighting to exaggerate the contrast, examples that are not yours, non-representative results presented as usual) may fall under DECEPTIVE ADVERTISING, which is punishable. Beyond the legal risk, it’s counterproductive: a before/after that seems too good arouses SUSPICION, and a client disappointed by the gap between your flattering images and the actual result will lose all trust (and may make it known). So, show only TRUE results, unmanipulated, representative of what you actually do. Sincerity is more persuasive than exaggeration. Second point: obtain the CONSENT of the people or places shown. Your before/afters often show the property or appearance of someone: a client’s home (renovation, decoration, gardening), a person’s body or face (hairdressing, aesthetics, coaching), a private property. You must have the AUTHORIZATION of the person concerned to publish these images on your public site. Publishing the photo of a client’s home or appearance without their consent violates their privacy or right to image. Good practice: systematically ask for consent (ideally in writing) from your clients before using their before/afters, explaining the intended use. Many willingly agree (especially if they are happy with the result), but consent is essential. Third point, particularly sensitive: respect PRIVACY, especially for images of PEOPLE and private interiors. Be all the more vigilant as the images touch on the intimate: a person’s body (aesthetics, care), the interior of a home (which reveals private things). Show only what is necessary, respect the dignity and privacy of people, blur or frame to avoid exposing irrelevant private elements, and be particularly careful with anything concerning health, the body, or children (parents’ consent is essential). Fourth point: be careful with data and compliance. Publishing images of people and collecting their consent involves processing personal data: manage this consent and these images in a compliant manner (information, storage, security). Fifth point: remain REPRESENTATIVE. Showing your best achievements is legitimate, but don’t let it be believed that exceptional results are the norm if that’s not the case: a gap too great between your before/afters (carefully chosen) and the average result would disappoint your clients. Be honest about what is usually achievable. In summary: never MANIPULATE your before/afters (falsified results = deceptive advertising, suspicion and disappointment: show the truth, unretouched, representative), obtain the CONSENT of the people or places shown (home, client’s appearance: essential authorization, ideally in writing — publishing without consent violates privacy and the right to image), respect PRIVACY (especially for images of people and private interiors: show only what is necessary, be careful with the body, health, children), manage data in a compliant manner, and remain REPRESENTATIVE (don’t oversell exceptional results as usual). By respecting these rules, your before/afters are an honest and powerful demonstration of your expertise; by neglecting them, you risk legal trouble and loss of trust. Honesty and respect for people are here the conditions of effectiveness.
Frequent questions
Is before/after suitable for all activities?
No, especially for those with visible and transformative results (renovation, hairdressing, gardening, cleaning, aesthetics…); for less « visual » activities, other forms of proof (testimonials, achievements, quantified results) are more suitable. Let’s see. NOT ALL: before/after shines for activities with visible results; not ideal for all; adapt; nuanced. Ideal for the VISIBLE: renovation, hairdressing, gardening, cleaning, aesthetics, repair, decoration; where the transformation is visible; perfect; use it. The VISUAL TRANSFORMATION: before/after works when there is a real change to show; the contrast makes the impact; demonstrative; useful. Less VISUAL activities: consulting, abstract services, intellectual services; before/after is less suitable; the result is not photographable; nuance. OTHER PROOFS then: testimonials, case studies, quantified results, achievements; prove differently; adapt the format; useful. Depending on the RESULT: if your result is visible and transformative → before/after; otherwise, other proof; adapt to your case; logical. A QUANTIFIED result: some activities show quantified results (before/after in numbers); a possible variant; adaptable; useful. Don’t FORCE it: only use before/after if it makes sense for you; otherwise, other proofs; don’t force it; sensible. The COMMON PRINCIPLE: whatever the activity, PROVING your expertise is key; before/after is one of the forms; find yours; important. The ADVICE: no, before/after is especially suitable for activities with visible and transformative results (renovation, hairdressing, gardening, cleaning, aesthetics); for less visual activities, prefer other proofs (testimonials, case studies, quantified results); the important thing is to prove your expertise, in an adapted form. In summary, no, before/after is not suitable for all activities — you need to know this to choose the right format of proof. Before/after SHINES for activities where the RESULT is VISIBLE and TRANSFORMATIVE: renovation, construction, gardening and landscaping, hairdressing, aesthetics and care, cleaning, repair, decoration, makeover, craftsmanship… — in short, everything where there is a real CHANGE to show, a striking contrast between a « before » and an « after » that jumps out. In these cases, it’s an unbeatable tool of persuasion, because the transformation is photographed and speaks for itself. On the other hand, for LESS VISUAL activities — consulting, abstract services, intellectual services, jobs where the result is not « photographable » — before/after is less suitable: there is no image of transformation to show. But this doesn’t mean you should give up PROVING your expertise, on the contrary! You just need to choose another form of proof adapted to your activity: TESTIMONIALS from satisfied customers (very effective everywhere), CASE STUDIES (telling a problem solved, a successful mission), QUANTIFIED RESULTS when they exist (a form of « before/after » in numbers: « such a situation at the start, such a result obtained »), a portfolio of ACHIEVEMENTS, or concrete examples of your work. The COMMON PRINCIPLE, valid for any activity: proving your expertise concretely is essential to convince — before/after is just ONE of the possible forms of this proof, particularly powerful for the visual. The rule: don’t FORCE before/after if it doesn’t make sense for your activity; use it if your result is visible and transformative, and otherwise, choose the form of proof most adapted to what you do. In summary: before/after is ideal for activities with visible results; for others, other proofs (testimonials, case studies, quantified results) will prove your expertise just as well. The essential is to show, one way or another, what you can do.
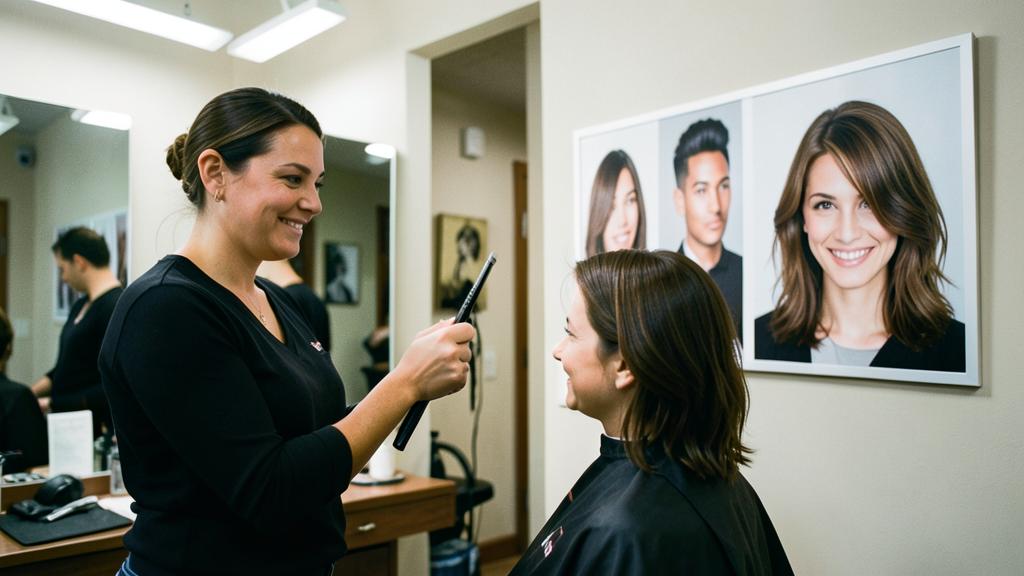
How to take good before/after photos?
Always photograph the « before » and the « after » from the same angle and under similar conditions, with good lighting and a clear image; remember to take the « before » photo before starting, otherwise you won’t be able to do it! Let’s see. Don’t FORGET the « before »: take the « before » photo BEFORE starting the work; otherwise it’s too late; the #1 reflex; crucial. The SAME ANGLE: photograph before and after from the same angle, distance, framing; the fair comparison; reproducible; important. MARK the framing: note/memorize the angle of the « before » to reproduce in the « after »; faithfulness; clever; useful. Good LIGHTING: sufficient and similar lighting before/after; neither dark nor manipulated; lighting enhances; essential. A CLEAR image: clear photos, not blurry; quality lends credibility; take care; important. Take care with the « AFTER »: highlight the result (good lighting, framing); it’s your success; valorize; advice. SIMILAR conditions: same time of day, same weather if outdoors; for an honest comparison; consistent; useful. Don’t MANIPULATE: no manipulation, deceptive retouching; the truth; honest; essential. MULTIPLE angles if useful: a few shots per project; choose the best ones; choice; useful. With a SMARTPHONE: a good smartphone is enough for beautiful photos; no need for a pro necessarily; accessible; reassuring. The ADVICE: take the « before » photo before starting (otherwise impossible), photograph before and after from the same angle and under similar conditions, with good lighting and a clear image, take care with the « after », and don’t manipulate anything; a smartphone is enough. In summary, taking good before/after photos is based on a few simple but essential rules. Rule #1, never to forget: take the « BEFORE » photo BEFORE starting your work! It seems obvious, but it’s the classic mistake: you start the project, and at the end you realize you don’t have a photo of the initial state — impossible to make up for. So, get into the habit of systematically photographing the « before » from the start. Rule #2, crucial for credibility: photograph the « before » and the « after » from the SAME ANGLE, at the same distance, with the same framing. A comparison is only convincing if the two images are taken from the same viewpoint: tip, MARK or note the angle and framing of your « before » photo (the point from which you took it) to REPRODUCE it faithfully at the end. Also ensure SIMILAR CONDITIONS (same type of lighting, same time of day, same weather if outdoors): this guarantees an honest and readable comparison. Rule #3: take care of the QUALITY. Ensure good LIGHTING (sufficient lighting, neither dark nor overexposed) and CLEAR images (not blurry): the quality of the photo influences the perception of the result. Pay particular attention to the « AFTER » photo (the one that shows your success): highlight the result with good lighting and framing. Good news: a good SMARTPHONE is largely sufficient to take beautiful before/after photos — no need for a professional photographer, as long as you respect these rules (same angle, good lighting, clarity). You can take MULTIPLE SHOTS per project (different angles, several photos) to then choose the best ones. And of course, NEVER MANIPULATE: no deceptive retouching or lighting manipulation to distort the comparison — show the true result. In summary: photograph the « before » before starting (otherwise it’s lost), from the same angle and under similar conditions as the « after », with good lighting and a clear image (a smartphone is enough), take care with the « after », and stay honest. These simple rules transform your photos into convincing proofs of expertise.
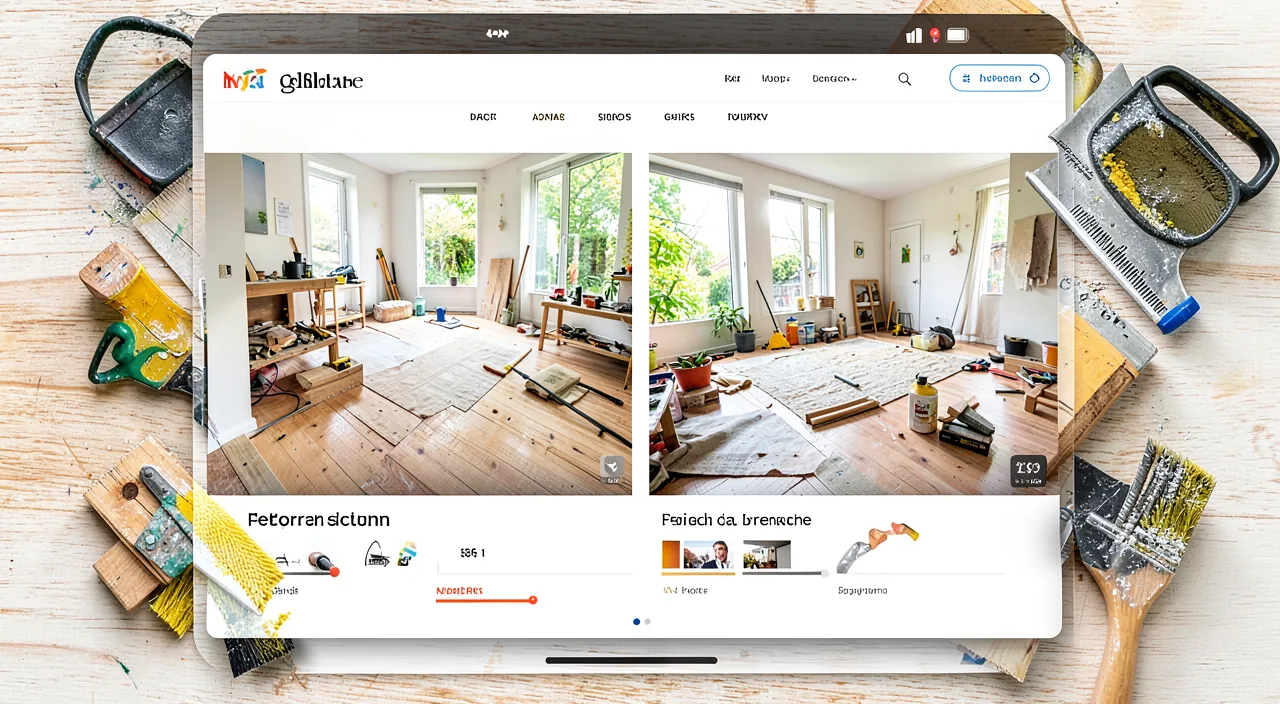
Do you need your clients’ consent to publish their before/afters?
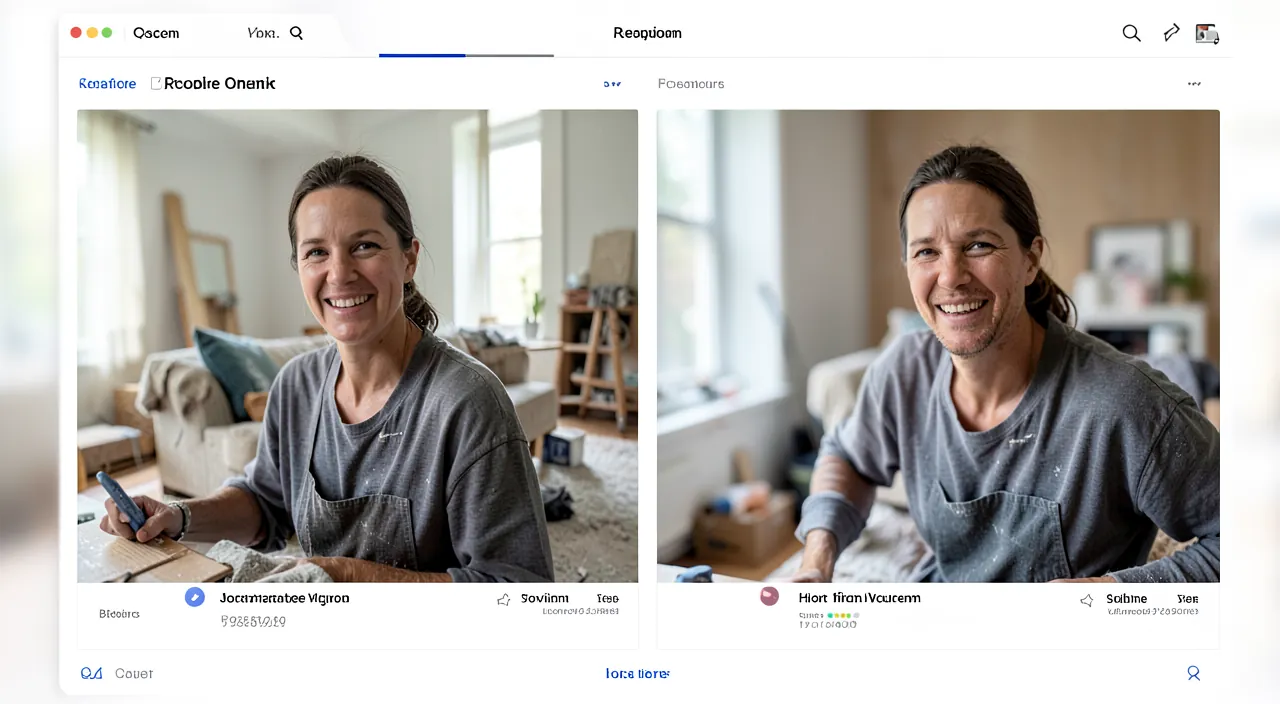
Yes: your before/afters often show your clients’ property or appearance (home, body, property), and publishing these images without their consent violates their privacy or right to image; always ask for their authorization, ideally in writing. Let’s see. YES, consent is necessary: your before/afters show clients’ property/appearance; you need their authorization to publish; essential; important. The RIGHT to image/privacy: publishing someone’s home or appearance without consent violates their privacy/right to image; a real legal issue; respect. Ask for AUTHORIZATION: systematically ask for consent before publishing; explain the intended use; transparent; essential. Ideally in WRITING: a written consent secures; a trace if needed; prudent; advice. Often ACCEPTED: many satisfied clients willingly agree; it’s not an obstacle; ask without fear; reassuring. Explain the USE: say where and how the images will be used; the client knows what they consent to; honest; useful. PRIVACY in addition: blur/frame to avoid exposing irrelevant private elements; respect; advice. Be careful with SENSITIVE content: body, health, children (parents’ consent); reinforced vigilance; important. MANAGE consent: keep the consent, manage data in compliance; compliant; serious; useful. If REFUSAL or anonymity: if a client refuses, don’t use their images (or anonymize if agreed); respect their choice; ethical; important. The ADVICE: yes, always ask for your clients’ consent (ideally in writing) before publishing their before/afters, as these images show their property or appearance; publishing without consent violates their privacy and right to image; explain the use, and be careful with sensitive content. In summary, yes, you need your clients’ CONSENT to publish their before/afters — this is an important rule not to neglect. The reason is legal and ethical: your before/afters very often show the PROPERTY or APPEARANCE of your clients — the home they entrusted to you (renovation, decoration, gardening), their body or face (hairdressing, aesthetics, care), their private property. However, publishing on your public site the image of someone’s home or appearance WITHOUT their consent violates their PRIVACY and RIGHT TO IMAGE: everyone has the right to control the dissemination of their image and what relates to their intimacy. The good practice is therefore simple: SYSTEMATICALLY ASK for authorization from your clients before using their before/afters, clearly EXPLAINING the intended use (where and how the images will be shared: on your site, your social media…). Ideally, collect this consent in WRITING: this secures things and leaves you with a trace if needed. Reassure yourself: this is generally NOT AN OBSTACLE — many clients SATISFIED with your work willingly agree (even with pleasure) to see their beautiful transformation highlighted. You just have to ask. Beyond consent, respect PRIVACY in the images themselves: blur or frame to avoid exposing irrelevant private elements (personal objects, intimate details of the home), show only what concerns your work, and be PARTICULARLY CAREFUL with anything related to the body, health, or children (for whom parents’ consent is essential). Finally, manage this consent and these images in a compliant manner (storage, security of personal data). And if a client REFUSES (it’s their right) or wishes anonymity, respect their choice: don’t use their images, or anonymize them if agreed. In summary: always ask for consent (ideally in writing) from your clients before publishing their before/afters, explain the use to them, respect their privacy in the images, be careful with sensitive content, and respect a possible refusal. This respect for people is not only an obligation: it’s also a mark of seriousness that inspires confidence.
What to remember
If your activity produces VISIBLE and transformative results — renovation, gardening, hairdressing, aesthetics, cleaning, repair, decoration, craftsmanship… — showing your achievements in BEFORE / AFTER is one of the most convincing ways to prove your expertise. The strength of before/after: it’s an IMMEDIATE VISUAL PROOF — you SEE concretely the transformation you bring, which is far more persuasive than a long speech. The visitor understands your value in one glance, VISUALIZES (they imagine the same result for themselves), and gains CONFIDENCE (you believe what you see). It’s a powerful sales argument. The key to an effective before/after lies in three requirements. First, the QUALITY of the photos: sharp, well-lit (especially the « after »: quality lends credibility to the result; a good smartphone is enough). Second, the SAME FRAMING for before and after (same angle, same distance, similar conditions: for a fair and undeniable comparison — think to photograph the « before » BEFORE starting, and to mark the angle to reproduce at the end). Third, and above all, ABSOLUTE HONESTY: never MANIPULATE your before/afters (no deceptive retouching or manipulation: it’s dishonest, often deceptive advertising that is punishable, and counterproductive — a manipulated before/after arouses suspicion and causes disappointment; an honest real transformation convinces far better). To present them well: clearly identify « before » and « after » (side by side or with a toggle cursor), create a gallery of VARIED projects, briefly describe each achievement, and guide to contact after impressing. Use your before/afters everywhere: on the homepage (immediate proof), in a dedicated gallery, near the related offers, on social media, and accompanied by a customer testimonial (double proof). Enrich the gallery as you go: it’s a growing capital of proofs. But strictly respect the rules: obtain your clients’ CONSENT (ideally in writing) before publishing their before/afters (these images show their property or appearance — publishing without consent violates their privacy and right to image; fortunately, satisfied clients often willingly agree), respect PRIVACY (especially for images of people, the body, private interiors, and with reinforced caution for health and children), and remain REPRESENTATIVE (don’t oversell exceptional results as usual). Finally, know that before/after is not suitable for all activities: ideal for the visual, it gives way to other forms of proof (testimonials, case studies, quantified results) for less « photographable » activities. In short, an honest and well-done before/after is a terrifyingly effective demonstration of your talent: beautiful true photos, taken from the same angle, that show the reality of your expertise — and it’s this reality, well shown and respectful of people, that turns your visitors into convinced clients.
Your activity deserves a real online presence: showcase site, store, referencing — we create the site that suits you.
Leave a Reply
You must be logged in to post a comment.