
Your phone is overflowing with photos, the memory is full, and you would like to put them in a safe place on the computer to keep, sort, or share them. But how can you transfer these hundreds of shots from the phone to the computer without losing anything? By cable, by cloud, wirelessly: several methods exist, each simple once you know how. The essential thing is to properly COPY (without deleting too quickly) and to VERIFY that everything has arrived before cleaning up the phone. Here’s how to transfer your photos in peace, with the method that suits you.
The different transfer methods
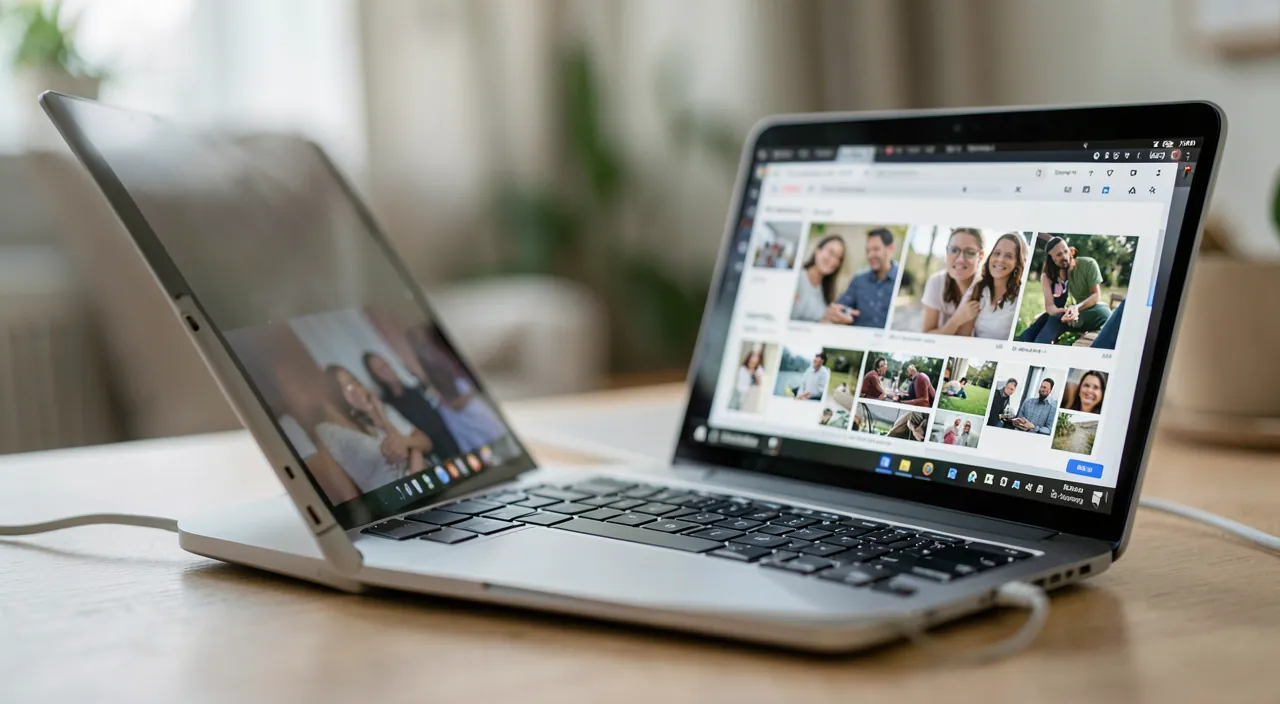
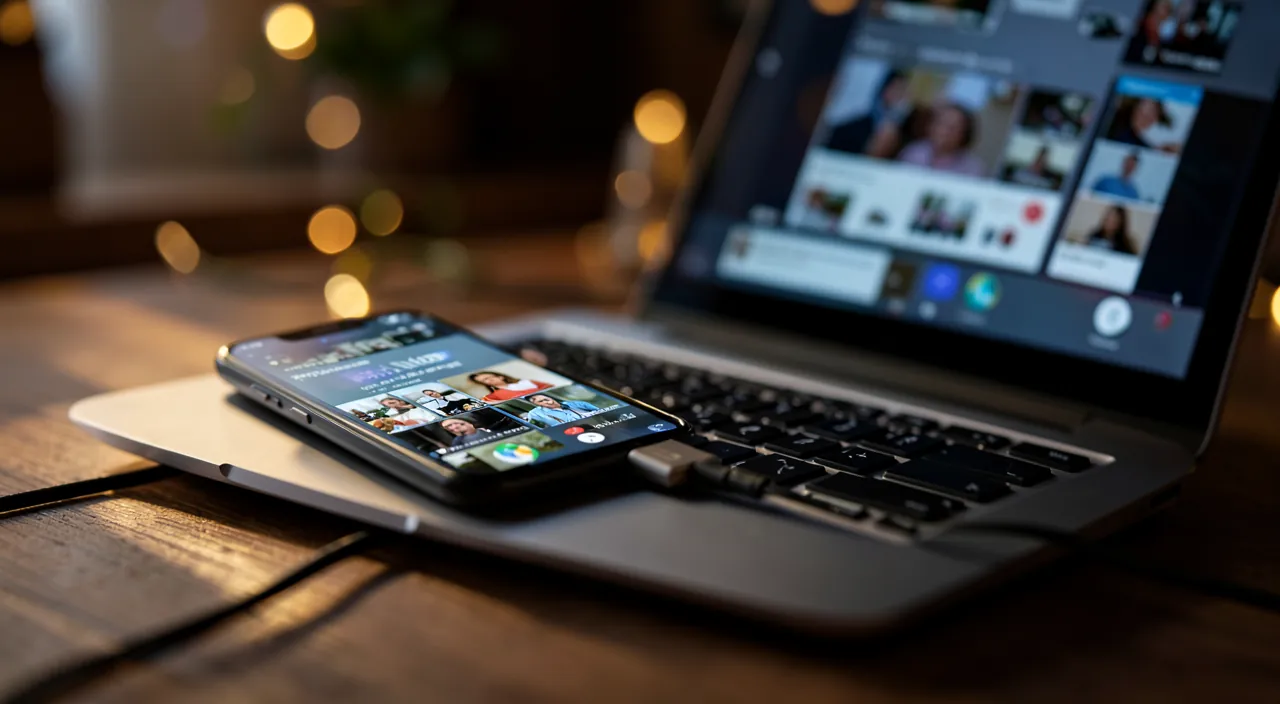
There are several ways to move your photos from the phone to the computer; all work, it’s up to you to choose according to your habits. By CABLE (the classic and reliable method): connect the phone to the computer with the charging cable (which is also used for data transfer); the computer then sees the phone as a device from which you can copy the photos; it’s direct, fast for large volumes, and doesn’t depend on the internet. By the CLOUD (practical and automatic): if your photos are synchronized in an online service (many phones do this automatically), they are accessible from the computer via the same account; you find them without a cable; practical, but it depends on your cloud storage space and a good internet connection (our guides on synchronizing files in the cloud). Wirelessly, device to device: some systems allow you to send photos directly between the phone and the computer without a cable or cloud (by an integrated wireless sharing function); ideal for a few photos quickly. By EMAIL or messaging: for a handful of photos only, you can send them to yourself by email; simple, but not suitable for large volumes (size limits). By a MEMORY CARD: on some phones with a memory card, you can remove it and read it on the computer (via a reader). Which method to choose? For MANY photos or a reliable transfer: the cable is often the simplest and fastest. For an AUTOMATIC and wireless access: the cloud, if you have the space. For FEW photos quickly: wireless sharing or email. What is it for? To FREE up space on the phone (our guides on freeing up space on your phone); to SECURE your memories (a copy on the computer, then backed up); to SORT and ORGANIZE more comfortably on a larger screen; and to SHARE or PRINT more easily. The main idea: transferring your photos from the phone to the computer is simple, with the method that suits your needs (cable for volume and reliability, cloud for automation, wireless for a quick addition). The crucial point, regardless of the method: always COPY and VERIFY before deleting anything on the phone.
The key is to never delete photos from your phone until you’ve made sure they’re safely copied to your computer and backed up elsewhere. Think of it like moving house – you wouldn’t throw away your boxes until you’ve checked everything arrived at the new place!
Imagine you have 1,200 photos on your Samsung Galaxy S23, totaling 8GB. Using a USB-C cable, you connect to your Windows 11 laptop. After authorizing access, you copy the entire DCIM folder (containing all photos) to your computer’s “Pictures” folder. The transfer takes 15 minutes. You then verify 20 random photos are intact, back them up to an external 2TB hard drive, and only then delete them from your phone.
How to transfer your photos, step by step
Here’s the procedure, taking the example of the cable (the most universal) then the variations. By CABLE — plug the phone into the computer with the cable; on the phone, a request may appear (« Allow access to photos ? » or « File transfer »): accept; the computer then recognizes the phone as a camera or a reader; open it in the file explorer, find the photos folder, select the ones to transfer (or all of them), and COPY– them to a folder on your computer (by drag-and-drop or copy-paste). By the CLOUD — if your photos are already synchronized in an online service, open this service on the computer (via its application or its website, with your account); you find your photos there; you can then download them to the computer if you want to keep a local copy. Wirelessly — use the wireless sharing function of your device: select the photos on the phone, choose « share » then the computer as the destination; accept the reception on the computer. COPY, do not delete immediately — this is the key point: transfer by COPYING your photos; do not choose an option that deletes them from the phone in the process. WAIT for the transfer to finish — for many photos, it takes time; let the copy finish completely, without unplugging the cable or cutting the connection. VERIFY that everything has arrived — once the transfer is finished, open the folder on the computer and check that your photos are there, complete and readable; open a few to confirm. BACKUP the transferred photos — having them on the computer is a start; to really protect them, back them up elsewhere (external hard drive, cloud) — the computer alone can fail (our guides on backing up photos). ONLY THEN, clean up on the phone — once the photos have been verified on the computer AND backed up, you can delete those on the phone to free up space, with a clear conscience. A few TIPS:
- ORGANIZE the transferred photos into clear folders (by date, event)
- unplug the phone properly (like a USB key)
- and proceed in batches if the volume is enormous
. In summary: choose your method (cable for reliability), copy your photos, wait for the end, VERIFY that they are there, back them up, and only then, clean up on the phone. The prudence of the order of steps protects your memories.
The good reflex. Remember one golden rule that protects your memories from any disaster: copy, verify, back up… and ONLY THEN, delete. The classic and painful mistake is to transfer your photos, believe that « it’s good », and empty the phone right away to free up space — only to discover later that the transfer failed, some photos are missing, or they are unreadable. Too late: they are lost on both sides. So always proceed in this order: (1) transfer by COPYING (never an option that deletes them as they pass from the phone); (2) once finished, open the folder on the computer and really VERIFY: count, open several photos to confirm that they are complete and readable; (3) BACKUP these photos elsewhere (external hard drive or cloud), because having them only on the computer does not protect them from a failure; (4) then, if you wish, delete them from the phone to make space. As for the method, if you have many photos, the CABLE remains often the simplest and most reliable: plug in, authorize access on the phone, and copy the photos folder to the computer; no internet needed, even for hundreds of shots. The cloud is very convenient for automatic and wireless access, provided you have the storage space. Regardless of the method, do not unplug or cut the connection during the transfer. Copy, verify, back up, then delete: in this order, never the other way around — that’s what makes the difference between a calm transfer and lost memories.

Precautions to ensure nothing is lost
Transferring photos touches irreplaceable memories: prudence is required. NEVER DELETE before verifying: this is the most serious mistake; empty the phone only after confirming that the photos are on the computer, complete, AND backed up elsewhere; a transfer can fail or be partial without being noticed. COPY, do not move: always choose to copy; some « import and delete » options delete the photos from the phone as they pass: to be avoided until you are sure. The computer ALONE is not enough: having your photos on the computer is better than on the phone alone, but a computer can fail too; true security requires multiple copies, in multiple places (our guides on the 3-2-1 backup rule). Be careful with INTERRUPTION: do not unplug the cable and do not cut the connection during the transfer; an interrupted copy can result in incomplete or corrupted files. The CONFIDENTIALITY of the cloud: if you use an online service, your photos are stored there; secure your account well (strong password, two-factor authentication), because these are intimate data. The SPACE on the computer: make sure you have enough space before transferring a large volume. The EASIER sorting later: once on a larger screen, take advantage to sort (delete the failures and duplicates) and organize into folders; but always keep your backups. The FORMATS: in rare cases, some recent phone photos use a format that the computer opens poorly; if you encounter this issue, conversion is possible, but it remains marginal. Finally, UNPLUG the phone properly after transfer (like a USB key) to avoid any problems. In summary: never delete before verification and backup, copy rather than move, do not rely on the computer alone, do not interrupt the transfer, secure the cloud, and take advantage of the larger screen to sort — without ever losing sight of the backup. These precautions transform a risky transfer into a secure safeguarding of your memories.
Warning: NEVER empty your phone before verifying AND backing up the photos elsewhere. This is the most important warning because the mistake is frequent and its consequences irreversible. The disaster scenario: you transfer your photos to the computer, assume everything went well, delete the photos from the phone to free up space… and discover too late that the transfer failed, half the shots are missing, or the files are corrupted. The photos have then disappeared from BOTH sides, forever — family memories lost forever for wanting to free up space too quickly. Do not take this risk. Always proceed as follows: transfer by COPYING (never an option « import and delete » that deletes as they pass), then really VERIFY that the photos are on the computer, in good number and readable (open several), then BACKUP them to another location (external hard drive or cloud). This last point is essential: having your photos only on the computer is not enough, because a computer can fail, be stolen, or infected; your precious memories must exist in multiple copies, in multiple places. Only after these three steps are completed — copy, verification, backup — can you, without fear, clean up the phone. Another precaution: never interrupt a transfer in progress (do not unplug the cable, do not cut the connection), otherwise you risk incomplete files. And if you use the cloud, secure your account, because it contains all your life in images. The rule is in one sentence: copy, verify, back up, then delete — in this order, never the other way around. This is your best protection against the loss of the irreplaceable.
Frequently asked questions
What is the simplest method for transferring photos?
It depends a bit on your habits, but for most people and for large volumes, the CABLE remains the simplest and most reliable solution. The principle: you connect your phone to the computer with the charging cable (the same one is used for data transfer), you authorize access to the photos on the phone when it asks, and the computer then displays the phone as a device from which you can copy the photos. You drag the photos to a folder on the computer, and that’s it. Advantages: it’s direct, fast even for hundreds of photos, and it doesn’t depend on the internet or cloud storage. If you prefer wireless and automation, the CLOUD is very convenient: if your photos are already synchronized online, you find them on the computer via your account, without a cable; you just need enough cloud storage space and a good internet connection. For only a FEW photos, integrated wireless sharing or a simple email to yourself will do. In summary, if you want the most versatile and secure method, take the cable; if you like wireless automation, the cloud; for a quick addition, fast sharing. All work; the important thing is, whatever the method, to copy, verify, and back up before deleting anything from the phone.
Will my photos lose quality during the transfer?
In principle no, if you transfer the original files — but be careful with certain methods that compress. When you copy your photos by cable, or when you download the original files from the cloud, you get the photos in their full quality, identical to those on the phone: no loss. However, some sharing methods REDUCE the quality for faster transfer: for example, sending photos via certain messaging apps compresses them heavily (the image becomes lighter but less detailed); this is acceptable for quick sharing, but not ideal for archiving your memories in full quality. Similarly, some cloud settings offer storing optimized versions (lightened) rather than the originals: check that you get the original version if the quality matters. The advice: to keep your photos in their best quality, prefer the cable transfer or downloading the original files from the cloud, rather than sending via messaging which compresses. If you just want to share a photo quickly to look at, compression is not a problem; but for archiving and carefully preserving, keep the originals. In case of doubt, compare the size of the transferred file to that on the phone: a much smaller size indicates compression.
Should I delete the photos from my phone after the transfer?
You can, to free up space — but only after taking all precautions and never in a rush. Deleting the photos from the phone after transfer is a good way to recover space, often welcome when the phone is full. But do it in the right ORDER and with care. First, VERIFY that the photos have arrived on the computer: complete, in good number, and readable (open several to confirm). Then — this is essential —, make sure they are BACKED UP to another location (external hard drive, cloud), because having them only on the computer does not protect them from a failure. It’s only once these two conditions are met (verified AND backed up elsewhere) that you can safely delete the photos from the phone. Be careful: most phones keep deleted photos in a trash can (« Recently deleted ») for a while: think to empty it too if you really want to free up space, but it also leaves a safety net in case of error. Never delete « just in case it’s good » without verifying: this is how memories are lost. In summary: yes, clean up to free up space, but after verification and backup; the order of steps makes all the difference between a phone lightened without risk and lost photos.
What to remember
Transferring your photos from the phone to the computer allows you to free up space, secure your memories, and sort or share them more comfortably. Several methods are available to you: the CABLE (the simplest and most reliable, especially for large volumes, without internet), the CLOUD (practical and automatic if your photos are synchronized and you have the space), wireless sharing or email (for a few photos quickly). Choose according to your needs: cable for volume and reliability, cloud for automation. But regardless of the method, remember the golden rule that protects your memories: copy, verify, back up, then only delete — in this order, never the other way around. Concretely: transfer by COPYING (never an option that deletes as they pass from the phone); wait for the transfer to finish without interrupting it; really VERIFY that the photos are on the computer, complete and readable; BACKUP them to another location (external hard drive, cloud), because the computer alone can fail; and only then, clean up the phone to free up space. The mistake to never make is to empty the phone before verifying and backing up: a transfer can fail without being noticed, and the photos disappear from both sides, forever. Add a few precautions: to preserve full quality, prefer the cable or original files (messaging compresses); secure your cloud account (these are intimate data); unplug the phone properly; and take advantage of the larger screen to sort and organize. By following this prudent order — copy, verify, back up, delete —, you put your memories in safekeeping in peace, while freeing up the space your phone needs.
Want to become more comfortable with your digital tools? Our personalized training adapts to your level.
Leave a Reply
You must be logged in to post a comment.