
Video conference, family call, online interview, first video tutorial: your webcam and microphone have become essential. Yet, we often settle for what « works, » with a dark image, muffled sound, or annoying echoes. However, properly adjusting your webcam and microphone doesn’t require expensive equipment or technical skills: a few simple settings—lighting, framing, choosing the right microphone, noise reduction—radically transform your on-screen presence. Here’s how to be seen and heard correctly, on any device.
Positioning yourself correctly in front of the camera
Even before technical settings, your POSITION and environment make up most of the image quality. LIGHT is the number one factor: a webcam needs light to produce a clear and bright image; the golden rule—light should come from IN FRONT of you (facing you, behind the screen), not from behind. ABSOLUTELY avoid having a window or lamp BEHIND you: backlit, your face becomes a dark silhouette; instead, place the light source in front of you; a window in front of you during the day, or a lamp placed behind the screen, ideally lights your face. FRAMING: the camera should be roughly at EYE level, not from below (a webcam that’s too low gives an unflattering angle and shows the ceiling); prop up your laptop (with books, a stand) to raise the camera to eye level; frame yourself so that your head and the top of your shoulders are visible, with a little space above your head, not too close or too far. EYE CONTACT: to give the impression of looking at your interlocutor, look at the CAMERA (not the image of the person on the screen); it’s not natural at first, but it makes all the difference in the connection. BACKGROUND: a simple, tidy background looks more polished than a mess; if not, most video conferencing software offers the option to BLUR the background or add a virtual background; use it if your environment is cluttered. STABILITY: place the device on a stable surface; a shaky image is tiring. These « physical » settings—front lighting, camera at eye level, looking at the lens, tidy background—often count MORE than the quality of the webcam itself: a mid-range camera with good lighting beats a high-quality camera with backlighting. Always start with these before adjusting software settings.
The key to good video quality is mostly about your setup, not your camera. Light should come from in front of you, not behind. Your camera should be at eye level, and your background should be clean or blurred. These simple steps make a huge difference.
Imagine you’re on a Zoom call with a laptop camera. If you place a lamp behind you, your face will be dark. Move the lamp in front of you, raise the laptop with books so the camera is at eye level, and look at the camera instead of your own image. Suddenly, you look professional and well-lit, even with a basic webcam.
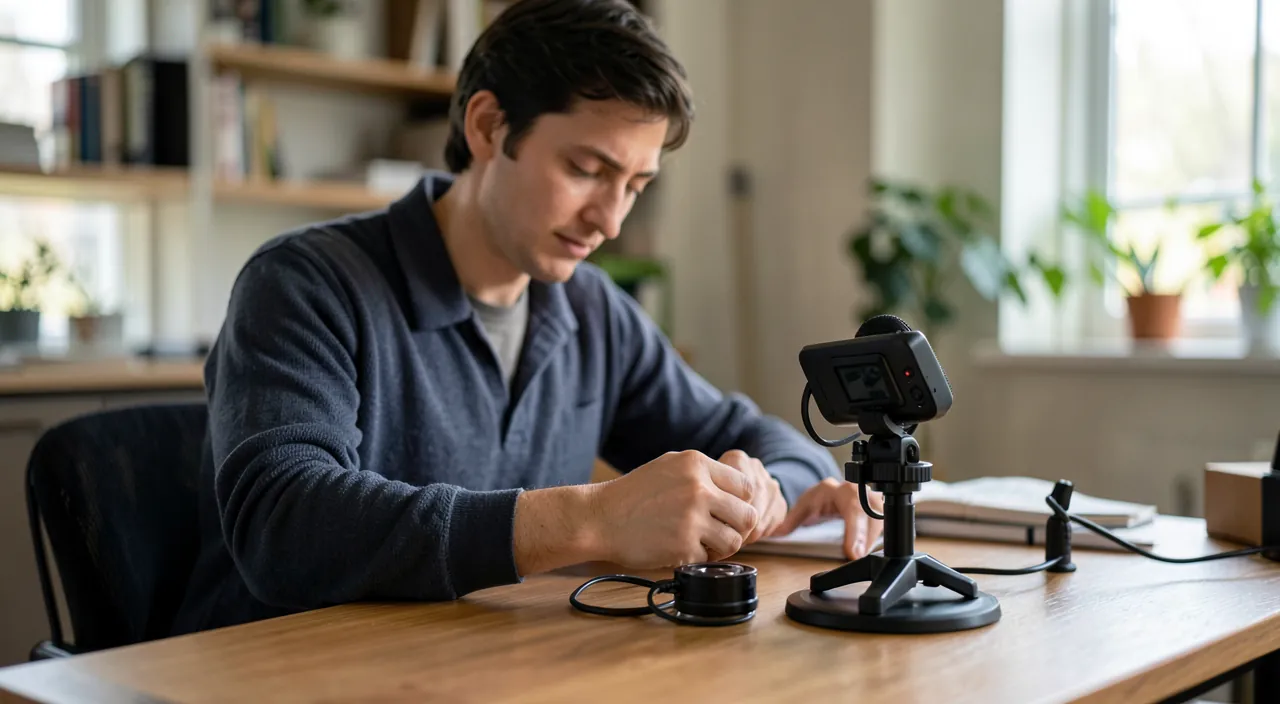
Choosing and adjusting the right microphone
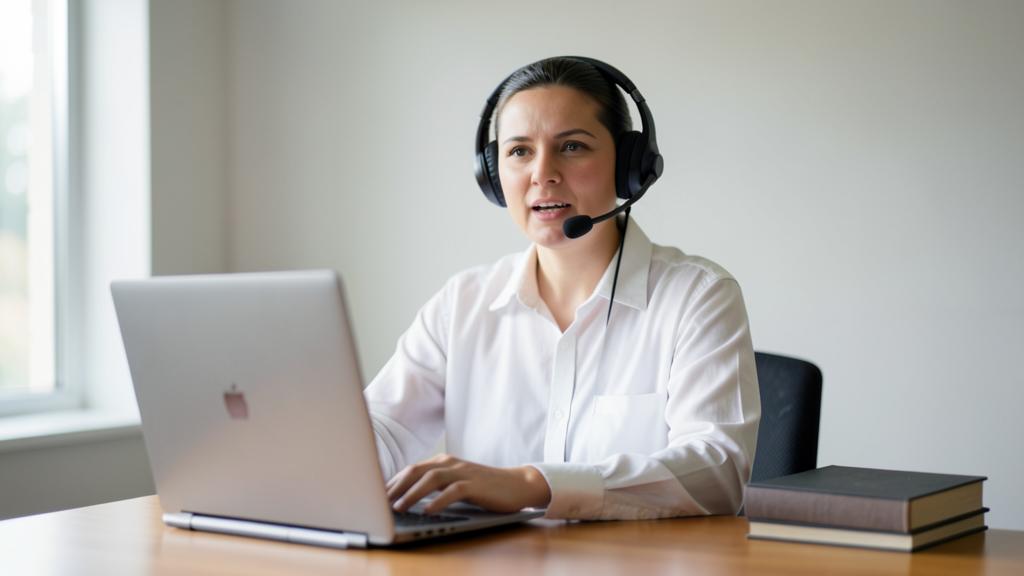
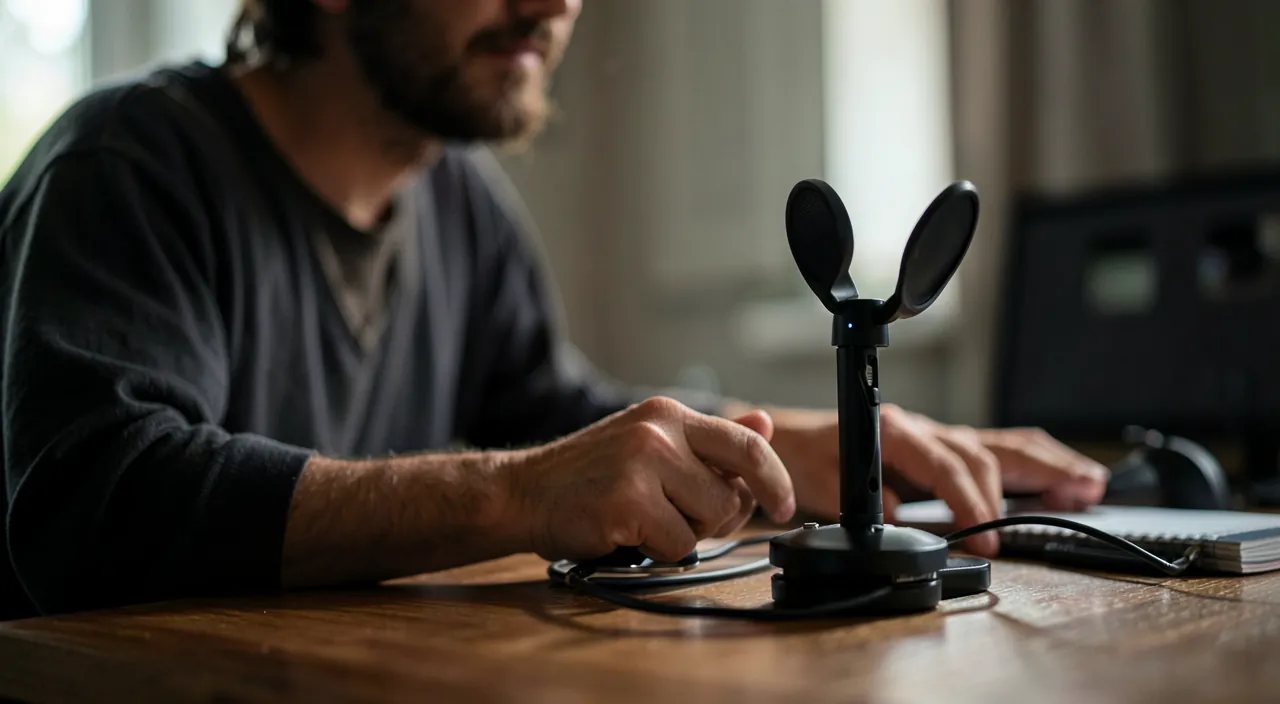
Sound matters as much, if not more, than the image: an interlocutor will forgive a mediocre image, but not an inaudible sound. CHOOSING the right source: your device often has MULTIPLE possible microphones (the built-in microphone, the one on a headset, earphones, or an external webcam); in your system or video conferencing software’s sound settings, CHECK which microphone is selected and choose the best one. Generally, the microphone on a HEADSET or EARPHONES (even basic, wired or Bluetooth) provides clearer, closer sound than the built-in computer microphone, which is more distant and prone to echo. The BIG ADVANTAGE of headsets/earphones: they eliminate ECHO! Without a headset, the sound from others comes out of your speakers, is picked up by your microphone, and sent back: this is the main cause of echo in video calls; wearing a headset or earphones solves this problem for everyone. DISTANCE: speak at a reasonable distance from the microphone; neither too close (it distorts), nor too far (it becomes weak and picks up ambient noise). ENVIRONMENT: choose a QUIET place; close the window if there’s noise outside, move away from noisy devices; a room with textiles (curtains, rugs) sounds better than an empty, echoing room. LEVEL: in the settings, check that the microphone isn’t too low (you can’t be heard) or too high (it distorts); many systems adjust automatically, but a test is necessary. NOISE REDUCTION: recent video conferencing systems and software often offer background noise reduction (which reduces keyboard, fan, and ambient noises); enable it if available. In summary for sound: wear a HEADSET or earphones (clearer sound and no echo), choose the right microphone in the settings, set up in a quiet place at a good distance, and enable noise reduction; these simple steps make your voice clear and pleasant.
Testing and adjusting in the software
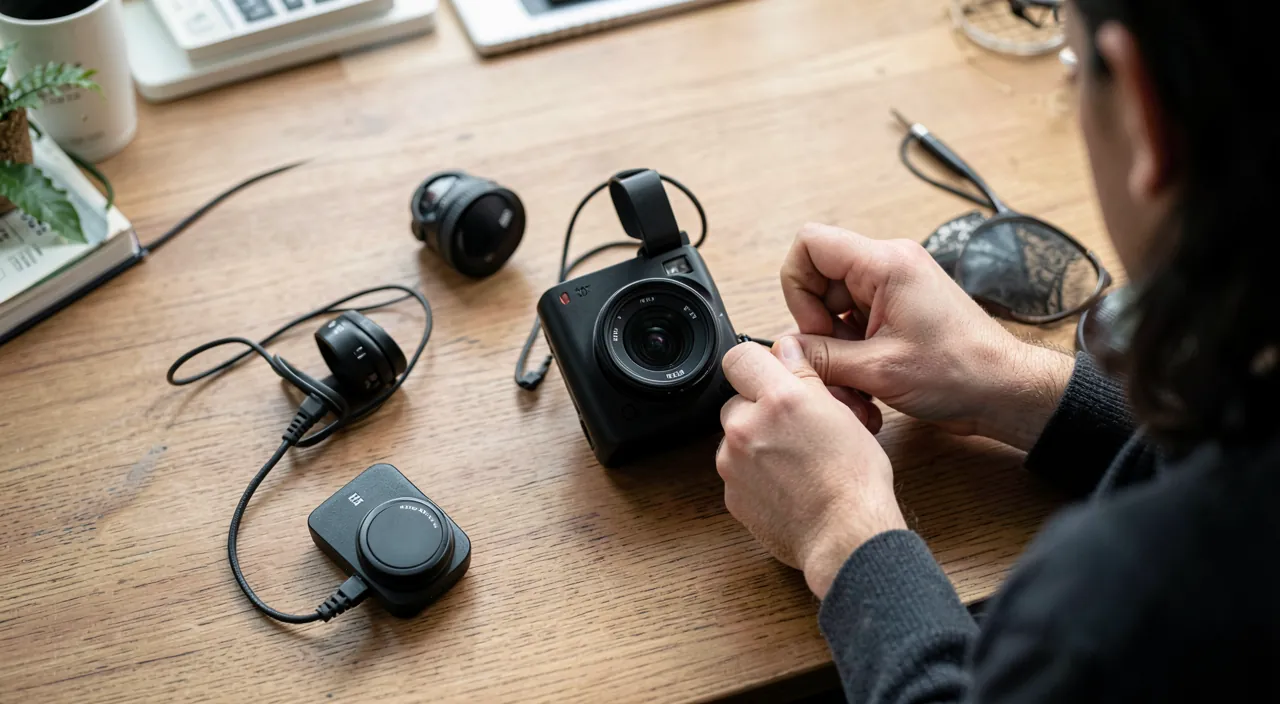
Every video conferencing software has its own settings: know where to find them and TEST before your important calls. WHERE TO ADJUST: in any video conferencing software (the main online meeting tools), a « Settings » or « Preferences » menu includes an AUDIO section and a VIDEO section; there, you choose which camera and microphone to use (essential if you have multiple options), and which speaker. TEST BEFOREHAND: most offer a camera preview and a MICROPHONE TEST (a bar that moves when you speak, or a test recording that plays back your voice); do this test BEFORE an important meeting to check that everything works—nothing worse than discovering mid-call that you can’t be heard. SYSTEM SETTINGS: independently of the software, your system (Windows, Mac) also has sound settings (input/microphone and output/speakers) and manages PERMISSIONS: if your camera or microphone isn’t working in an app, check that the app has permission to access them (in the system’s privacy settings); this is a common cause of « it’s not working. » MUTE BUTTON: learn where the button to mute/unmute your microphone is (and often a keyboard shortcut); mute it when you’re not speaking in a group meeting, to avoid imposing your background noise on others—this is an essential rule of etiquette in video calls (our guides cut notifications to focus). SCREEN SHARING, virtual backgrounds, and background blur are also adjusted in these menus. A tip: familiarize yourself with these settings WITHOUT STRESS, before you need them; knowing how to mute your microphone, switch cameras, or blur your background in one click will save you stress and mishaps during calls. In summary: locate the audio/video sections of your software, test the camera and microphone before important calls, check system permissions, and master the mute button.
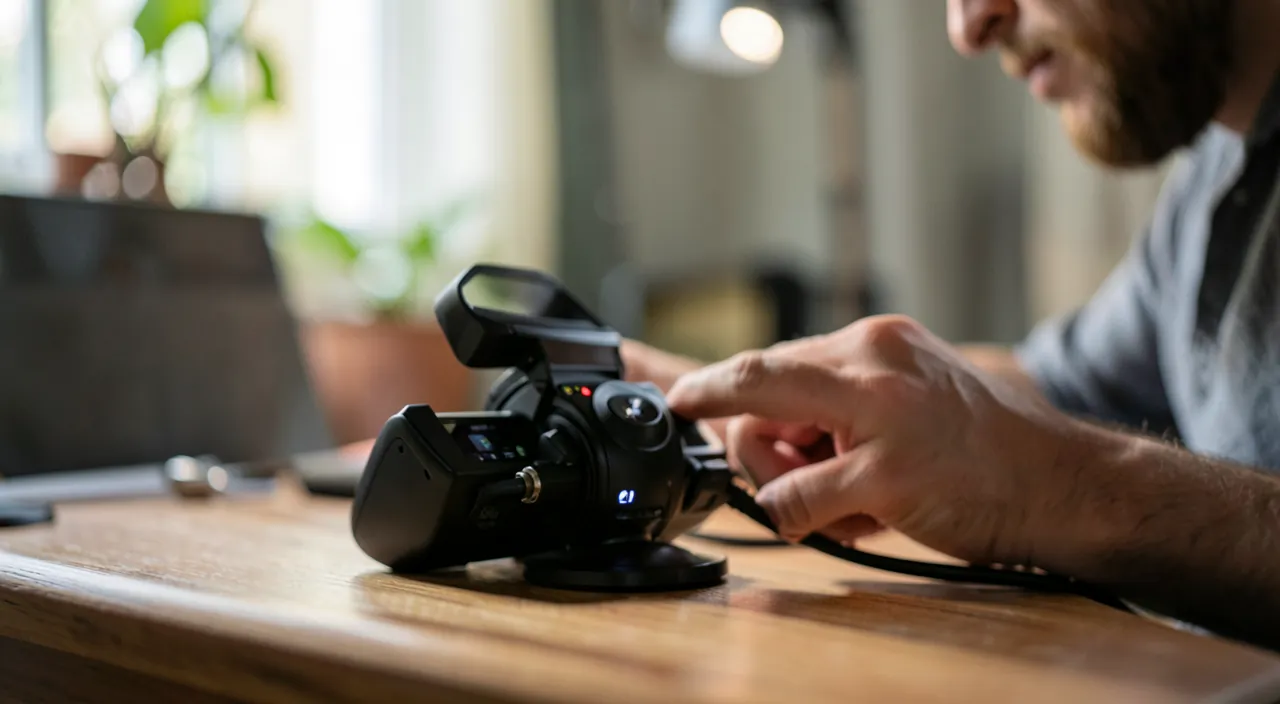
The winning trio: front lighting, headset, and a test before every important call. If you only remember three things to be seen and heard correctly, here they are. ONE: FRONT LIGHTING. This is the most crucial setting for the image, and it costs nothing: place your light source (window during the day, lamp in the evening) IN FRONT of you, never behind you; a face lit from the front is clear and pleasant, a backlit face is just a dark silhouette; add a camera at eye level (prop up the laptop) and a tidy background (or blurred), and your image will already be excellent, even with a modest webcam. TWO: the HEADSET or earphones. This is the secret to good sound in video calls: they provide a clearer voice AND, above all, they eliminate ECHO (the number one cause of sound issues in meetings, when the sound from the speakers is picked up by the microphone); even basic wired earphones make a huge difference for you and your interlocutors. THREE: the TEST before every important call. Two minutes before a meeting or interview, open your video conferencing software’s settings: check the camera preview (well-framed, well-lit?), test the microphone (does the bar move when you speak? Is the right microphone selected?), and confirm that the app has permission to access the camera and microphone. This test avoids the classic— »we can’t hear you, » « your camera is off »—which ruins the first minutes and makes you uncomfortable. Bonus: mute your microphone when you’re not speaking in a group meeting (etiquette and clean sound for everyone). Front lighting, headset, pre-call test: this simple trio, without expensive purchases, is enough to make you someone who is clearly seen and heard, in any situation.
Solving common problems
A few issues frequently arise in video calls: here’s how to fix them. « I’m not being SEEN / black camera »: check that the correct camera is selected in the software, that no physical cover is lowered on the webcam, and above all that the app has PERMISSION to access the camera (system privacy settings); also check that another app isn’t already using the camera (it can often only serve one at a time—close the others). « I’m not being HEARD »: check that the microphone isn’t MUTED (the mute button, very easy to forget!), that the RIGHT microphone is selected, that its level isn’t at zero, and that the app has permission to access the microphone. « There’s ECHO »: the almost systematic cause is that someone (maybe you) isn’t wearing a headset and the sound is coming from the speakers; the solution: have everyone wear a HEADSET or earphones; lowering the speaker volume also helps. « JERKY or blurry IMAGE »: often a problem with internet connection (our guides unstable internet connection); turning off your video to keep only audio saves bandwidth; moving closer to the router or switching to wired helps. « CHOPPY sound, dropouts »: again, often the connection; closing other apps that consume internet helps. « Background noise, keyboard echo »: enable the software’s noise reduction, move the microphone away from the keyboard, mute your microphone when you’re not speaking. « Microphone too loud/saturated or too quiet »: adjust the input level in the sound settings; some systems have automatic adjustment. The general reflex: if there’s an issue, open the software’s AUDIO/VIDEO settings, check the selected sources and permissions, and think about the headset for echo. Most video call problems boil down to three causes: wrong source selected, missing permission, or lack of headset (echo); checking these resolves the vast majority of cases.
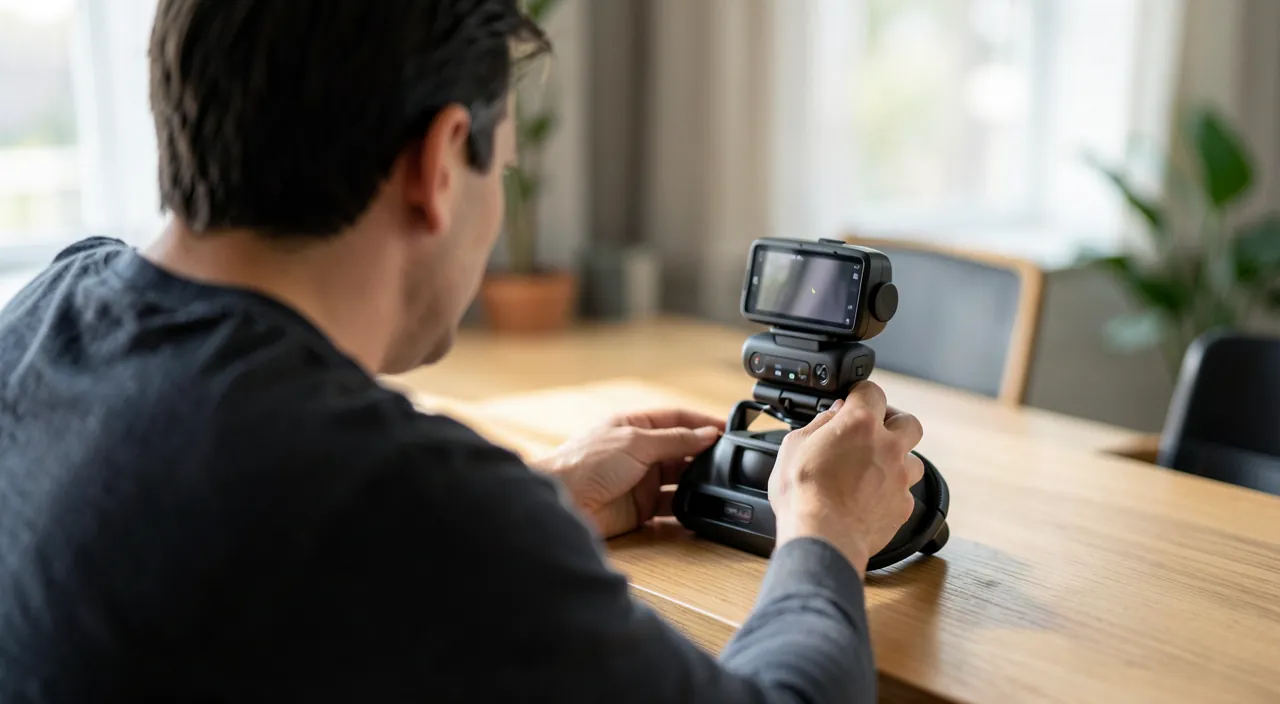
Warning: always check if your camera and microphone are active—and respect your privacy and that of others. A few points of caution in video calls. First, the classic: KNOWING if your camera and microphone are ON or MUTED. Two symmetrical errors: thinking you’re muted when you’re live (and saying or showing something embarrassing), or thinking you’re active when you’re muted (and talking to yourself). Always check your software’s indicators (microphone/camera icons crossed out or not) BEFORE speaking or doing something private; in a meeting, when in doubt, assume you’re being seen and heard. Next, PRIVACY: in a video call, your camera shows your environment; tidy or blur the background to avoid exposing your home, personal documents, or other people without their consent; be careful of objects or screens visible behind you that might reveal sensitive information. Many people forget that they’re sharing much more than their face. Third point: SCREEN SHARING—before sharing your screen, close your tabs, messages, and private documents; it’s easy to accidentally reveal a conversation or confidential information to an entire meeting (our guides protecting your personal data). Fourth point: CAMERA SECURITY: some people place a physical cover on their webcam when not in use, as a precaution; above all, check that only trusted apps have permission to access your camera and microphone (in the privacy settings), and remove this permission from apps that don’t need it. Finally, out of POLITENESS and sound cleanliness, mute your microphone when you’re not speaking in a group meeting. Being well-adjusted in video calls is also about controlling what you show and what you broadcast: check your indicators, protect your privacy, and be careful what your camera and screen sharing reveal.
Frequent questions
Why is my image dark in video calls?
Almost always due to LIGHTING, and it’s easy to fix. The most common cause is BACKLIGHTING: you have a window or lamp BEHIND you; the camera then exposes for the background light, and your face becomes a dark silhouette. The solution: place the light source IN FRONT of you (facing your face, behind the screen); position yourself facing a window during the day, or place a lamp behind your screen in the evening; your face will immediately be lit and clear. Avoid having a window behind you or even too much to the side. Second cause: a general lack of light in the room; webcams need brightness to produce a good image; add lighting. The quality of the webcam also plays a role (a low-end webcam produces a poor image in low light), but BEFORE blaming the equipment, fix the lighting: a modest camera well-lit from the front beats a good camera with backlighting. In summary: light FROM THE FRONT, not from behind; this is the gesture that transforms a dark image into a clear, bright one.
How to eliminate echo during a call?
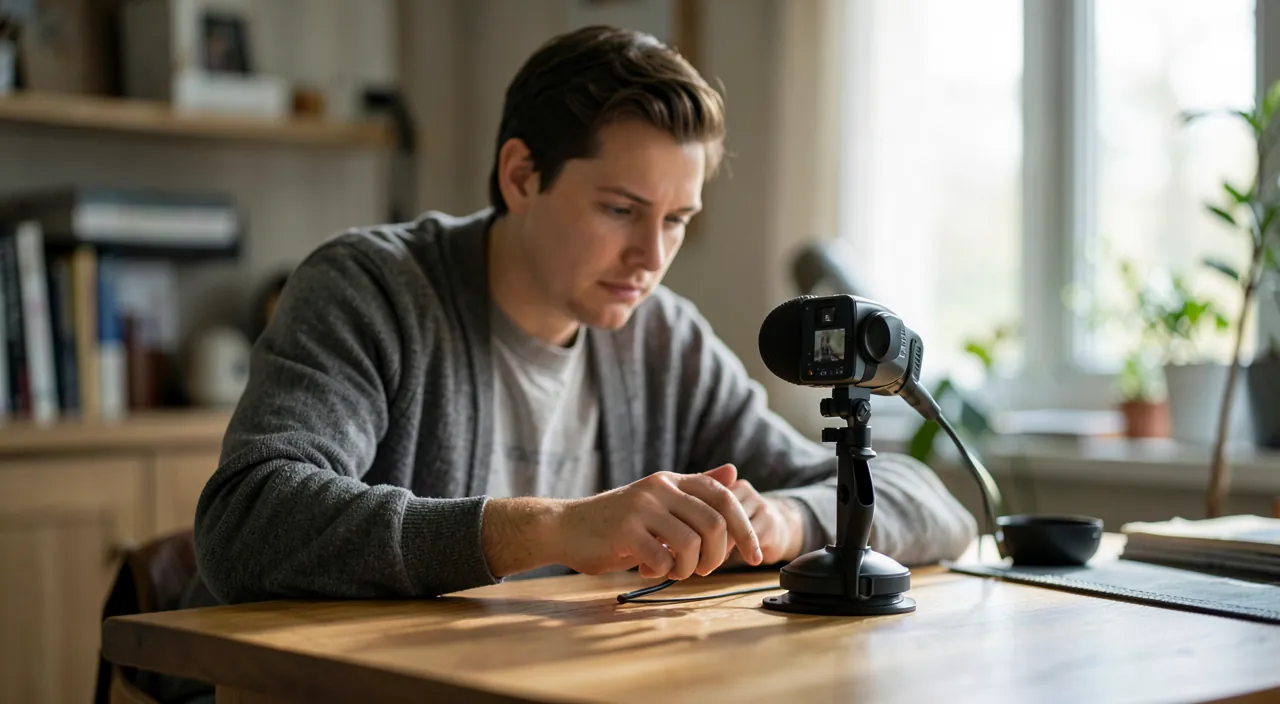
Echo has almost a single cause and a simple solution. The cause: when someone in the call DOESN’T have a headset, the sound from others comes out of their speakers, is picked up by their microphone, and sent back to everyone—that’s the echo. The foolproof solution: have every participant wear a HEADSET or EARPHONES (even basic ones); the sound no longer being broadcast through speakers, it can’t be picked up again; the echo disappears. If the echo persists, it’s because at least one person is still without a headset: they’re often the ones causing the echo for everyone, without necessarily hearing it themselves. Other complementary tips: lower the VOLUME of the speakers (less sound to pick up), move the microphone away from the speakers, and enable the video conferencing software’s ECHO CANCELLATION/NOISE REDUCTION function (most have one). But the most effective measure by far remains the headset. That’s why, as soon as a call involves multiple people, the reflex « everyone puts on a headset » avoids the vast majority of echo and feedback problems.
My camera or microphone isn’t working in an app: why?
Several possible causes, to check in order. The most frequent: PERMISSIONS; your system (Windows, Mac) controls which apps have the right to access the camera and microphone; if the app doesn’t have this permission, it won’t see the camera or microphone; go to the system’s PRIVACY settings, camera and microphone section, and check that the app in question is authorized. Second cause: the camera/microphone is already IN USE by another app; the camera can often only serve one app at a time; close other video conferencing software or apps that might be using it. Third cause: the WRONG SOURCE is selected in the app; in its audio/video settings, check that the correct camera and microphone are chosen (not a disconnected or non-existent device). Fourth: a physical cover lowered on the webcam, or a microphone physically muted. Fifth: a driver issue or a simple need to RESTART the device (the classic that fixes many things—our guides restarting solves most bugs). Always start with permissions and the selected source: these are, by far, the most common causes of « it’s not working. »
What to remember
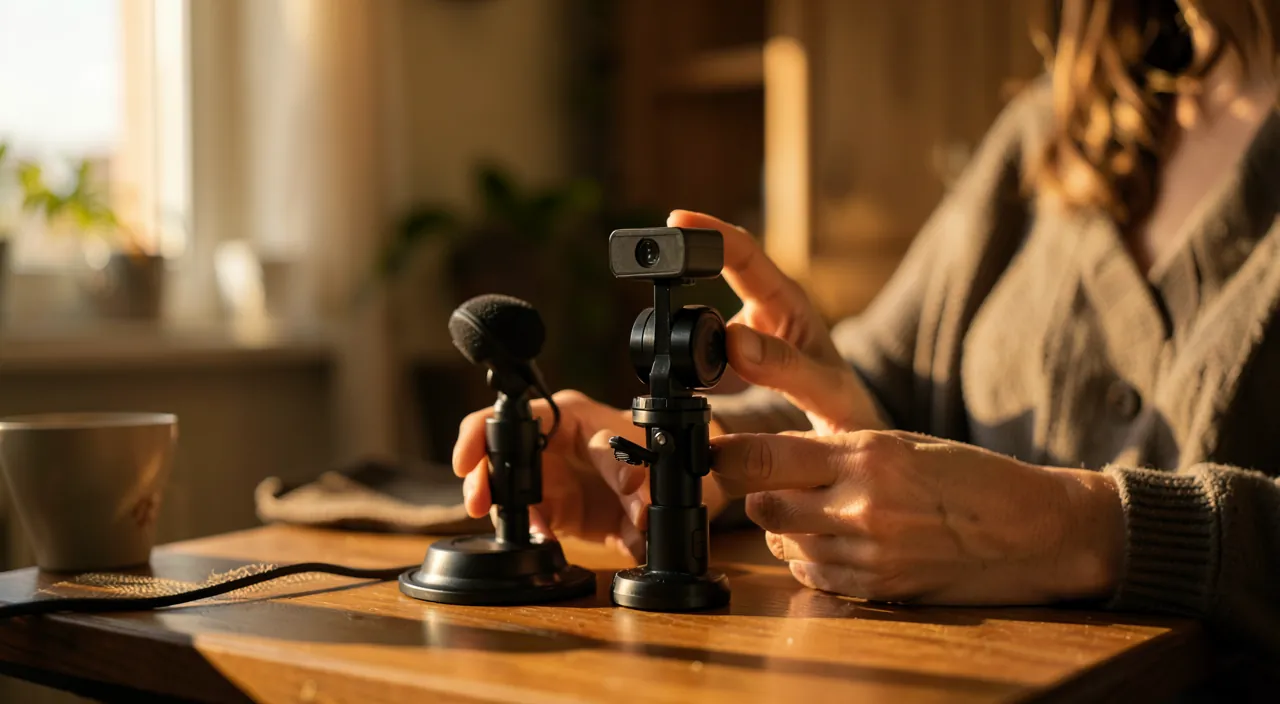
Adjusting your webcam and microphone doesn’t require expensive equipment or technical skills: a few simple steps transform your video call presence. For the IMAGE: the LIGHT should come from IN FRONT of you (never from behind, otherwise backlighting and dark face); place the camera at EYE level (prop up the laptop); look at the LENS to create a connection; tidy or blur the background. These « physical » settings often count more than the quality of the webcam. For the SOUND: wear a HEADSET or earphones—this is the secret to clear sound AND the solution to echo (number one cause of sound issues in meetings); choose the right microphone in the settings; set up in a quiet place, at a good distance; enable noise reduction. In the SOFTWARE: locate the audio/video sections, TEST the camera and microphone BEFORE important calls (to avoid the classic « we can’t hear you »), check SYSTEM PERMISSIONS (common cause of « it’s not working »), and master the mute button (mute it when you’re not speaking, out of politeness). COMMON PROBLEMS boil down to three causes: wrong source selected, missing permission, or lack of headset (echo); checking these resolves almost everything. For CAUTION: always know if your camera/microphone are active, protect your privacy (background, visible objects), close your private documents before sharing your screen, and only grant camera/microphone access to trusted apps. The winning trio, without buying anything: front lighting, headset, and a test before every important call. With these reflexes, you’re clearly seen and heard, in any situation—a real plus, both personally and professionally.
Want to gain confidence with your digital tools? Our personalized training adapts to your level.
Leave a Reply
You must be logged in to post a comment.