
You’ve probably already taken a “Live Photo” on your iPhone without realizing it: it’s that photo that comes to life when you tap it, revealing the few seconds of movement and sound captured just before and after the shutter click. More than just a frozen image, a Live Photo captures a little moment of life—a smile that forms, a wave that crashes, a child’s laughter. It’s a charming but often overlooked or poorly understood feature: many people activate it by accident, or don’t know how to make the most of it. Yet, once understood, it offers beautiful effects and creative possibilities. Let’s explore what a Live Photo is, how to take and bring it to life, and how to unlock its full potential—including its creative effects.
What is a Live Photo
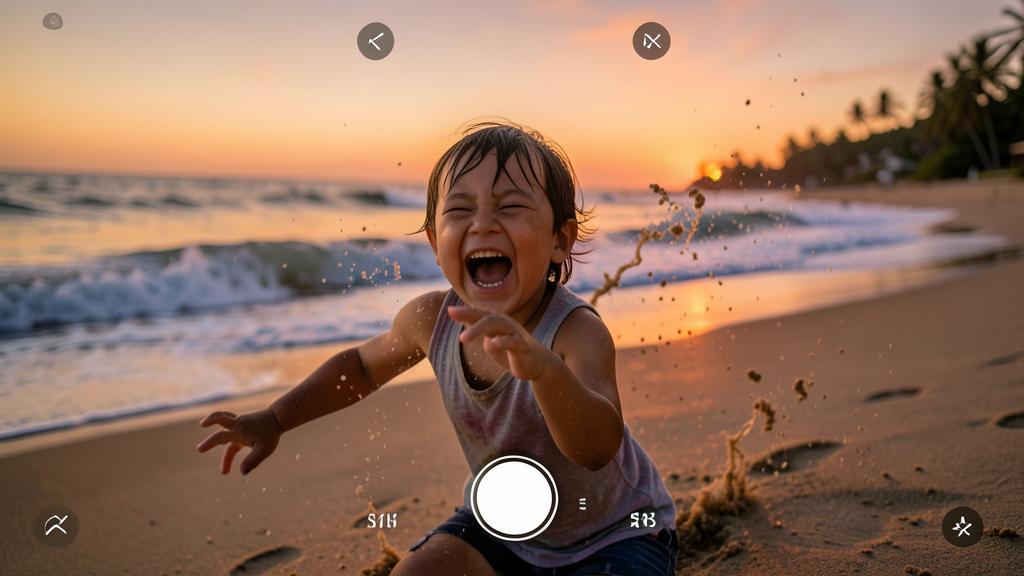
A Live Photo is a photo that captures a moment of movement; let’s break it down. THE PRINCIPLE: a Live Photo isn’t just a frozen image; it also captures the few SECONDS of movement and sound just before and after the shutter click; it’s a “living” photo; an animated moment rather than a simple snapshot. WHAT IT CONTAINS: a classic photo (the main, sharp image) PLUS a short animated clip (the movement around the moment) and the sound; both combined; you get the image AND the little video that surrounds it. HOW IT ANIMATES: when you long-press a Live Photo (in the Photos app), it ANIMATES; the movement and sound play; the moment comes back to life; that’s the magic of the Live Photo; a simple tap brings it back. THE INTEREST: it captures a MOMENT OF LIFE that a frozen photo misses; a smile that forms, a gesture, a wave, a child’s laughter, a fleeting expression; the emotion of movement; more alive than a single image. RECOGNIZING a LIVE PHOTO: a small icon (concentric circles, “LIVE”) indicates that a photo is a Live Photo; you spot it in your gallery; the icon signals the available animation. THE WEIGHT: a Live Photo takes up more space than a normal photo (it contains the animation); it occupies more storage; a factor to consider (we’ll come back to it); the “living” aspect has a cost. STILL a REAL PHOTO: a Live Photo remains a real photo (the main image is a normal, sharp photo); you can use it like a classic photo; the animation is a “bonus”; you don’t lose anything. ACTIVATED BY DEFAULT (often): the Live Photo is often ACTIVATED by default on the iPhone; many people take them without knowing; hence the photos that “move” without understanding; you can turn it on/off (we’ll come back to it). A CHARMING FEATURE: when used well, the Live Photo adds life and emotion to your memories; it also allows for beautiful creative effects; a feature to tame; it’s worth exploring. WHY IT MATTERS: knowing that a Live Photo captures the movement around the moment (and animates when tapped) allows you to use it intentionally rather than passively; you use it wisely. The key idea: a Live Photo is a “living” photo; in addition to the classic frozen image, it captures the few SECONDS of movement and sound just before and after the shutter click. When you long-press it in the Photos app, it ANIMATES—the movement and sound replay, and the moment comes back to life. Its interest lies in capturing a MOMENT OF LIFE that a frozen photo misses: a smile that forms, a gesture, a child’s laughter, a fleeting expression. A small icon (concentric circles) marks it in your gallery. It remains a real photo (the main image is sharp and usable normally), with the animation as a “bonus,” but it takes up bit more space. Often activated by default on the iPhone, many people take them without realizing. When understood and mastered, the Live Photo adds life and emotion to your memories and allows for beautiful creative effects. Demystifying it is the first step to enjoying it intentionally.
A Live Photo is like a regular photo that also records a few seconds of movement and sound before and after you take it. When you press and hold it, it plays like a tiny video, showing the moment come to life. It’s great for capturing expressions or actions you might miss with a normal photo, but it takes up more storage space on your phone.
Imagine taking a photo of your child blowing out birthday candles. A normal photo might catch them mid-blow, but a Live Photo would show the whole action: the deep breath, the puff of air, and the candles going out. When you press the Live Photo, you see and hear the whole moment unfold, making it feel more real and memorable.
How to take and bring a Live Photo to life
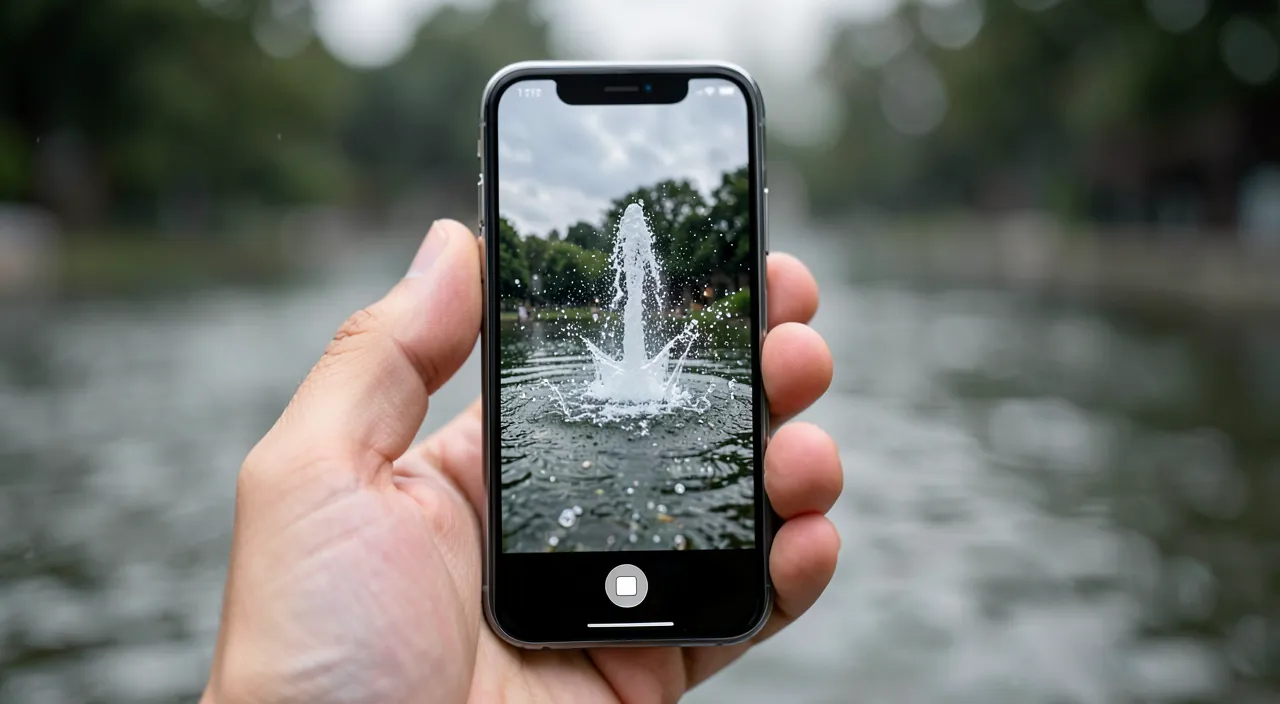
Here’s how to take, view, and manage Live Photos. THE ICON in the camera app: in the Camera app, an icon (concentric circles, “LIVE”) at the top indicates whether Live Photo is ACTIVATED; yellow/active = on, crossed out = off; check this icon before taking a photo; it controls the activation. ACTIVATING or deactivating: tap this icon to turn Live Photo on or off; activate it when you want to capture movement (portraits, animals, children, lively scenes); deactivate it for a classic frozen photo; you choose based on the scene. TAKING the photo: with Live Photo activated, take the photo normally; the iPhone also captures the seconds around it; keep the device STEADY for a moment after the click (the animation continues to be captured); stability improves the result. VIEWING it animated: in the Photos app, open the Live Photo and LONG-PRESS it; it animates (movement + sound); release to stop; that’s how you “bring the photo to life”; a single tap suffices. THE SOUND: the Live Photo also captures the sound of the moment; when it animates, you hear that moment; you can mute the sound of a Live Photo if you prefer (editing option); the sound adds to the atmosphere. CHOOSING the key image: you can choose which image from the animation serves as the “main photo” (the key/representative image); in editing, select the best moment; useful if the click didn’t capture the best expression (we’ll come back to it); a real asset. LIVE EFFECTS: a Live Photo allows for fun effects; “Loop” (repeats continuously), “Bounce” (back-and-forth), “Long Exposure” (blends into a long exposure: silky water, light trails); explore these creative effects (we’ll come back to it). SHARING a Live Photo: be careful; not all platforms preserve the animation (some freeze it); between Apple devices, the animation is preserved; elsewhere, it may become frozen or a small video; check based on the destination (we’ll come back to it). EXTRACTING a frozen photo: you can “duplicate as a frozen photo” a Live Photo (obtain a normal image from the chosen moment); practical for sharing a simple image; you keep both versions. MANAGING space: Live Photos take up more space; if storage is an issue, deactivate Live Photo for photos where movement adds nothing, or convert some to frozen; manage based on your needs; the weight is manageable. In summary, to take and bring a Live Photo to life: look for and tap the “LIVE” ICON (concentric circles) in the Camera app to turn it on or off; take the photo while keeping the device STEADY for a moment after the click; to view it animated, LONG-PRESS it in the Photos app (movement + sound). You can CHOOSE the key image (the best moment as the main photo), apply creative EFFECTS (Loop, Bounce, Long Exposure), mute the sound, and extract a frozen photo. Be mindful of SHARING (the animation isn’t preserved everywhere) and WEIGHT (Live Photos are heavier—manage based on your storage). By mastering these actions, you fully exploit the Live Photo; the activation icon, the long press to animate, and the choice of the key image are the essential gestures.
The little-known trick: choosing the “key photo” to capture the best moment. Here’s one of the most useful yet least known features of Live Photos, which alone justifies paying attention to it: the ability to CHOOSE which image, among all those captured, will serve as the “main photo” (referred to as the “key photo” or “representative image”). First, understand why it’s so valuable. When you take a classic photo, you capture ONE single moment—the one where you press the shutter. The problem is that this precise moment isn’t always the best: the person blinked, their smile wasn’t there yet, the child moved, the perfect expression came half a second too early or too late. With a normal photo, too bad: the moment is missed. But with a Live Photo, since it captures the few seconds AROUND the shutter click, the right moment is very often somewhere in the animation! And you can retrieve it. Here’s how: open the Live Photo in the Photos app, enter EDIT mode (modify), and you’ll access the small strip of images that make up the animation; slide the cursor along this strip to browse all the captured moments, find the one where the expression, smile, or gesture is the best, and set it as the “key photo” (an option like “make a key photo” or similar). Now, THIS best moment will be displayed as the main image of your Live Photo. It’s a small revolution for “rescuing” missed photos: the group portrait where someone had their eyes closed, the photo of your child at the wrong moment, the fleeting expression you missed by a hair’s breadth—all of this becomes recoverable, because the right moment was very likely captured in the surrounding seconds. This feature turns the Live Photo into a real safety net against “bad timing.” A tip to maximize it: for lively scenes where the perfect moment is hard to capture—portraits, moving children, animals, groups of people—get into the habit of activating Live Photo. That way, even if your click doesn’t land at the right moment, you’ll be able to later choose the best moment in the animation. It’s especially valuable for group photos (where it’s almost impossible for everyone to have the right expression at the same time) and for unpredictable children or animals. Once the right moment is chosen as the key photo, you can, if you wish, convert the Live Photo into a classic frozen photo to keep only that perfect image (and lighten storage). In summary, don’t see the Live Photo only as a “moving photo”; see it also as a capture of several moments among which you can CHOOSE the best. This “key photo” trick will help you recover many photos you thought were ruined, and is worth keeping Live Photo activated for the moments that matter.
Creative effects and proper use of Live Photos
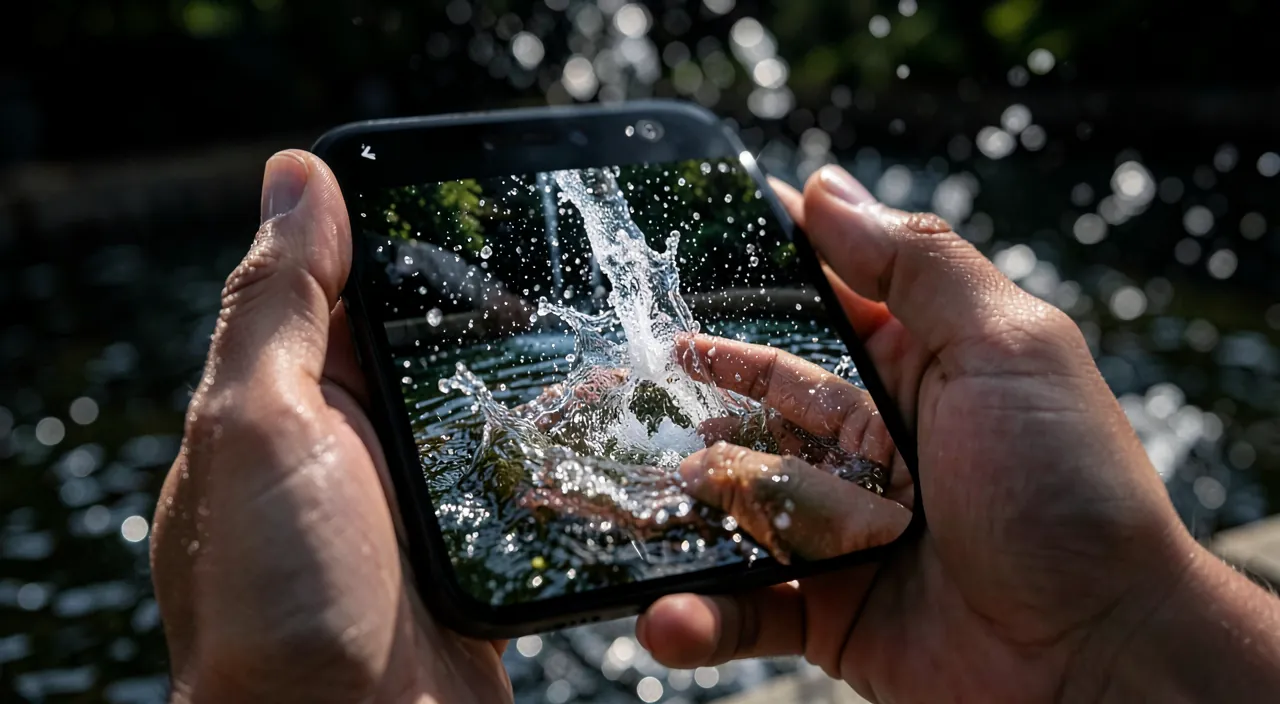
Beyond the animation, Live Photos offer creative effects and deserve thoughtful use; here’s the essentials. THE LOOP EFFECT: turn a Live Photo into a “Loop”; the animation repeats continuously (like a small GIF); great for repetitive movement (waves, gestures); a fun effect to try. THE BOUNCE EFFECT: the “Bounce” effect plays the animation forward then backward, back and forth; fun for certain movements; a dynamic effect; explore it. THE LONG EXPOSURE EFFECT: the most spectacular; “Long Exposure” blends the animation into a long exposure; water becomes silky, waterfalls blurred, light trails appear; an artistic effect without a tripod; magnificent for water and light (we’ll come back to it). WHERE TO FIND THE EFFECTS: in the Photos app, open the Live Photo, and look for the effects menu (often at the top, “Live,” or by swiping up); select Loop, Bounce, or Long Exposure; the effects are at your fingertips. WHEN TO ACTIVATE THEM: activate Live Photo for LIVELY scenes (portraits, children, animals, water, movement); deactivate it for frozen scenes (documents, landscapes without movement, captures); adapt to the scene; movement doesn’t always add value. MANAGING storage: Live Photos take up more space; if space is limited, deactivate it when movement is unnecessary, or convert old Live Photos to frozen; consult our storage guides; manage the weight. THE SOUND, to manage: the Live Photo captures sound; sometimes undesirable (ambient noise); you can MUTE the sound of a Live Photo (editing option); manage the sound based on usage; useful for sharing without noise. THOUGHTFUL sharing: remember that the animation isn’t preserved everywhere (see below); to share the “living” aspect, stay within Apple devices or convert to video; for a simple image, extract a frozen photo; adapt to the recipient. AS AN ANIMATED WALLPAPER: a Live Photo can serve as an animated wallpaper (it moves when you tap the screen); a pretty and personal use; explore this possibility; your animated memories on screen. DON’T OVERUSE IT: not all photos need to be “Live”; reserve it for moments where movement adds something; otherwise, a frozen photo suffices (and takes up less); good use is selective. In summary, to exploit Live Photos: try the creative EFFECTS (LOOP that repeats continuously, BOUNCE back and forth, and especially LONG EXPOSURE which creates magnificent long exposures—silky water, light trails—without a tripod), accessible in the Photos app. Activate Live Photo for LIVELY scenes (portraits, children, animals, water) and deactivate it for frozen scenes; manage STORAGE (they take up more space) and SOUND (mute it if needed); share thoughtfully (the animation isn’t preserved everywhere). A Live Photo can also serve as an animated wallpaper. Reserve it for moments where movement truly adds something. When used well, Live Photos enrich your memories and offer beautiful effects; the creative effects, selective activation, and weight management are the keys to good use.
Warning: the animation of a Live Photo isn’t preserved everywhere when you share it, and these photos take up more storage space. Two practical points deserve your attention to avoid unpleasant surprises. The first concerns SHARING: the “living” aspect of a Live Photo, so charming on your iPhone, isn’t necessarily PRESERVED when you share it elsewhere. This is a common source of confusion and disappointment. On your iPhone, iPad, Mac, and between Apple devices (for example, sending it to another iPhone user via Apple channels), the animation is generally preserved: your recipient will be able to bring the photo to life by tapping it. However, as soon as you leave the Apple universe, the animation may disappear: sent to a phone of another brand, posted on many social networks or messaging apps, printed, or downloaded to certain websites, your Live Photo most often becomes a simple FROZEN photo (the key image, without movement or sound). This isn’t a bug: it’s that the “living” format isn’t understood everywhere. What to do if you want to share the movement with someone outside the Apple universe? You can CONVERT the Live Photo into a small VIDEO (an export/sharing option allows this): the video, it, is understood everywhere and will preserve the movement (but it will be a video, not an interactive Live Photo). Conversely, if you just want to share a beautiful image without worrying about the animation, you can EXTRACT a frozen photo from your Live Photo (an option “duplicate as a frozen photo”) and share this classic image. The key is not to be surprised: if you send a Live Photo outside the Apple ecosystem and the recipient sees only a still image, it’s normal—anticipate by converting to video if the movement matters. The second practical point: Live Photos WEIGH more than classic photos on your storage. That’s logical: in addition to the image, each Live Photo contains the few seconds of animation and sound, which roughly doubles their “weight.” Taken individually, the difference is minimal; but over hundreds or thousands of photos, it ends up taking up a non-negligible amount of space—on your iPhone as well as on your iCloud storage. If you’re running out of space, or if you want to avoid saturating your storage, several good habits: first, activate Live Photo SELECTIVELY—reserve it for scenes where movement truly adds something (portraits, children, animals, lively moments), and deactivate it for photos where it has no interest (documents, captures, frozen landscapes, utility photos). No need for a photo of a receipt or a whiteboard to be “Live”! Then, you can CONVERT old Live Photos into classic frozen photos (once you’ve possibly chosen the best key image), which lightens them by removing the animation you no longer need. These actions allow you to enjoy the magic of Live Photos for the moments that matter, without letting their weight unnecessarily fill up your storage. In summary: know that the animation of a Live Photo is fragile when sharing (it’s preserved between Apple devices but often becomes a frozen image elsewhere—convert to video to share the movement outside of Apple), and that these photos take up more space (activate them selectively and convert those whose animation is no longer useful to frozen). With these precautions, Live Photos remain a pleasure without becoming a constraint.
Frequently asked questions
My photos “move” when I tap them, is that normal?
Yes: they’re Live Photos (often activated by default); the long press animates them by revealing the captured movement. If you don’t like it, you can deactivate Live Photo in the Camera app. Let’s explain. IT’S a LIVE PHOTO: if your photos “move” when you long-press them, they’re Live Photos; that’s perfectly normal; they capture the movement around the moment, which plays on the tap; no bug, a feature. OFTEN ACTIVATED by default: Live Photo is often activated by default on the iPhone; many people take them without knowing; hence the surprise of photos that “move”; it’s intentional by default. HOW IT ANIMATES: the animation is triggered by a LONG PRESS on the photo (in the Photos app); release, it stops; that’s how you “bring the Live Photo to life”; a single tap suffices. RECOGNIZING LIVE PHOTOS: a small icon (concentric circles, “LIVE”) marks them; you spot which ones are animated; the icon is the clue. IF YOU LIKE IT: enjoy it; Live Photos add life to your memories, allow you to choose the best moment, and offer beautiful effects; leave them activated for lively moments; it’s an asset. IF IT BOTHERS YOU: if you prefer classic frozen photos, DEACTIVATE Live Photo; tap the “LIVE” icon in the Camera app to cross it out; you’ll then take normal photos; you choose. DEACTIVATE permanently: by default, the iPhone may reactivate Live Photo each time you open the camera app; a setting allows you to “keep” your choice (deactivated) permanently; look for this setting if you want to deactivate it for good. YOUR EXISTING PHOTOS: your already-taken Live Photos remain Live Photos (they’ll continue to animate); deactivating only changes FUTURE photos; you can convert old ones to frozen if you want. THE ADVICE: photos that “move” are Live Photos (normal, often activated by default); enjoy them if you like, or deactivate Live Photo (icon in the Camera app) if you prefer frozen photos. In summary, yes, it’s perfectly normal: your photos that “move” when you tap them are LIVE PHOTOS. This feature, often ACTIVATED BY DEFAULT on the iPhone (which explains why many people take them without realizing), captures the few seconds of movement and sound around the moment; the animation plays when you long-press the photo in the Photos app. A small icon (concentric circles, “LIVE”) marks these animated photos. If you like it, great; enjoy it! Live Photos add life to your memories, allow you to choose the best captured moment, and offer beautiful creative effects. If, on the other hand, you prefer classic frozen photos, simply DEACTIVATE Live Photo: tap the “LIVE” icon at the top of the Camera app to cross it out, and your next photos will be normal (a setting even allows you to keep this choice permanently, as by default the iPhone tends to reactivate it). Note that your already-taken Live Photos will remain animated: deactivating only changes future photos. It’s up to you to choose: once you understand what Live Photos are, they’re no longer a surprise but an option you control.
How to turn a Live Photo into a normal photo or video?
For a frozen photo: use the “duplicate as a frozen photo” option in the Photos app; for a video (to share outside of Apple): use the video recording option; you thus keep the version you need. Let’s detail. WHY CONVERT: you convert a Live Photo to obtain a simple image (easy sharing, lighter weight), or a video (share the movement outside the Apple universe, where the animation isn’t preserved); the conversion adapts the format to the need. AS A FROZEN PHOTO: to obtain a normal image (without animation), open the Live Photo in the Photos app, and look for the option “DUPLICATE” → “duplicate as a frozen photo”; this creates a frozen copy (the key image), while keeping the original; you have both versions. WHAT THE FROZEN PHOTO SERVES: a frozen photo is easily shareable everywhere (like a normal image), takes up less space, and avoids the surprise of lost animation; practical for sharing or archiving a simple image; a universal format. CHOOSE THE IMAGE FIRST: before converting to frozen, you can choose the best “key image” (the best moment in the animation); thus the frozen photo captures the right moment; combine the choice of moment and the conversion; optimize the result. AS A VIDEO: to obtain a video (which preserves the movement everywhere), open the Live Photo and look for the option “save as video”; you get a small video of the movement; shareable everywhere (networks, other phones); the movement is preserved. WHAT THE VIDEO SERVES: the video preserves the movement and sound, and is understood EVERYWHERE (unlike the Live Photo which freezes outside of Apple); ideal for sharing the “living” aspect to someone outside the Apple universe; the universal format of movement. KEEP THE ORIGINAL: the conversion generally creates a COPY (frozen or video) while keeping the original Live Photo; you don’t lose the original animation; you have multiple versions; rest assured. THE EFFECTS ALSO SHAREABLE: if you’ve applied an effect (Loop, Bounce, Long Exposure), you can often share it as an animation/video; the Long Exposure effect becomes a beautiful frozen image; adapt based on the effect. WHERE TO FIND THE OPTIONS: these options are in the Photos app, by opening the Live Photo (share menu, or “duplicate”/“…” button); explore the menu; the functions are grouped there. THE ADVICE: for a simple image, “duplicate as a frozen photo” (after choosing the right moment); for sharing the movement outside of Apple, “save as video”; you keep the original and obtain the desired format. In summary, to transform a Live Photo: it depends on the desired format. To obtain a FROZEN PHOTO (normal image), open the Live Photo in the Photos app and use the option “duplicate” → “duplicate as a frozen photo”; this creates a frozen copy (the key image) while preserving the original animated version. It’s practical for easily sharing a simple image everywhere, archiving it, or lightening it; first think about choosing the best “key image” so that the frozen photo captures the right moment. To obtain a VIDEO (which preserves the movement and sound everywhere), use the option “save as video”; it’s the ideal solution for sharing the “living” aspect to someone outside the Apple universe (other phone, social networks), where a Live Photo would freeze. In both cases, the conversion creates a COPY and preserves your original Live Photo; you lose nothing and you end up with the version(s) you need. These options are found in the Photos app, by opening the Live Photo (via the share or duplicate button). By choosing the right format based on the use—frozen for a universal image, video for sharing the movement—you fully exploit your Live Photos without being limited by their sharing constraints.
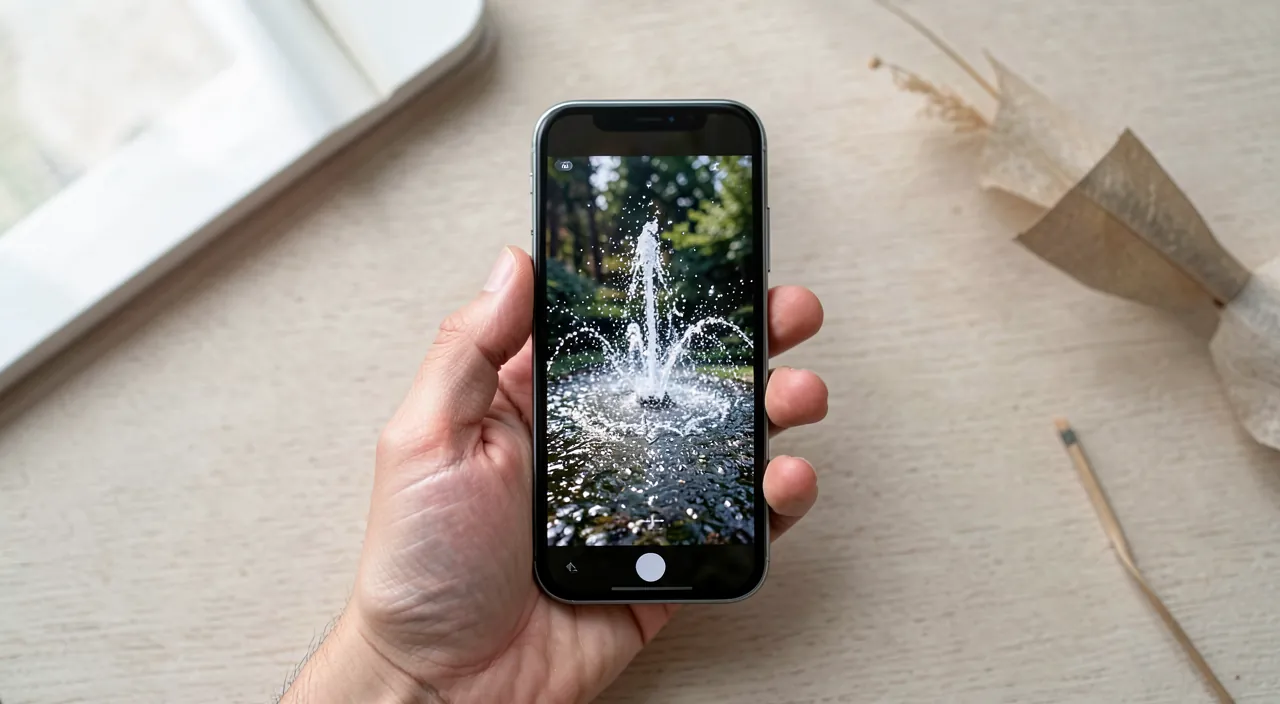
What is the “Long Exposure” effect of a Live Photo for?
It turns a Live Photo into a magnificent long exposure: water becomes silky, waterfalls blurred, light trails appear; a photographer’s artistic effect, without a tripod or equipment. Let’s discover. THE LONG EXPOSURE EFFECT: applied to a Live Photo, the “Long Exposure” effect blends the images of the animation to simulate a LONG EXPOSURE; the movement “smooths” into an artistic blur; it’s a photographer’s effect accessible to everyone. WHAT IT GIVES: moving water becomes SILKY and misty (waterfalls, rivers, waves, fountains); moving lights leave TRAILS (car headlights, merry-go-rounds); the movement becomes a beautiful fluid image; a spectacular result. WITHOUT TRIPOD or equipment: normally, a long exposure requires a tripod and complex settings; the Long Exposure effect of the Live Photo simulates it automatically, handheld; it’s artistic photography WITHOUT equipment; a real asset. THE IDEAL SUBJECTS: the effect shines on; MOVING WATER (waterfalls, sea, rivers, fountains—silky effect); MOVING LIGHTS (night traffic, fireworks, merry-go-rounds—light trails); regular movements; choose these subjects for beautiful results. HOW TO APPLY IT: take a Live Photo of the scene (water, lights); open it in the Photos app; in the effects menu (Live), choose “Long Exposure”; the effect is applied; you get the long exposure; simple. STABILITY HELPS: for a beautiful result, keep the device as STEADY as possible when taking the Live Photo (place it if possible); the less you move, the sharper the effect; stability improves; lean on something. EXPERIMENT: try on different water and light scenes; the results vary; it’s fun and creative; experiment to discover beautiful effects; have fun. REVERSIBLE: the effect is reversible (you can return to the normal Live Photo); try without fear; you don’t lose the original; test freely. SHARE the result: Long Exposure gives a beautiful IMAGE (frozen) that you can easily share everywhere; a pretty artistic shot to show; the result is shared like a photo. THE ADVICE: for scenes of moving water or light, take a Live Photo (steady), then apply the “Long Exposure” effect in the Photos app; you get a magnificent long exposure (silky water, light trails) without a tripod; experiment, it’s reversible. In summary, the “Long Exposure” effect of a Live Photo is used to create magnificent LONG EXPOSURES, an artistic effect usually reserved for photographers with equipment—and that without a tripod or complex settings! By blending the images of the animation, it “smooths” the movement into an artistic blur: moving water (waterfalls, sea, rivers, fountains) becomes SILKY and misty, and moving lights (night traffic, fireworks, merry-go-rounds) leave beautiful LIGHT TRAILS. It’s creative photography accessible to everyone. To use it: take a Live Photo of your scene (keeping the device as steady as possible for a beautiful result—place it if you can), open it in the Photos app, and in the effects menu, choose “Long Exposure.” The effect is applied automatically and you get your long exposure. The ideal subjects are moving water and lights: that’s where the effect is most spectacular. The effect is reversible (you can always return to the normal Live Photo), so don’t hesitate to experiment on different scenes; and the result is a beautiful frozen image that you can easily share everywhere. It’s one of the most rewarding effects of Live Photos: the next time you come across a waterfall, a fountain, or a lively street at night, think about it—you’ll get an artistic shot in a few seconds.
What to remember
A Live Photo is much more than a frozen image: it’s a “living” photo that captures, in addition to the classic snapshot, the few SECONDS of movement and sound just before and after the shutter click. When you long-press it in the Photos app, it ANIMATES and the moment comes back to life—a smile that forms, a gesture, a child’s laughter. A small icon (concentric circles) marks it, and it’s often activated by default on the iPhone (hence these photos that “move” that surprise so many people: it’s normal, and you can activate or deactivate it at will via the “LIVE” icon in the Camera app). To take it well: keep the device STEADY for a moment after the click (the animation continues to be captured). The most precious and least known trick: you can CHOOSE the “key photo,” that is, select, among all the moments captured in the animation, the one that will become the main image. It’s a real safety net against “bad timing”: the portrait where someone blinked, the fleeting expression missed by a hair’s breadth, the imperfect group photo—the right moment is very often in the surrounding seconds, and you can retrieve it via editing. So activate Live Photo for lively scenes (portraits, children, animals, groups) where the perfect moment is hard to capture. On the creative side, Live Photos offer beautiful effects: LOOP (continuous repetition), BOUNCE (back-and-forth), and especially LONG EXPOSURE, which creates magnificent long exposures (silky water, light trails) worthy of a photographer, without a tripod or equipment—ideal for waterfalls, fountains, and lively streets at night. Two practical precautions to know. First, the animation ISN’T PRESERVED everywhere when sharing: it’s preserved between Apple devices, but often becomes a simple frozen image elsewhere (other phone, social networks); to share the movement outside the Apple universe, convert the Live Photo to VIDEO (understood everywhere), and for a simple image, extract a frozen photo. Then, Live Photos TAKE UP more space (they contain the animation): activate them selectively (reserve them for moments where movement truly adds something, unnecessary for a document or a capture), and convert those whose animation is no longer useful to frozen, to save your storage. In short, Live Photo is a charming and rich feature, provided you understand it: it adds life and emotion to your memories, lets you choose the best moment, and offers superb creative effects. Once tamed, it’s no longer a source of confusion but a real asset: master its activation, exploit the “key photo” and the effects, and manage its sharing and weight—your memories will only be more alive.
Want to unlock the full potential of your iPhone, iPad, or Mac? Our Apple training courses will take you to the next level.
Leave a Reply
You must be logged in to post a comment.