
Old photo boxes turning yellow in the attic, damaged albums, family memories threatened by time, humidity, or a simple water damage: our paper photos are precious and fragile. Digitizing them—meaning making copies on a computer or phone—allows us to save them, share them with the whole family, and find them easily. And good news: there’s no need for expensive equipment; often, your phone is sufficient for good results. Here’s how to simply digitize your old photos, what method to use according to your needs, and how to protect these memories once digitized.
Why digitize, and with what
Digitizing paper photos is much more than a modernity whim. WHY do it? TO SAVE memories at risk: a paper photo is unique and fragile; it yellows, scratches, fades, and an accident (fire, water, loss) can destroy it forever; a digital copy keeps it safe. TO SHARE: once digitized, your photos can be shared instantly with the whole family, wherever they are. TO FIND easily: no more rummaging through boxes; you search and find in just a few seconds. TO RESTORE: a damaged photo can sometimes be improved once digitized. TO PASS ON: future generations can inherit these memories. WITH WHAT to digitize? Several solutions, from the simplest to the most advanced. THE PHONE: the most accessible solution; just take a photo of your photos, or better, use a dedicated photo scanning app (which corrects reflections and automatically crops); often very good results, for free. THE SCANNER: if you have a multifunction printer with a scanner, it digitizes photos with good quality; ideal for precise rendering, but slower photo by photo. THE PHOTO SCANNER: specialized devices exist to quickly digitize many photos; useful for large volumes. THE SCANNING SERVICE: companies digitize your photos, slides, and films for you; practical for very large quantities or special formats, but paid, and you have to hand over your originals (see precautions). What’s it for? TO PUT irreplaceable memories in a safe place; TO SHARE and FIND them easily; and TO PASS THEM ON. The main idea: digitizing photos means giving a second life and protection to your memories. The phone makes the operation accessible to everyone for free; other methods offer more quality or speed according to your needs. The essential is to start—because each year that passes damages the originals a little more—and don’t forget, once digitized, to properly SAVE these precious copies.
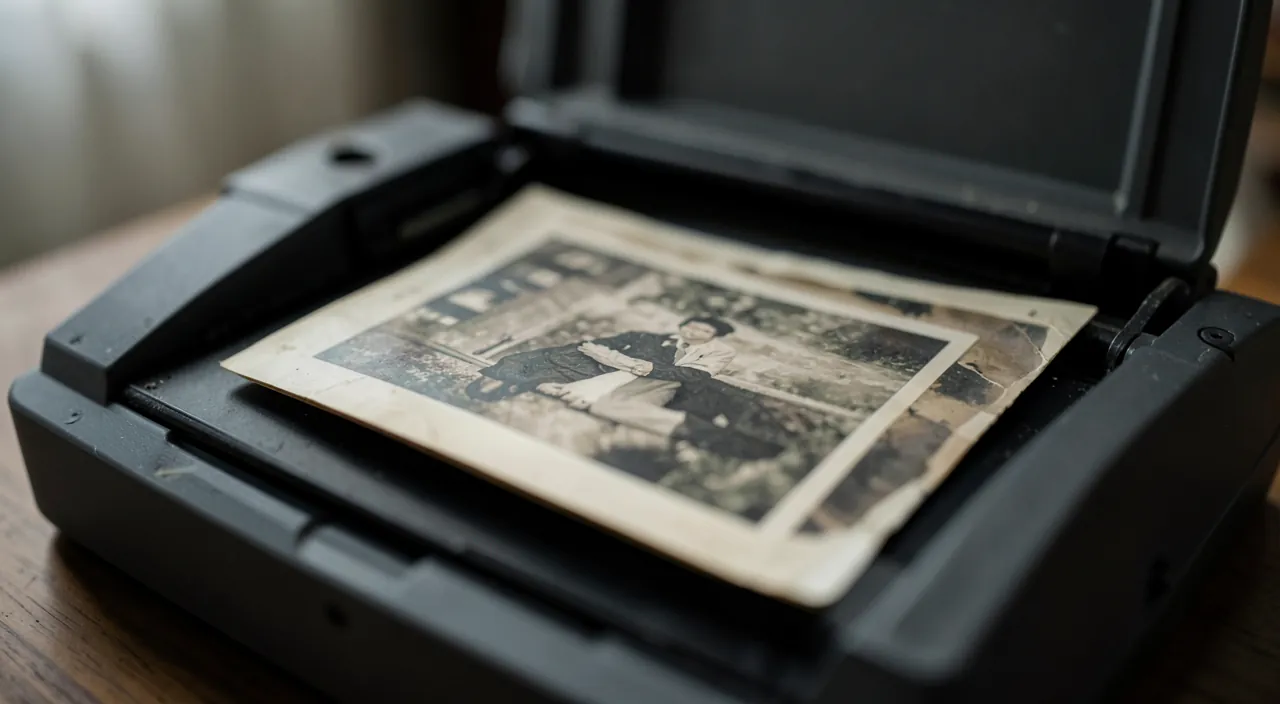
Digitizing photos means making digital copies to protect them from damage. It lets you share them easily and find them quickly. You can use your phone, a scanner, or a professional service. The key is to save the digital copies in multiple places and keep the original photos safe.
Imagine you have a wedding photo from 1985 that’s starting to fade. You use your smartphone with a scanning app to create a digital copy. You then save this copy to your cloud storage and an external hard drive. Now, even if the original photo gets damaged, you still have the digital version to share with your family.
How to digitize your photos, method by method
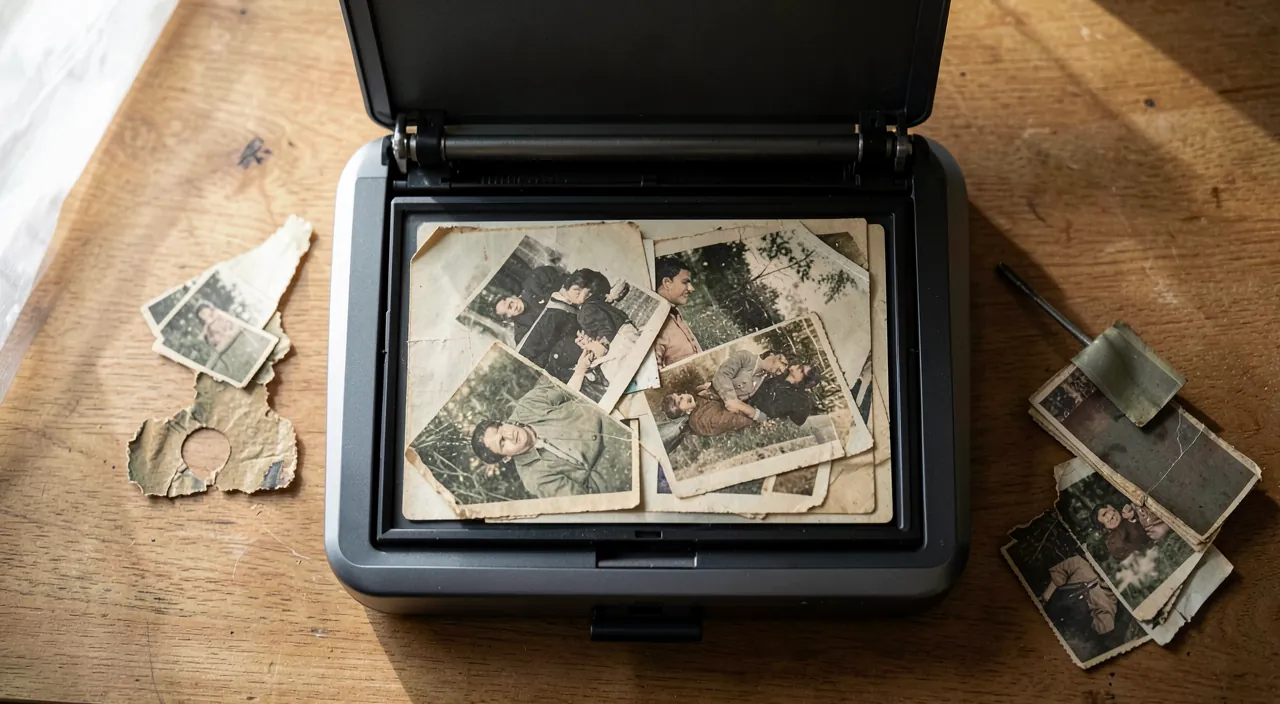
Here’s how to proceed concretely, according to your equipment. With the PHONE (the simplest) — install a dedicated photo scanning app (there are free and effective ones that handle reflections and automatically crop); place the photo on a flat surface, well lit but WITHOUT direct light reflection (avoid light that reflects on the bright photo); follow the app instructions (often, take the photo then move the phone to eliminate reflections); the app automatically straightens and crops. Without an app, simply take a photo of the photo well flat, well framed and clear, then crop it. With a SCANNER (multifunction printer) — clean the glass; place the photo face down against the glass, straight; launch the scan from the scanner software or its screen; choose a good resolution (see below) and save as an image (JPEG works for most uses). ATTENTION to QUALITY — good uniform lighting without reflections, a well-flat and clean photo (gently dust it), and sufficient resolution make all the difference; for a scanner, a resolution of at least 300 dots per inch (dpi) gives good results, more if you want to enlarge or restore. ORGANIZE as you go — create clear folders (by year, by event, by person); rename or organize your digitized photos to find them (our guides on organizing your workspace and folders). RESTORE if needed — for damaged photos, tools (sometimes AI) can improve, de-yellow, repair scratches; do this on the copies, never on the original. SAVE absolutely — this is the step you must not neglect: once digitized, put your photos in a safe place, in multiple copies (cloud AND external drive); don’t leave them only on your phone or computer (our guides on backing up your photos). SHARE — create a shared album for the family, or send the digitized photos to your loved ones; this is one of the great pleasures of the operation. A few TIPS: proceed in SMALL lots (digitizing everything at once can be discouraging); start with the most PRECIOUS or FRAGILE photos (those that yellow, peel, of which you have only one copy) — these are the ones you must save first. But above all, remember the step that everyone forgets but is crucial: once your photos are digitized, save them immediately in multiple places. Don’t let them sleep only on your phone: put them in the cloud AND on an external drive. Because digitizing a photo to keep the copy only on an apparatus that can be lost or break, is to move the risk, not to eliminate it. And keep your original paper photos carefully: digitization doubles them, it does not replace them. The phone for easy digitization, small lots starting with the most fragile, and a real backup of the copies: that’s how to save your memories without breaking the bank or getting discouraged.
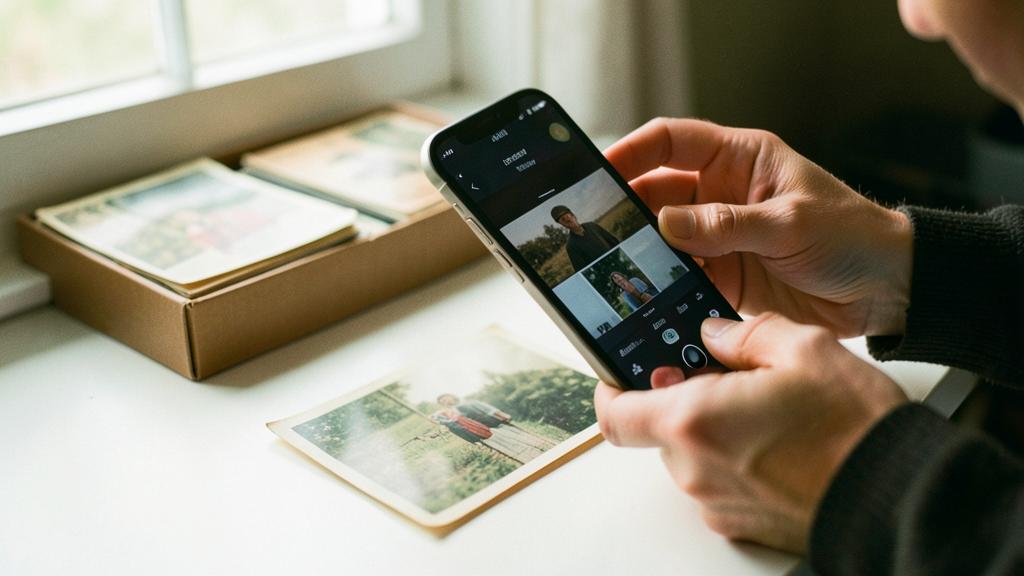
The good reflex. For most people, the best solution is also the simplest: the PHONE with a dedicated photo scanning app. These apps (often free) are smart: they automatically eliminate reflections—the main enemy when photographing a bright photo—and automatically crop. Install one, place your photo well flat on a well-lit surface but WITHOUT reflected light, and follow the app’s instructions. In a few seconds per photo, you get a very good result, without any expensive equipment. Two tips for doing it well: proceed in SMALL LOTS (wanting to digitize entire boxes at once can be discouraging; ten or twenty photos per session is perfect), and start with the most PRECIOUS and FRAGILE (those that yellow, peel, of which you have only one copy)—these are the ones you must save first. But above all, remember the step that everyone forgets but is crucial: once your photos are digitized, save them immediately in multiple places. Don’t let them sleep only on your phone: put them in the cloud AND on an external drive. Because digitizing a photo to keep the copy only on an apparatus that can be lost or break, is to move the risk, not to eliminate it. And keep your original paper photos carefully: digitization doubles them, it does not replace them. The phone for easy digitization, small lots starting with the most fragile, and a real backup of the copies: that’s how to save your memories without breaking the bank or getting discouraged.
Precautions to protect your memories
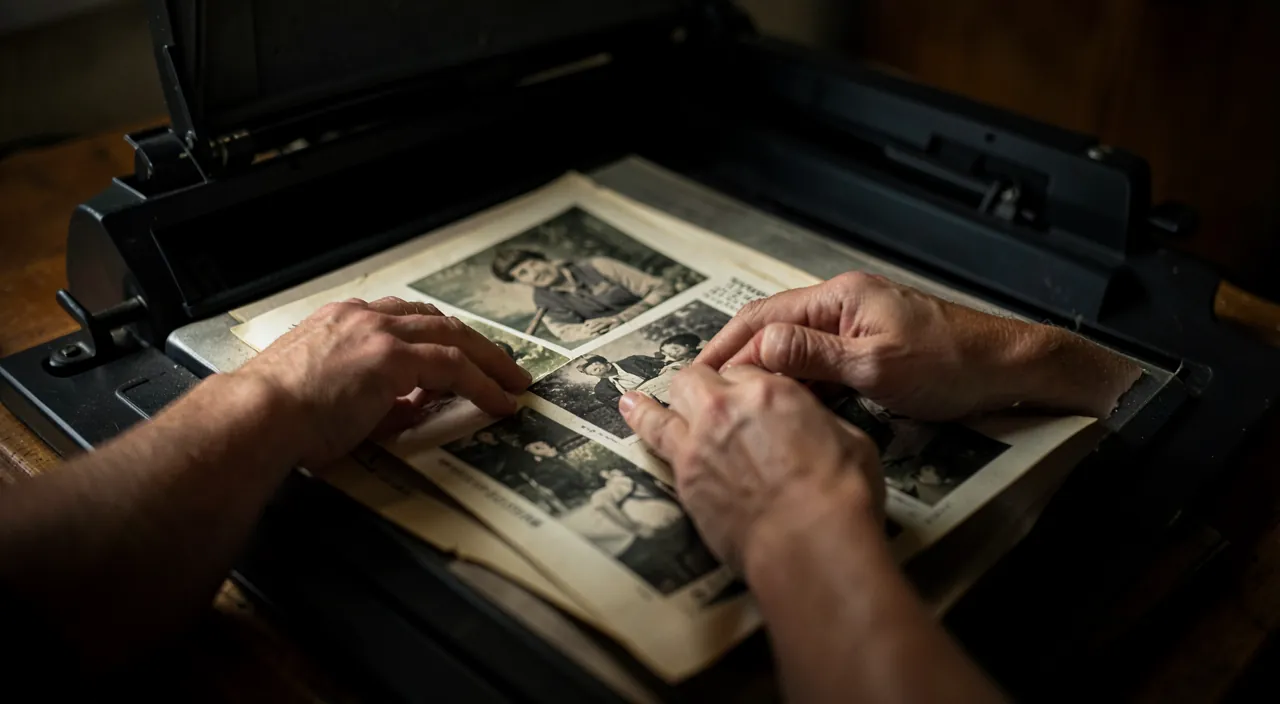
Digitizing photos touches irreplaceable memories: some precautions are necessary. SAVE the copies: this is the crucial point; digitizing without proper saving offers no protection; a digitized photo that exists only on a lost phone or a broken computer is lost as the original would have been; keep your copies in multiple copies, in multiple places (cloud and external drive). KEEP the ORIGINS: never throw away your paper photos after digitizing them; the digital version is a security copy, not a replacement; the original keeps its value (material, back annotations, authenticity). HANDLE with CARE: old photos are fragile; handle them by the edges, gently dust them (without rubbing), don’t stick anything on them; avoid getting them wet or exposing them to sunlight during digitization. The CONFIDENTIALITY of the cloud and services: if you store your photos in the cloud, choose a trusted service and secure your account (strong password, two-factor authentication); your family memories are personal data; think about what you share and with whom (our guides on backing up your photos in the cloud). PHOTO SCANNING SERVICES: it’s practical to delegate your photos, slides, or films to a company for large volumes, but it means handing over irreplaceable originals to a third party; choose a reputable service, check its guarantees (what happens in case of loss or damage?), what it does with your images, and the return of the originals; for the most precious photos, weigh the risk. SUFFICIENT QUALITY: digitize at a good resolution from the start; redoing the whole digitization later because the quality was too low is discouraging. Finally, TIME is pressing: each year, paper photos degrade a little more; don’t delay indefinitely; start with the most threatened. In summary: save the copies in multiple places, keep the originals, handle with care, secure the cloud, choose a trusted service if you delegate, and don’t delay too much. Thus, your memories survive the test of time, protected.
Warning: digitizing does not protect your memories unless you SAVE the copies—and keep the originals. This is the most frequent and painful trap. You spend hours carefully digitizing family photos, you are relieved to have « put them in a safe place »… but if these digital copies only exist on the phone you used to take them, or on a single computer, they are not safe. A phone can be lost, broken, stolen; a computer can fail; and these irreplaceable memories disappear a second time—forever this time, if you had meanwhile damaged or stored the originals. The absolute rule: once digitized, put your photos in MULTIPLE copies, in multiple places (for example, the cloud AND an external hard drive). Digitizing without proper saving, is to move the risk, not to eliminate it. Second imperative: never throw away your paper photos after digitizing them. The digital version is a wonderful security copy, but the original has its own value—the material, the back annotations, the authenticity, the emotion of the old print—, and it constitutes an additional backup. Keep them in a dry, light-free place. Also be careful if you delegate your photos to a scanning service: you are handing over irreplaceable originals to a third party; choose a reputable company, check its guarantees in case of loss or damage, and what it does with your images, and for the most precious shots, think twice. Finally, if you store in the cloud, secure your account well (strong password, two-factor authentication), because it is your family’s intimacy. Digitizing is a wonderful way to save your memories; but it is the saving of the copies and the preservation of the originals that really protect them.
Frequently Asked Questions
Can we digitize our photos correctly with a simple phone?
Yes, absolutely, and that’s the solution I recommend to most people. Recent phones have very good cameras, and most importantly, there are FREE apps specifically designed for scanning paper photos. Their main advantage: they automatically handle REFLECTIONS (the main problem when photographing a bright photo) by taking multiple shots, and they automatically crop and straighten the image. The result is often very satisfactory for sharing, preserving, and viewing on a screen, without spending a cent. For a good result: place the photo well flat on a uniform surface, in a well-lit place but without direct light reflecting on the photo (avoid flash and window or lamp reflections), and let the app guide you. This method works perfectly for the vast majority of needs: saving your memories, sharing them with the family, finding them easily. A scanner or a professional service is only of interest if you aim for maximum quality (for large enlargements or a thorough restoration) or if you have enormous volumes to process. To start and save the essentials, your phone and a good app are more than enough—and the important thing is to start.
Do we need to throw away the paper photos once they are digitized?
No, definitely not: keep your originals carefully. Digitization creates a SECURITY COPY of your photos; it does not replace them. There are several reasons to keep the paper prints. First, the original has its own value: the material, the texture, sometimes back annotations or dates written on the back, the emotion of an old print; all of this is not found in a file. Then, the original constitutes an additional backup: if your digital files ever come to be lost (crash, bad backup), the paper photo would be your last resort. Finally, a paper photo does not depend on any technology to be viewed: it survives the decades without needing a compatible device. Keep your originals in good conditions: in a dry, light-free, and temperature-controlled place, in appropriate albums or boxes. Digitization and paper do not oppose each other, they complement each other: the digital for sharing, finding, and protecting against accidents; the paper for authenticity and as a last line of defense. By keeping both, you offer your memories the best possible protection on two different supports—precisely the principle of a good backup.
What quality (resolution) should we choose to digitize our photos?
A sufficient quality from the start, to avoid having to start over. If you use a scanner, the resolution is measured in dots per inch (dpi): for common use (viewing on a screen, sharing, printing at the same format), 300 dpi gives a good result; if you think you will enlarge your photos, restore them, or make large formats, go to 600 dpi or more for precious shots. Digitizing at too low a resolution produces images that appear blurry or pixelated when enlarged: it’s better to aim a little higher, even if the files are heavier. With a phone, you don’t set the resolution in dpi, but the quality depends on the clarity of your photo: frame well, hold the phone steady, ensure good uniform lighting, and let the app do its work; the result is generally sufficient for most uses. The file format can be JPEG, which works very well and remains light; for exceptional originals you want to preserve as much as possible, some prefer a lossless format. The general principle: digitize well once, at a good quality, while carefully considering the lighting and clarity—because redoing the whole digitization later due to poor quality is discouraging. Good lighting and a sufficient resolution are better than rushing.
What to remember
Digitizing old paper photos, is to offer a second life and protection to precious but fragile memories: we save them from time and accidents, we share them easily with the whole family, we find them instantly, and we pass them on to future generations. Good news: there’s no need for expensive equipment; the PHONE, with a free dedicated app (which handles reflections and automatically crops), is sufficient for good results. Depending on your needs, a scanner offers more precision, a professional service more speed for large volumes. To do it well: take care of the lighting (uniform, no reflection) and clarity, digitize at a sufficient quality from the start, organize your photos in clear folders, restore damaged ones if needed (on the copies), and proceed in small lots starting with the most precious and threatened. But remember the two rules that really protect your memories. First, IMPERATIVELY save the digitized copies in multiple copies, in multiple places (cloud AND external drive): a digitized photo that only lives on a phone or a single computer is not safe; digitizing without proper saving offers no protection. Second, KEEP your paper originals: the digital version is a security copy, not a replacement—the original has its own value and constitutes an additional backup. Add a few precautions: handle the photos carefully, secure your cloud account (these are intimate data), and if you delegate your originals to a service, choose a reputable one and check its guarantees. Finally, don’t delay: each year damages the prints a little more. By digitizing methodically and seriously saving the copies, you put your family memories in a safe place—shareable, findable, and transmissible, on paper and on the digital.
Want to be more at ease with your digital tools? Our personalized training adapts to your level.
Leave a Reply
You must be logged in to post a comment.