
The receipt to send back, the old family document to preserve, the invoice to archive, the form to return signed: we all need to digitize papers, and we think we need a scanner. Yet you already have, in your pocket, an excellent scanner: your phone. When used properly, it produces clean, framed, straightened documents in a proper PDF format — much more practical than a crooked photo. Here’s the method to digitize your papers like a pro, using the only device you always have with you.
Crooked photo or real scan: the difference
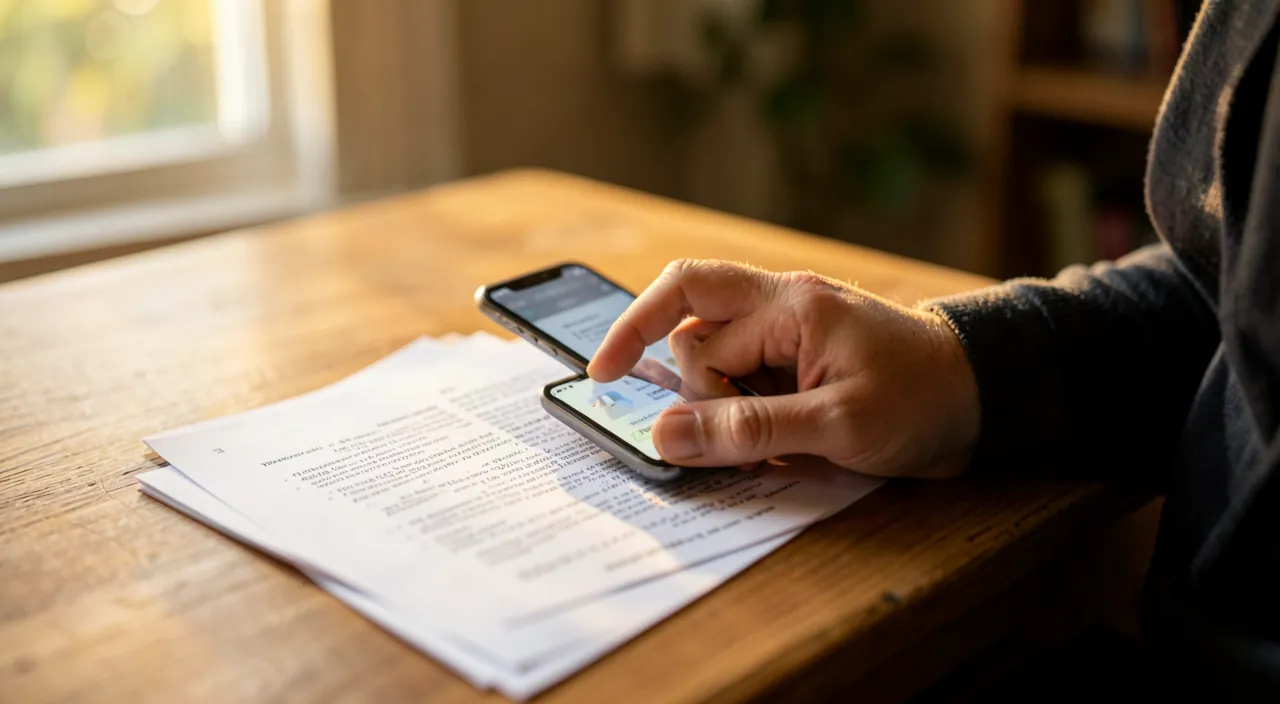
The temptation: take a simple PHOTO of the document and send it. The problem: it’s crooked, with the shadow of your hand, a table background, a distorted perspective, in a heavy image format — in short, it looks sloppy and is hard to read. A real SCAN, on the other hand: automatically detects the edges of the document, STRAIGHTENS it (corrects the perspective for a clean, front-facing view), ENHANCES the contrast (the text becomes clear and readable, the background pure white), CROPS it properly (no table or fingers left), and saves it as a PDF (the universal document format, lightweight and multi-page). The good news: your phone can do all this, either with a BUILT-IN SCANNING FUNCTION (in the notes or files app of most recent phones), or with a dedicated scanning app. The result is impressive: a document that looks like it came from a real office scanner, obtained in a few seconds with the device in your pocket. Once you know the function, you’ll never send a crooked photo again.
A real scan straightens the document, removes shadows, and turns it into a clean PDF. Your phone can do this just like a scanner, but you need to use the right function.
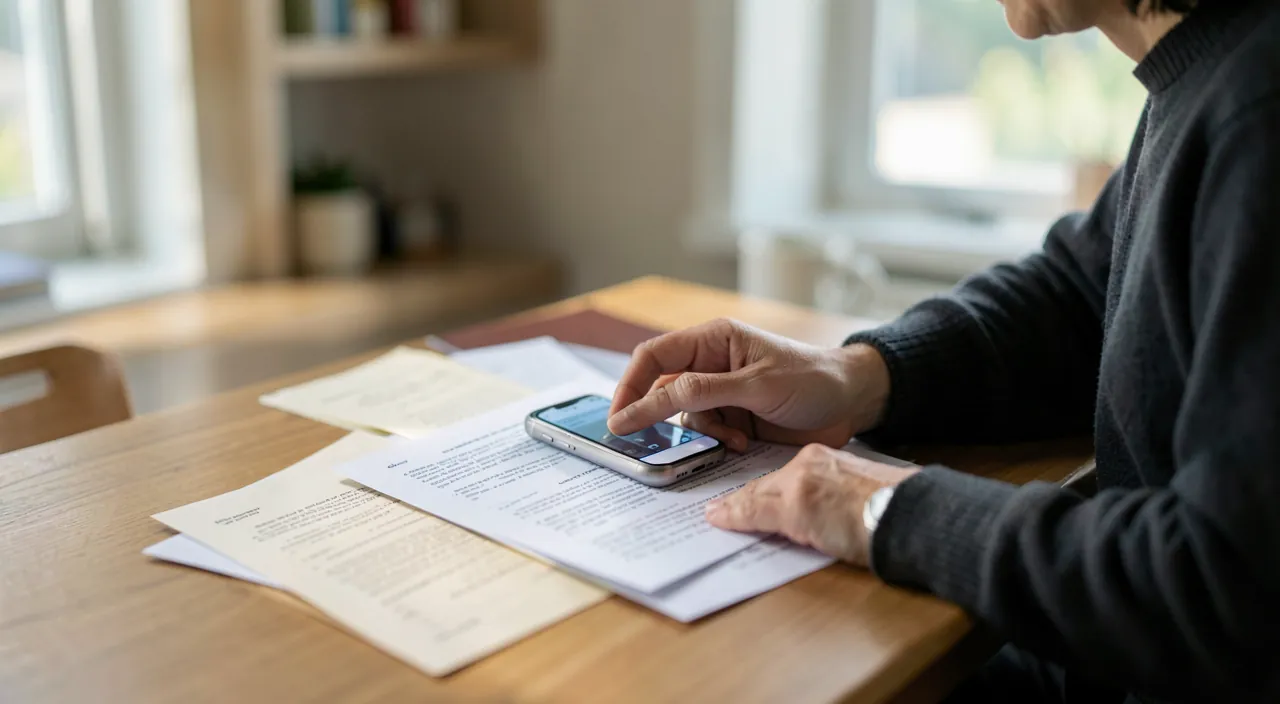
The method for a flawless scan
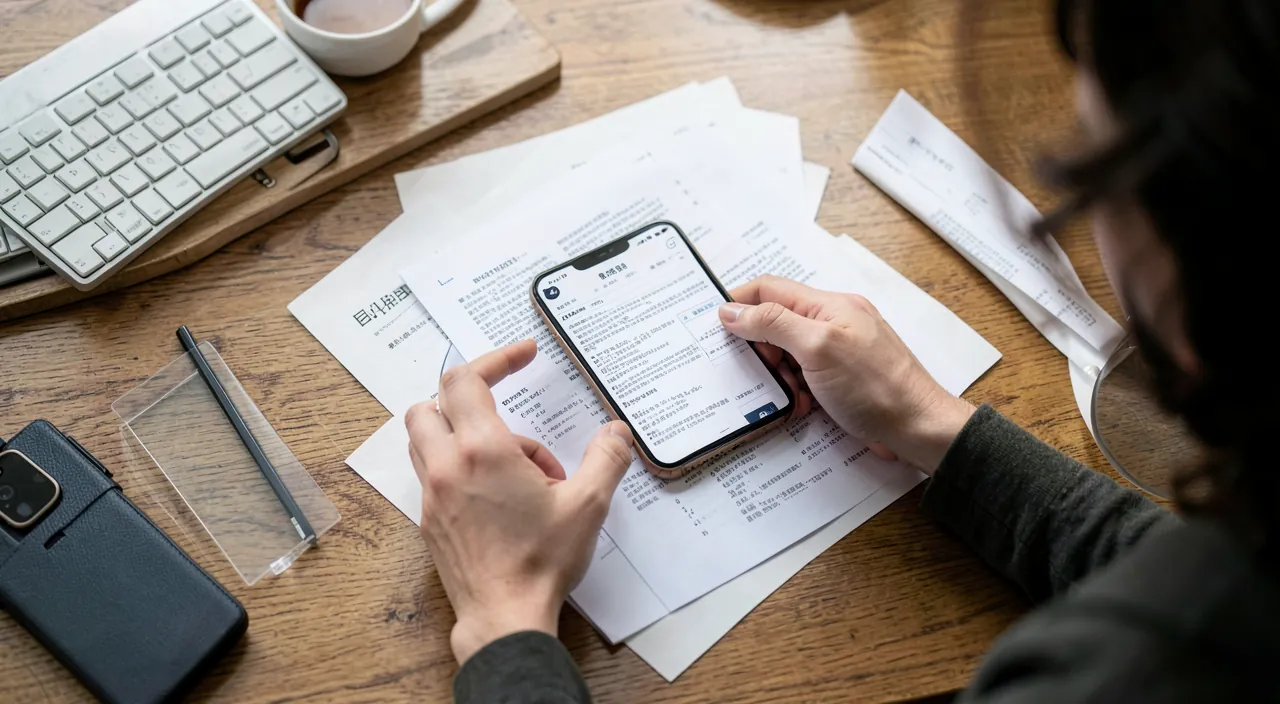
The gestures that make the difference: 1. The lighting — this is THE key factor: position yourself under even lighting (near a window during the day, or under good lighting), and above all AVOID casting your own shadow on the document (don’t stand between the light and the paper); 2. The background — place the paper flat on a CONTRASTING surface (a white document on a dark table: the phone detects the edges better); 3. The framing — hold the phone PARALLEL to the document, directly above, including the entire sheet; 4. Launch the scan function — automatic edge detection usually happens, and often the capture too (otherwise, confirm when the frame is properly positioned); 5. Adjust if needed — most tools allow you to correct the corners, choose color or black and white, and improve the contrast; 6. Multi-page — for a multi-page document, chain the pages in the SAME PDF (much more practical than ten separate images); 7. Name and organize — give the file a clear name (our organization guides) rather than an unfindable “scan_001.” With these habits, every scan is clean, straight, and professional from the first try.
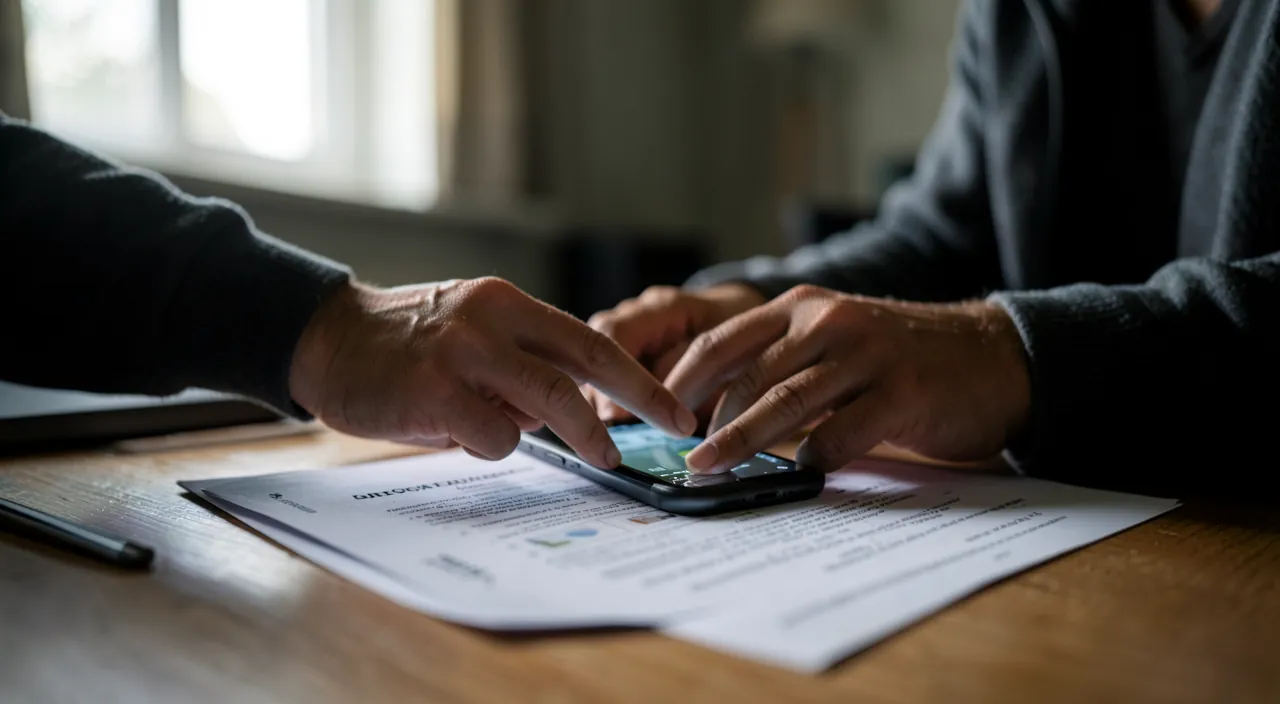
You need to scan a 2-page contract on an A4 sheet. Place it on a dark table, hold your phone parallel above it, and use the built-in scan function. The result is a clean, straight PDF with both pages in one file, ready to send.
The right reflex. First explore what your phone can ALREADY do before installing anything: most recent phones include a scanning function in their Notes or Files app (look for a camera icon or a “scan a document” option). It’s free, ad-free, and keeps your documents locally on the device — a real advantage for often-sensitive papers (our scan app guides for more). Many people install a third-party app when they already have the tool at hand. Test the built-in function on any document: you’ll likely discover a quality scanner you already had, without downloading anything.
How to best use and protect your scans
Once digitized, make the most of them: the PDF is the preferred format (universal, lightweight, multi-page, expected by authorities); some tools add text recognition (the scanned document becomes SEARCHABLE — you’ll find “electricity bill” with a search: invaluable for archiving, our second brain guides); the signature — many tools let you sign a scanned document directly on the screen, then send it without printing (our administrative procedures guides); the organized archiving — sort your scans into clear folders (taxes, health, housing…) and BACK THEM UP (a digitized receipt lost with the phone was useless: our 3-2-1 backup guides). On the SAFETY side, essential because scanned papers are often sensitive (ID, bank details, medical documents): prefer a tool that keeps everything LOCAL, be wary of free and opaque scan apps that send your documents to their servers (our guides on protecting your ID, privacy), and only transmit a sensitive document through a secure channel. Well scanned, well organized, well protected: your phone replaces the scanner AND the filing cabinet — in a more practical way.
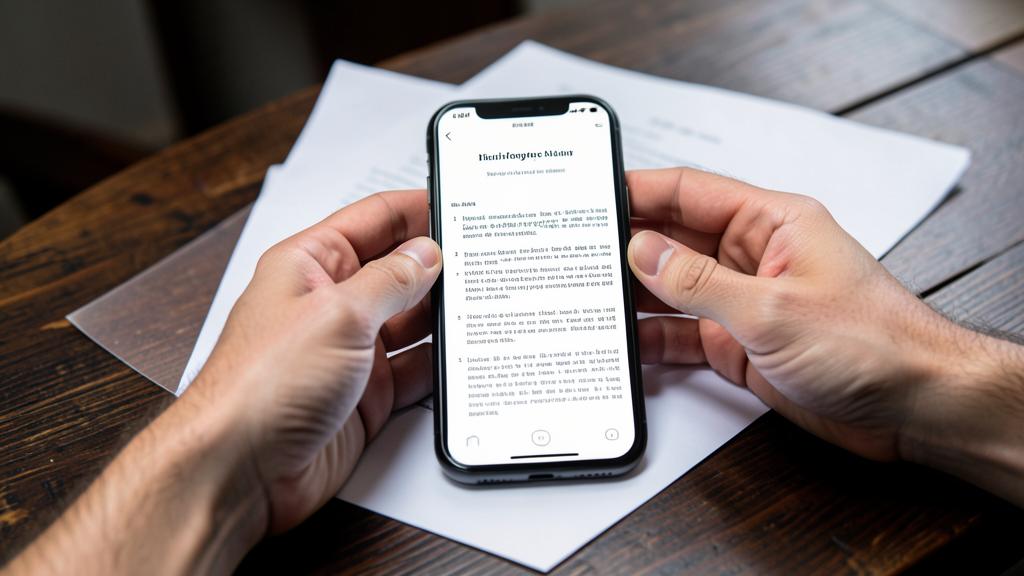
Warning: your scans are sensitive documents, treat them as such. A scan of an ID, bank details, proof of address, or medical document contains information that fraudsters covet (our guides on protecting your ID). Three precautions: prefer the SCAN FUNCTION BUILT INTO your phone or a recognized app that keeps files LOCAL, rather than an unknown free app that uploads everything to opaque servers (the free service whose business model you don’t know often pays with your data); only transmit a sensitive document through a secure channel to a legitimate recipient (never in response to a suspicious email or SMS requesting it — our scam guides); and BACK UP your important scans so you don’t lose them with the phone. The phone is a fantastic scanner: provided you remain in control of where the documents you digitize end up.
Frequently asked questions
Do I need an app to scan with my phone?
Most often, no: recent phones include a scanning function in their Notes or Files app (free, no ads, local storage). Look for it before downloading anything. A dedicated app becomes useful for advanced needs (advanced text recognition, document management, elaborate signatures): then choose one that’s recognized and respects your data. For digitizing a receipt or letter, the built-in tool is more than enough — and better protects your sensitive documents.
How to get a clean, straight scan?
Three keys: the lighting (even, without your shadow on the document), a contrasting background (light paper on a dark surface so the edges are detected), and the phone held parallel directly above the sheet. The scan function then automatically straightens the perspective and enhances the contrast. If the result isn’t perfect, most tools let you adjust the corners and the mode (color or black and white). With these habits, the result rivals a real office scanner.
What format to choose for sending a scanned document?
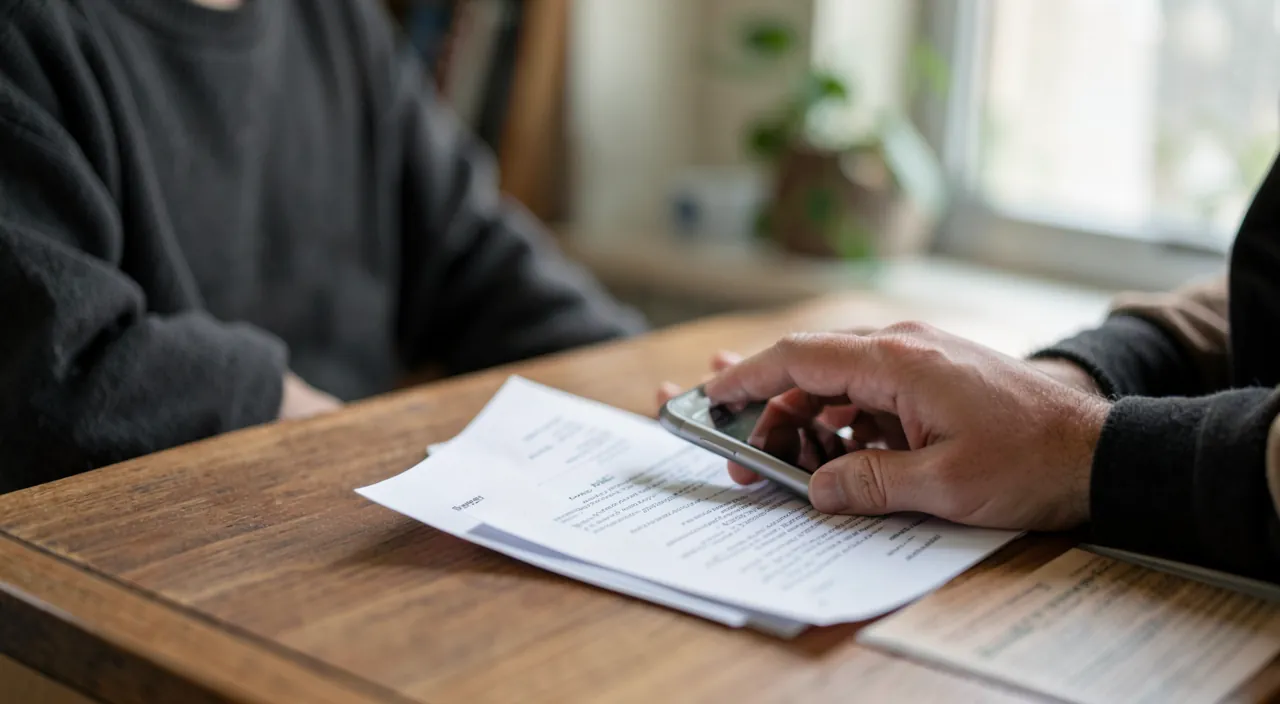
PDF, no hesitation: it’s the universal document format, lightweight, multi-page, expected by authorities and companies. A photo (JPEG) looks sloppy, is heavier, and doesn’t group multiple pages. Scanning tools natively produce PDFs: for a multi-page document, group them in a SINGLE PDF rather than sending scattered images. Name it clearly before sending: a well-named file looks professional and is easy to find later.
What to remember
Your phone is already an excellent scanner: the built-in scanning function (in Notes or Files) detects the edges, straightens the perspective, enhances the contrast, and produces a clean PDF — much better than a crooked photo. For a flawless result: good lighting without cast shadows, a contrasting background, the phone parallel to the document, then adjustments and multi-page if needed, with a clear file name. Then take advantage of text recognition (searchable documents), on-screen signatures, and organized, BACKED-UP archiving. Above all, treat your scans as the sensitive documents they are: prefer tools that keep files local, be wary of opaque free apps, and only transmit your papers through secure channels. The scanner and filing cabinet now fit in your pocket — provided you remain in control of your documents.
Want to gain confidence with your digital tools? Our personalized training adapts to your level.
Leave a Reply
You must be logged in to post a comment.