
In a closet, a shoebox full of yellowing photos; on a shelf, cassettes that nothing can read anymore; in a drawer, wedding slides that grandchildren will never see like this. Each passing year degrades these media a little more — and water damage or a move can wipe everything out in one go. Digitizing your memories isn’t a tech-loving whim: it’s a rescue. This guide shows you how to do it — yourself or through a service provider — to help what matters most cross the test of time.
Why it’s urgent (really)
Physical media dies in silence: photos and prints yellow, stick together, fade in the light; video cassettes demagnetize — their tapes lose their content even when stored carefully, and the VCRs to play them disappear; slides and negatives mold and scratch; home movies become unreadable due to lack of projectors. The rescue window is slowly closing — but as long as the media is readable, everything is recoverable, often with surprising quality. Digitization turns these fragile originals into eternal files: copyable, shareable, restorable — and finally, watched.
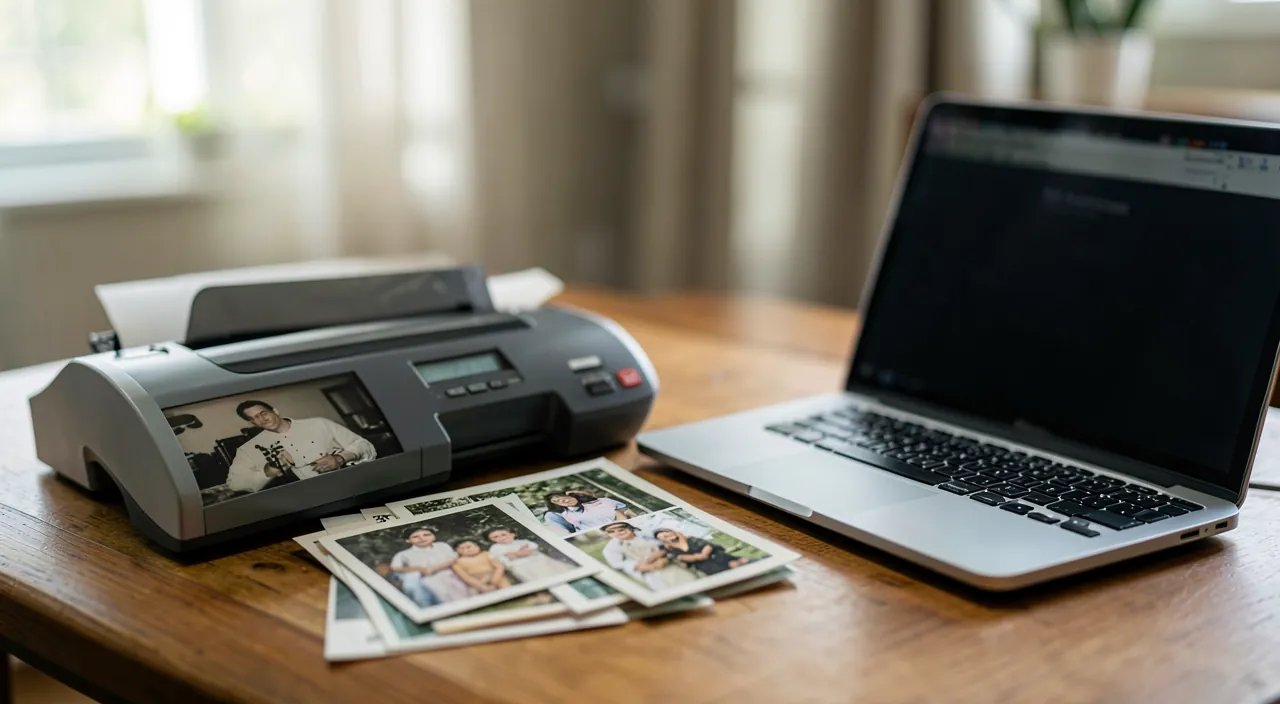
Old photos, tapes, and slides are slowly disappearing. Digitizing them saves them forever in a way you can share and keep safe.
A family’s 1980s wedding video on VHS was digitized at 600 dpi. The original tape was already showing signs of demagnetization, but the digital copy restored the colors and sound clearly, preserving the ceremony for future generations.
Doing it yourself: what and how
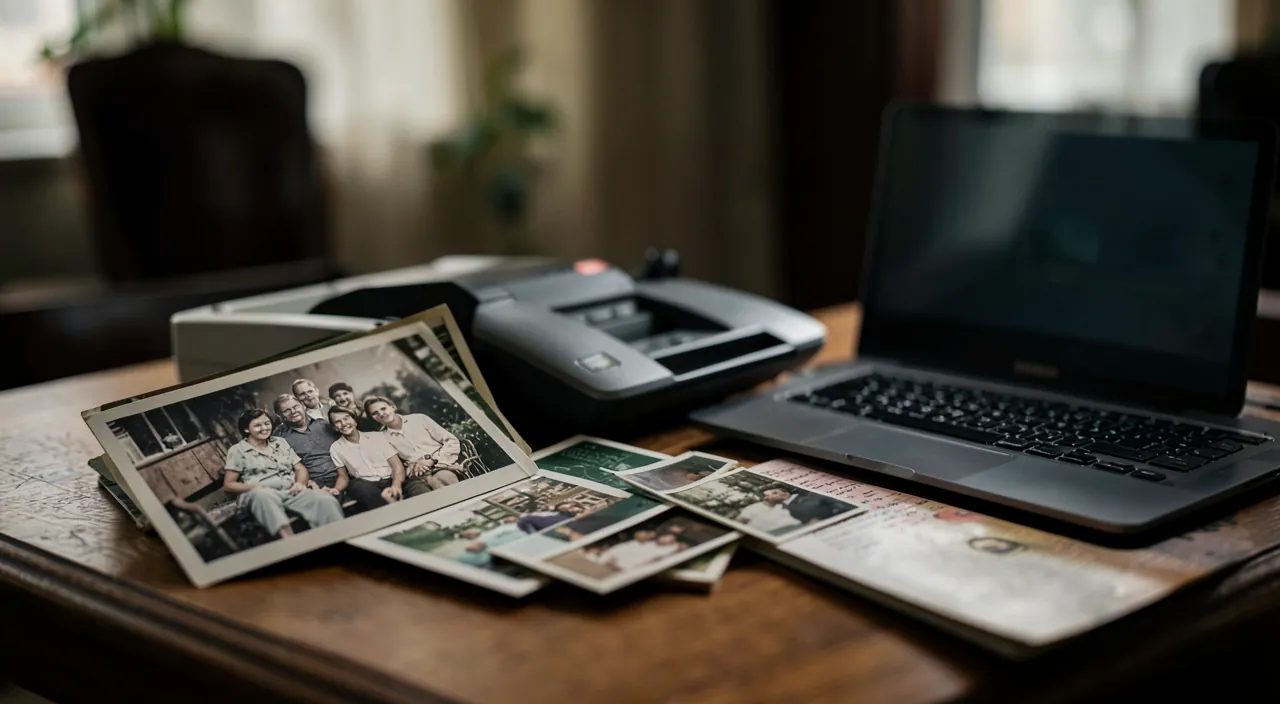
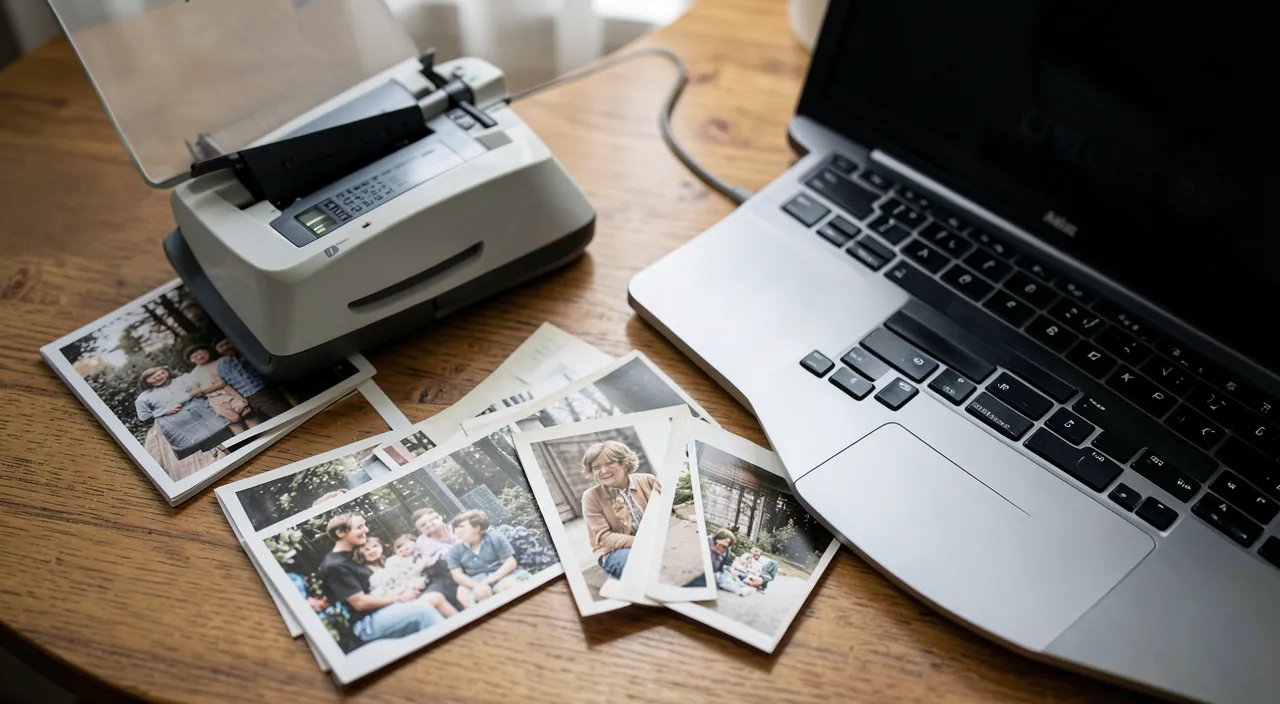
Paper photos — the most accessible: a flatbed scanner (or a serious scanning app on a smartphone, surprisingly good for prints) and some method: gently clean, scan at good resolution (300 to 600 dpi for prints), name and sort as you go. Expect a steady pace: better to keep a one-hour-per-week rhythm than to abandon a titanic project. Slides and negatives: possible to do yourself with the right scanner, but demanding — often the best candidate for a service provider. Cassettes and films: home digitization requires a working original player and a capture device — doable for well-equipped enthusiasts, but this is the case where a service provider fully justifies itself.
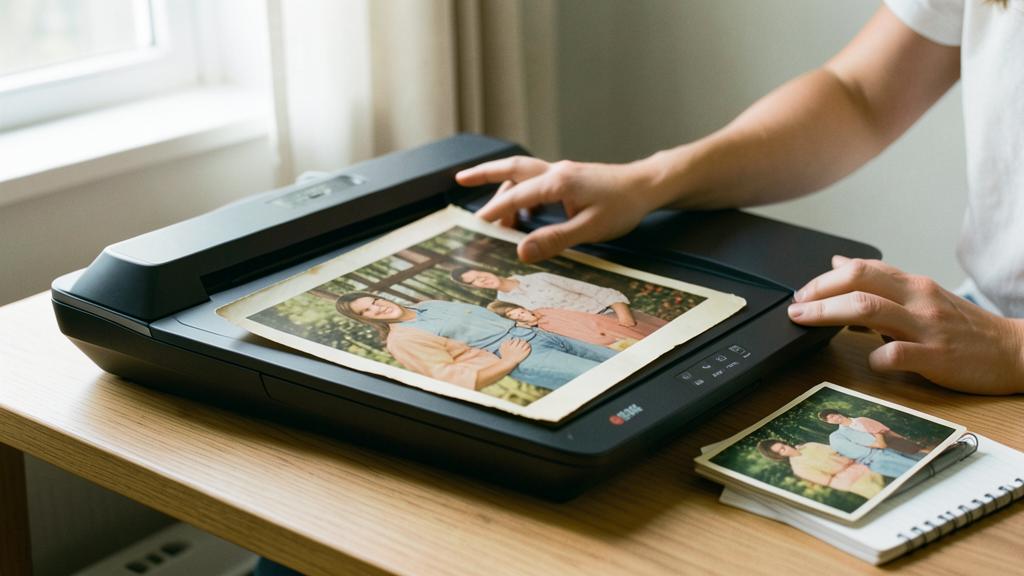
The right reflex. Start with source sorting: not all photos deserve digitization — duplicates, failed shots, anonymous landscapes can stay in the box. Digitize the precious first: faces, events, deceased loved ones, unique photos. A 20% sort that captures 90% of the value — and a project that suddenly becomes realistic. And while sorting, note on the back or in the caption who, where, when: that memory also fades.

Using a service provider: when and how
For large volumes, delicate media (cassettes, films, slides in bulk) or simply for realism, digitization services do a clean job: you send or drop off the media, and you get back the files and originals. Points to check before entrusting your treasures: the reputation of the provider (reviews, longevity), the processing (resolution, color correction included or not), the fate of the originals (systematic return — refuse any destruction), and insurance for shipping unique media — or prefer in-person drop-off when possible. The cost is per cassette or per batch of photos: compared to the value of what is saved, it is rarely regretted.
After digitization: making files live (and survive)
Digitizing without organizing or backing up would only move the problem. Sort simply — folders by decade or event, descriptive file names; back up in multiple copies — the usual rule: two different media plus one off-site or cloud copy; these files are now your only eternal originals, treat them as such. And above all, share: an online album for the family, a slideshow at the next meeting, restored prints as gifts — digitization takes on its full meaning when memories start circulating again. Photos then regain their true purpose: to be looked at, commented on, passed on.
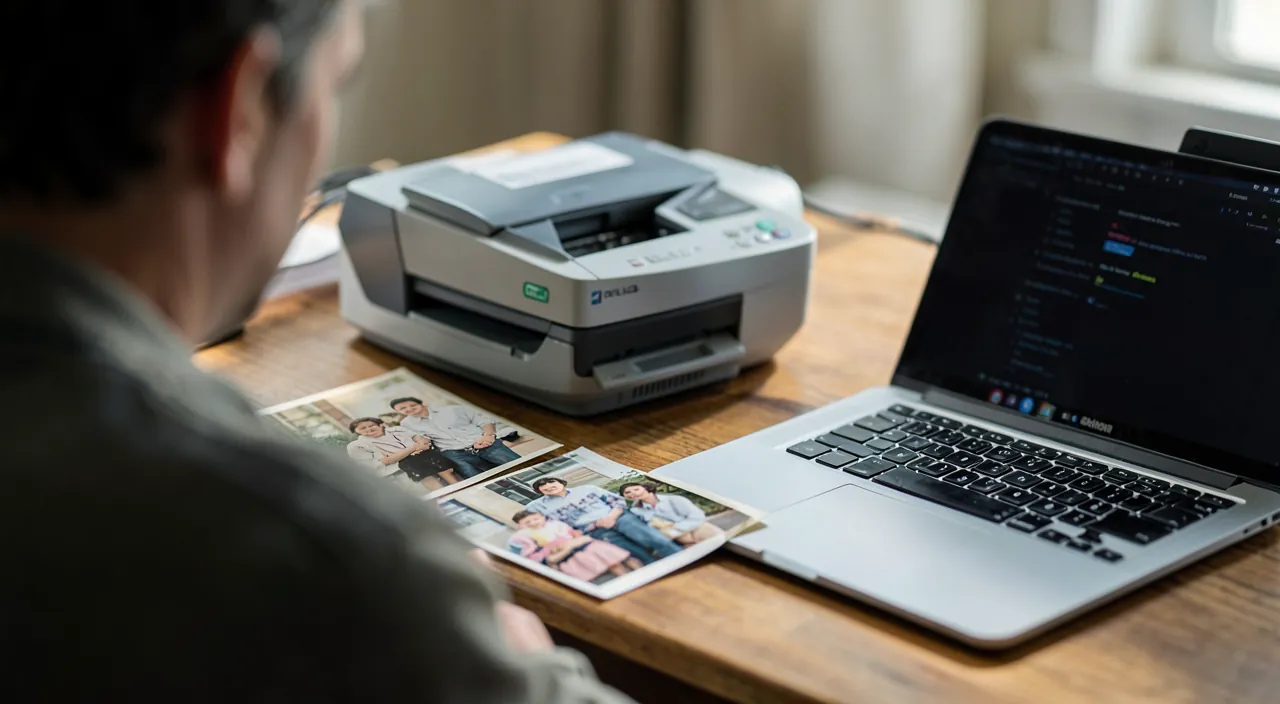
What not to do. Never throw away the originals after digitization — they remain the best quality source (scanning techniques improve) and objects with their own sentimental value. Store them better: suitable boxes, away from humidity and light. And don’t wait for the “perfect project”: each month of waiting degrades the tapes — start with just one cassette, the most precious one, this week.
Frequently asked questions
What quality to expect from old cassettes?
Digitization restores what the tape still contains — with its era’s grain, which is part of the charm. Restoration tools (stabilization, colors) then significantly improve it. Don’t aim for modern perfection: aim for rescue.
In what format to save?
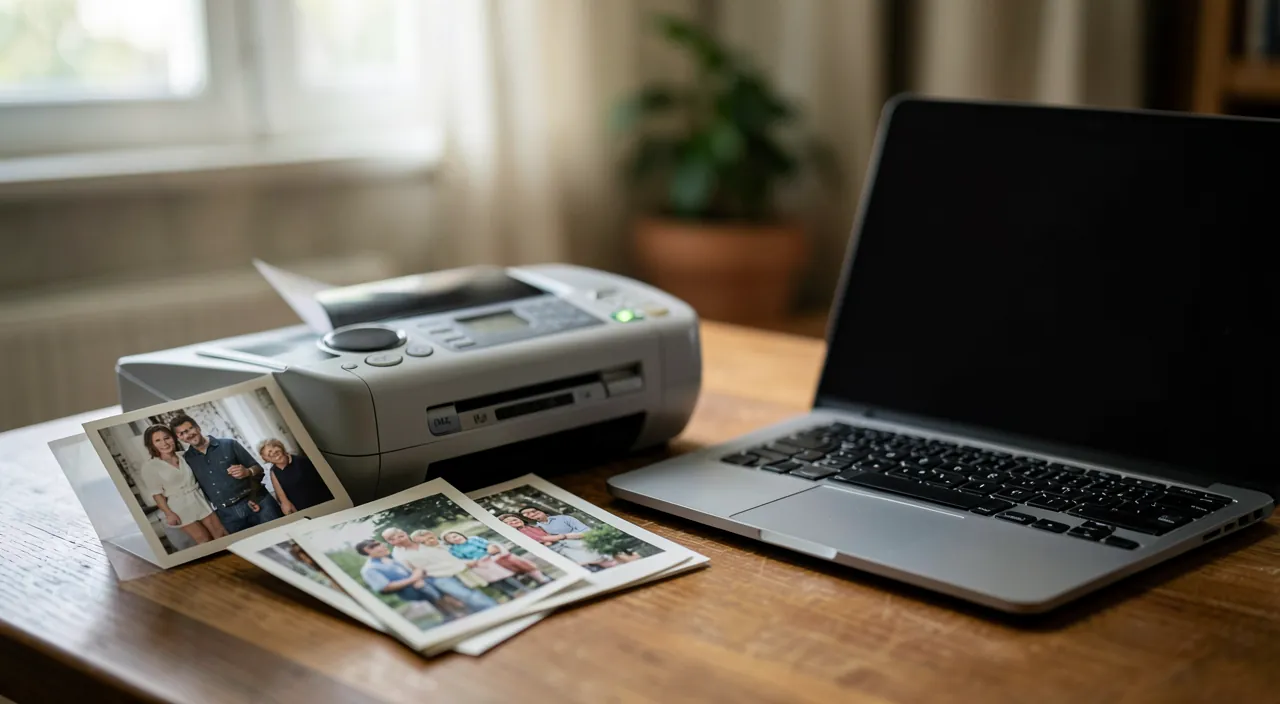
Common and enduring formats: JPEG (or TIFF for demanding archiving) for photos, MP4 for videos. Readability in twenty years depends more on the format’s simplicity than its sophistication.
Where to start when everything is in a mess?
With the most fragile and precious: cassettes of unique events and photos of loved ones. The rest will follow — or not, and that’s fine: rescue doesn’t require exhaustiveness.
What to remember
Your analog memories are living on borrowed time: tapes that demagnetize, photos that fade, players that disappear. Digitization saves them — provided you get started: sort first (the precious before the exhaustive), digitize paper photos yourself at your own pace, entrust cassettes and large volumes to a verified service provider who returns the originals. Then treat the files as treasures: sorted, backed up in three copies, and above all shared — because digitized memories that sleep on a disk are hardly better than in their box. Start this week, with one cassette: the one you’d be inconsolable to lose.
Want to improve your digital skills? Our personalized training adapts to your level.
Leave a Reply
You must be logged in to post a comment.