
You have an iPhone capable of taking stunning photos, but your shots don’t turn out as you hoped? The good news is that quality depends far more on technique than on equipment. With a few adjustments and simple principles, you can radically transform your photos—without expensive apps or professional skills. This guide gives you the keys to photograph like a pro with your iPhone.
Light above all
The secret to a great photo isn’t the camera, but the light. Soft, natural light—near a window, at the start or end of the day—flatters all subjects. On the other hand, harsh midday light or poorly managed backlighting ruins even the best composition. Learn to observe the light before you shoot: it’s the move that sets an average photo apart from a successful one.
Good photos rely on good lighting. Natural, soft light makes everything look better, while harsh light can ruin a shot. Always check the light before taking a picture.
Imagine you’re taking a portrait at noon. The sun is high, casting harsh shadows. Instead, wait until golden hour (just after sunrise or before sunset) for softer, warmer light that enhances your subject’s features.

Careful framing
A good frame transforms an image. Turn on the grid in the camera settings: it helps you place your subject according to the rule of thirds, rather than in the center. Also think about the background: a clean backdrop highlights the subject, while a cluttered one drowns it out. Take a second to compose your shot instead of photographing in a rush.
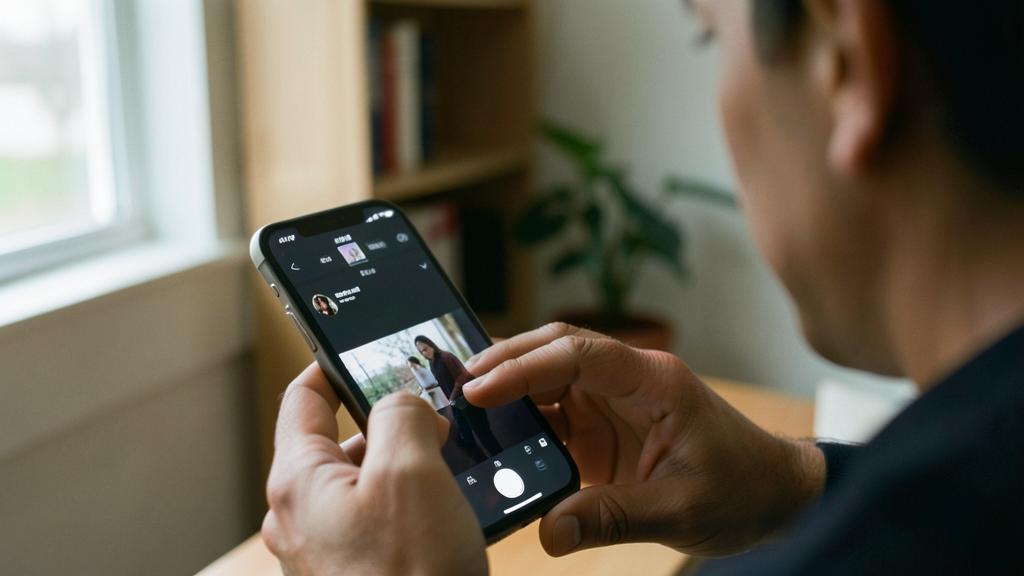
The right reflex. Tap the screen to focus on your subject, then slide your finger up or down to adjust the brightness before shooting. This simple gesture gives you immediate control over exposure and avoids photos that are too dark or overexposed.

Making the most of camera modes
Your iPhone is packed with useful modes. The portrait mode creates that beautiful background blur that isolates the subject. The night mode captures dark scenes that would otherwise be impossible. The formats and proportions adapt to your intention. Take the time to explore these options: they significantly expand your creative possibilities without any third-party apps.
Editing, the final touch
Even a good photo benefits from light editing. The built-in tools let you adjust brightness, contrast, and colors in a few gestures. The goal: enhance without distorting. A subtle edit elevates an image; an excessive one betrays it. Cropping to tighten the focus is often the most effective improvement.
- Adjust brightness to balance exposure.
- Increase contrast for more depth.
- Modify colors for mood and impact.
- Crop to remove distractions or reframe.
Avoid this. Don’t overuse digital zoom: it degrades quality by simply « enlarging » pixels. It’s better to physically move closer to your subject or shoot wider and crop later. Pushing digital zoom turns a beautiful scene into a blurry, pixelated image.
Frequently asked questions
Do you need the latest iPhone for great photos?
No. Even an older iPhone takes excellent photos with good technique. Light and framing matter far more than the model.
Do you need photo-editing apps?
Not necessarily: the built-in tools are enough for most needs. Third-party apps only add value for advanced use.
Key takeaways
Photographing like a pro with an iPhone comes down to technique, not equipment: prioritize light, compose with the grid, use modes (portrait, night), and finish with light editing. Avoid digital zoom by getting closer instead. These simple principles, once adopted, will permanently transform your photos. The best camera is the one you always have with you: just learn to make the most of it.

Want to improve your mobile photography and editing?
Leave a Reply
You must be logged in to post a comment.