
Your iPhone camera is probably the best camera you’ve ever owned — and you’re likely only using a small part of it. Most people just press the button without knowing the many features that could help them take better photos more often: quick settings, special modes, framing tips, portrait, night, burst. No need to be a photographer: a few simple reflexes transform your shots. Here’s how to get the most out of your iPhone camera, with tips for everyone.
What your iPhone camera can do
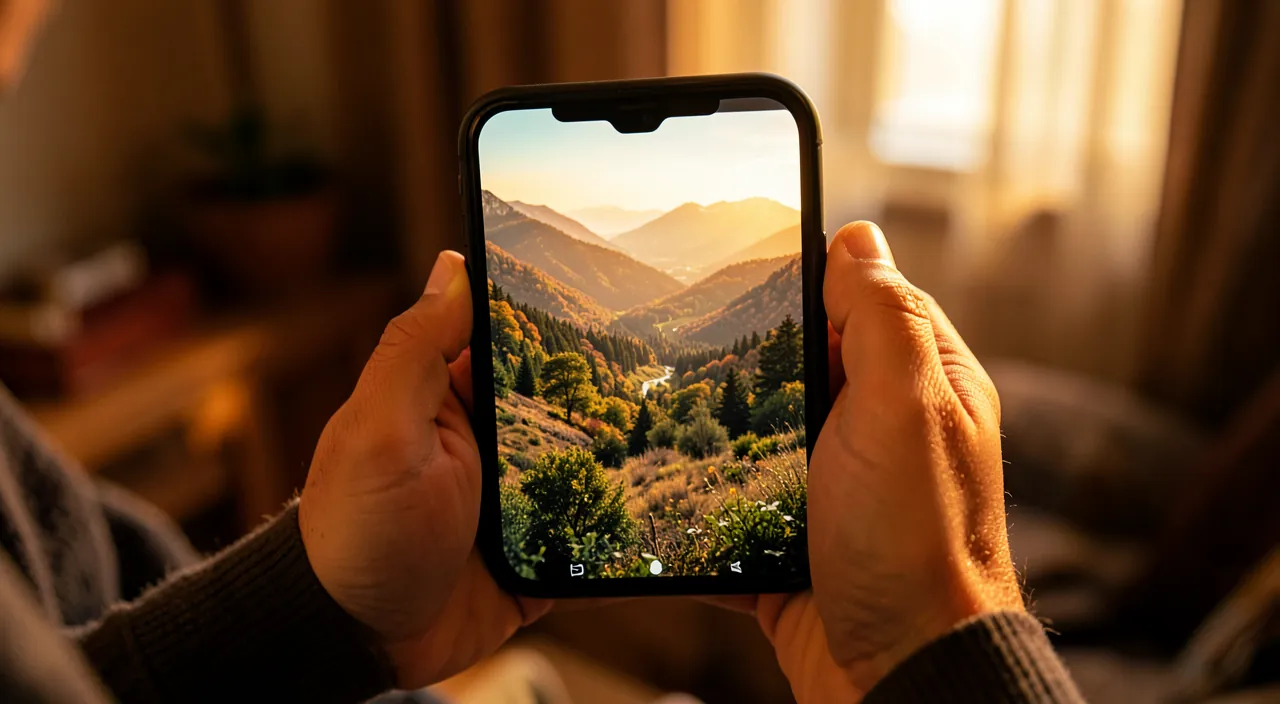
Your iPhone camera is far more than just a shutter button; it’s packed with useful features, often overlooked. The CAMERA MODES: standard photo, but also PORTRAIT (with a nice background blur that highlights the subject), NIGHT mode (for low-light photography), PANORAMA (for wide landscapes), SLO-MO and time-lapse for videos, and more. FOCUS and EXPOSURE: by touching the screen, you choose where to focus; you can also adjust brightness; two simple gestures that greatly improve photos. ZOOM: zoom (with caution, see below), and on some models, multiple lenses (wide-angle, telephoto) for different framing. BURST: take a series of photos in quick succession to capture the perfect moment (a child, a moving animal) and keep the best one. SELF-TIMER: to take a group photo, place the phone and set the timer. COMPOSITION TOOLS: a grid to frame straight, a level to avoid tilting. INTEGRATED EDITING: after taking the shot, you can crop, straighten, adjust light and colors directly (see our guides on editing photos on your phone). PRACTICAL FEATURES: scan a document or a QR code, extract text from a photo, take a photo while recording a video. QUICK SETTINGS: flash, timer, formats, accessible directly in the app. What’s the point? To SUCCEED more often with your photos; to ADAPT to situations (portrait, night, movement); to CAPTURE the right moment (burst); and to improve your shots without being an expert. The key idea: the iPhone camera is extremely capable, but most people only use a fraction of it; by knowing a few simple functions — focus and exposure with a touch, portrait and night modes, burst for movement — you transform the quality of your photos without knowing anything about photography. No need to be a pro: a few well-chosen reflexes make all the difference. It’s mostly about going beyond the simple « press the button » to use the tools already in your pocket.
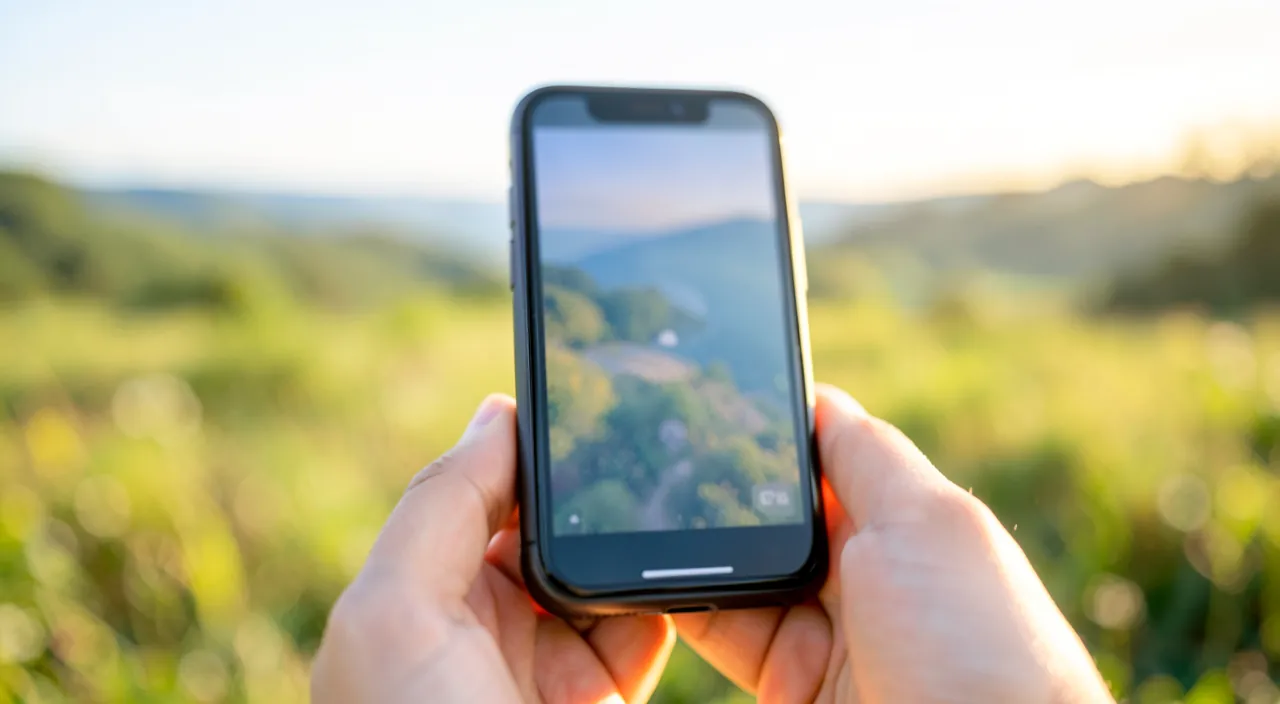
Your iPhone camera has many hidden features that can instantly improve your photos. The key is to use simple gestures (like touching to focus) and choose the right mode (like portrait or night) for each situation. This way, you get better results without needing to be a photography expert.
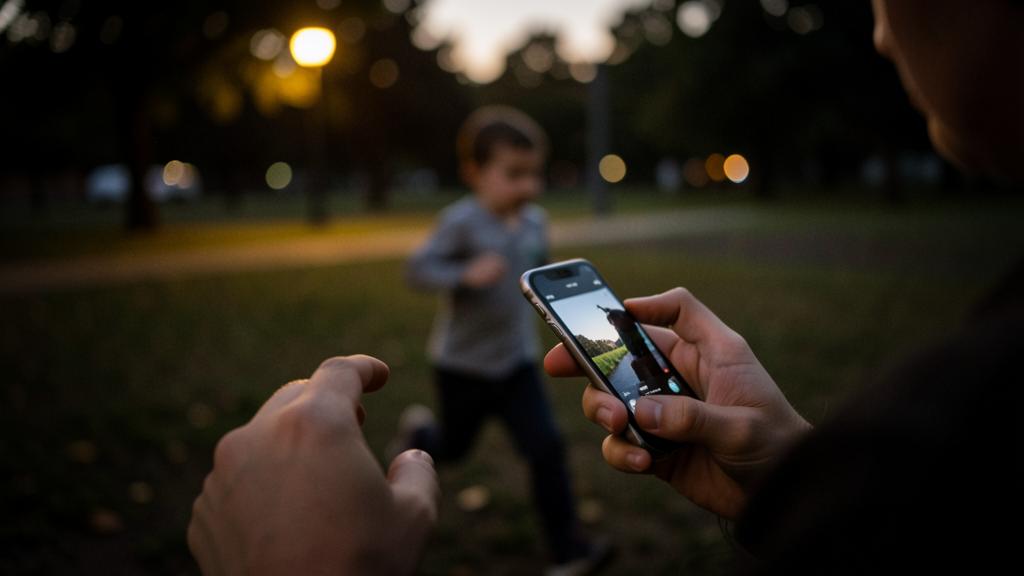
Imagine photographing your child running in the park at dusk. You’d use portrait mode to blur the background and highlight your child, night mode to handle the low light, and burst mode to capture the perfect moment from a series of shots. This combination of features turns an ordinary moment into a professional-looking photo.
Tips for taking better photos
Here are simple, accessible tips for better photos. Touch to set FOCUS — before taking the shot, touch the screen where you want the subject to be sharp: the camera focuses there; a simple gesture that avoids blurry photos in the wrong place. Adjust BRIGHTNESS — after touching for focus, you can slide your finger to make the photo brighter or darker; very useful when the photo is too dark or too bright. Use PORTRAIT mode — for a nice portrait of a person (or object, animal), portrait mode blurs the background beautifully and highlights the subject; guaranteed « pro » effect. Switch to NIGHT mode in low light — when light is scarce, night mode (often automatic) captures more light for a successful photo where, before, everything would have been black; hold the phone steady during the shot. Use BURST for movement — to photograph something moving (a running child, an animal, a jump), use burst (a series of photos); you’ll keep the best image from the series; ideal for not missing the moment. Frame with the GRID — enable the grid in settings: it helps you frame straight and compose better (place the subject, keep the horizon level). Take care of LIGHT and STABILITY — good lighting (avoid backlight, prefer soft light) and a steady phone (stable) make up 80% of a good photo; these are the basics. Use the SELF-TIMER — to be in the photo with others, place the phone, set the timer, and join the group. EDIT after the fact — don’t hesitate to crop, straighten, adjust light after taking the shot, directly in the app; a small edit often improves things significantly (see our guides on editing photos on your phone). Explore PRACTICAL FUNCTIONS — scan a document, a QR code, extract text from a photo: the camera does much more than just take photos. Some TIPS: touch for focus (the most rewarding gesture); use portrait and night according to the situation; and take care of light and stability (the fundamentals). In short: touch for focus and adjust brightness, use portrait mode for subjects and night mode in low light, use burst for movement, frame with the grid, take care of light and stability, use the self-timer, and edit afterward. These simple reflexes transform your photos.
The right reflex. If you had to remember just ONE gesture to instantly improve your photos, it would be this one: before taking the shot, TOUCH the screen where you want the subject to be sharp. This simple gesture tells the camera where to FOCUS; without it, the camera guesses (sometimes poorly), and you get blurry photos in the wrong place — the subject blurry and the background sharp, for example. By touching your subject, you ensure it will be sharp. And while you’re at it, a second equally useful gesture: after touching for focus, SLIDE your finger up or down to adjust BRIGHTNESS; this saves photos that are too dark (e.g., a face in backlight) or too bright in an instant. These two gestures — touching for sharpness, sliding for light — are the most rewarding of all, and yet few people know them. Then, adapt the MODE to the situation: to photograph a person, an animal, or an object while highlighting it nicely, use PORTRAIT mode (it blurs the background for a « professional » effect); in low light, let NIGHT mode capture the light (while holding the phone very steady); and for everything that MOVES (a playing child, an animal, a fleeting moment), use BURST — a series of photos from which you’ll keep the best, which avoids missing the right moment. Finally, don’t forget the fundamentals that make up most of a good photo, regardless of technique: good LIGHT (avoid backlight, look for soft light) and a phone held STEADY at the moment of the shot. One last liberating reflex: don’t be afraid to EDIT your photos afterward (crop, straighten, brighten) directly in the app; a small edit fixes and enhances many shots. Touch for focus, adapt the mode, take care of light and stability, edit afterward: with these simple reflexes, without knowing anything about photography, you’ll succeed more often with your photos.
Limits and good advice
The iPhone camera is excellent, but a few limits and tips help you get the most out of it without making mistakes. DIGITAL ZOOM, to be used sparingly: zooming a lot with the phone (beyond the real lenses) degrades quality (the image becomes blurry, grainy); it’s better to GET CLOSER physically to the subject when possible, or zoom moderately; « optical zoom » (via a real second lens on some models) is of better quality than « digital zoom » (which enlarges and degrades). LIGHT remains king: even the best camera struggles in poor conditions; insufficient light, strong backlight result in disappointing photos; always take care of the light, it’s the number one factor. FLASH, in moderation: the phone flash often gives harsh, unflattering light; prefer natural light or night mode; reserve the flash for cases where there’s really no other solution. STABILITY: a moving phone results in blurry photos, especially in low light; hold it firmly, brace yourself, or place it. STORAGE SPACE: photos and especially videos take up a lot of space; a full phone can no longer take photos; free up space and back up regularly (see our guides on freeing up space on your phone). BACKUP, essential: your photos are precious; make sure they’re backed up (cloud, computer) to avoid losing them (see our guides on backing up photos). PRIVACY: be careful what you photograph and share; photos sometimes contain information (location, date); think before sharing, especially photos of other people (their consent) or private places. DON’T OVER-EDIT: light editing improves; excessive editing (oversaturated colors, heavy filters) distorts; keep it measured, and keep the original. QUALITY is enough for the essentials: no need to aim for technical perfection; the important thing is to capture the moment; a photo taken is better than a « perfect » photo missed. In short: avoid excessive digital zoom (get closer), always take care of light (the key factor) and stability, use the flash in moderation, manage your space and BACK UP your photos, respect privacy, and don’t over-edit. These good reflexes let you fully enjoy an excellent camera, without its pitfalls.
Warning: your photos are precious — back them up, and manage your storage space. Beyond the tips for taking better photos, two practical points deserve your attention, as they affect what really matters: not losing your memories. First, BACKUP. You probably take a lot of photos with your iPhone: precious, irreplaceable moments. But if these photos exist ONLY on your phone, they’re in danger: a phone can be lost, broken, stolen, or fail, and all your memories disappear with it. Make sure your photos are BACKED UP elsewhere — in the cloud (automatic backup is the easiest) and/or on a computer or external drive. This is the only true protection against losing your memories; don’t put this backup off. Then, STORAGE SPACE. Photos, and especially videos (which are very heavy), quickly fill up a phone’s memory; a phone with full storage can no longer take photos (the worst time to realize this is when you want to capture a moment!) and performs less well. So regularly free up space (by transferring and backing up your photos elsewhere, then freeing up space) to always be able to photograph. A third point of vigilance, more discreet: PRIVACY. Think about what you PHOTOGRAPH and especially what you SHARE. Your photos may contain information you don’t suspect (the location and date of the shot, for example), and sharing a photo is sometimes difficult to remove later. Be particularly attentive when you photograph OTHER people (their consent is required to share their image, especially children) or private places. Finally, a word about EDITING: lightly editing a photo often improves it, but avoid over-editing (garish colors, heavy filters) that distorts, and always keep the original in case. In short, beyond technique: back up your photos (against loss), manage your storage space (to always be able to photograph), and respect privacy (yours and others’). The best camera in the world is useless if you lose the photos it took; protect your memories as much as you care for your shots.
Frequently asked questions
How to avoid blurry photos?
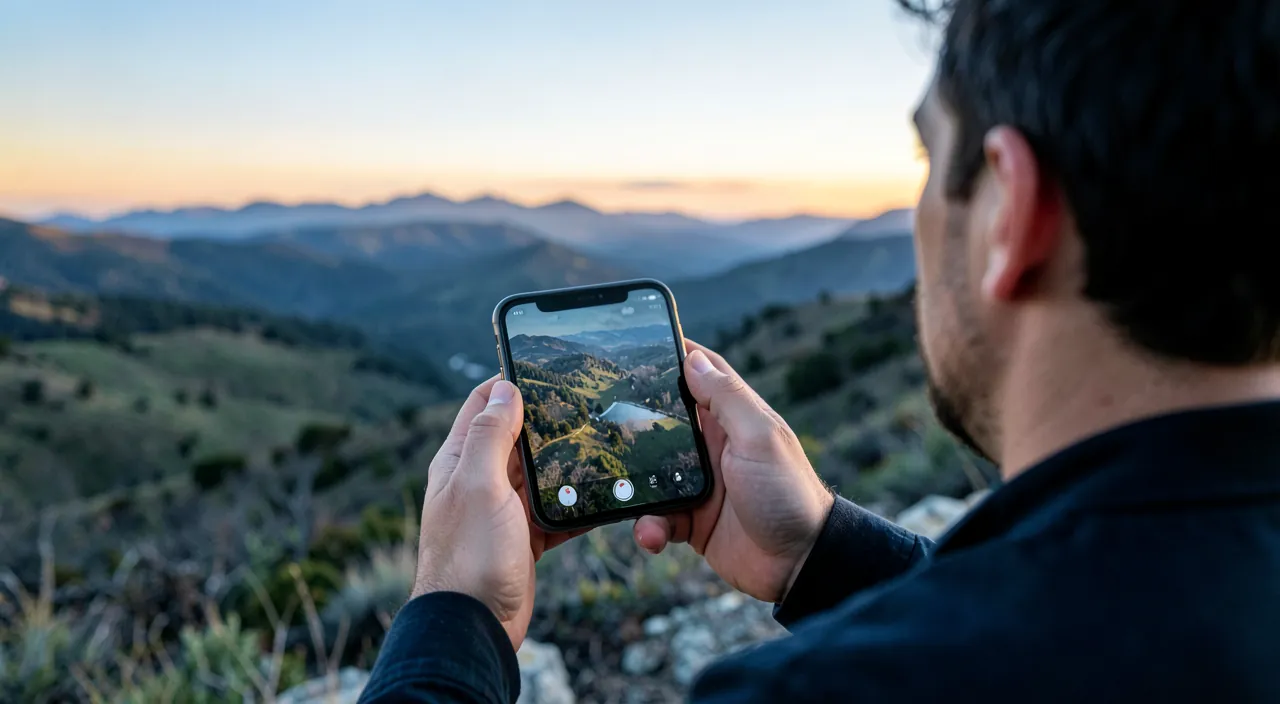
Blurry photos usually have two causes, and both are easily fixed. First cause: FOCUS in the wrong place. If the camera focuses on the background instead of your subject, the latter appears blurry. The solution is simple: before taking the shot, TOUCH the screen on your subject; the camera then focuses on it, and it will be sharp. This is the most important gesture for sharp photos. Second cause: MOVEMENT — either yours (the phone moves at the moment of the shot), or that of the subject. To avoid motion blur: hold your phone FIRMLY with both hands, brace your elbows against your body or lean on something stable, and press the shutter gently (a sudden press makes the phone move). This is especially important in low light, where the camera needs more time to capture light, making motion blur more frequent; in dim light, stability is crucial (place the phone or brace yourself if possible). If your SUBJECT moves (a child, an animal, an action scene), the best defense is BURST: take a series of photos in quick succession, and you’ll keep the one where the subject is sharp and well positioned; this is far more effective than trying to capture « the » right moment in a single photo. Finally, occasionally clean the lens of your camera (on the back of the phone): fingerprints or dust on it make all your photos slightly blurry or hazy, and many people overlook this; a soft cloth fixes it. In short, for sharp photos: touch to focus on your subject, hold the phone very steady (especially in low light), use burst for moving subjects, and keep the lens clean. These reflexes eliminate the vast majority of blurry photos.
Does the iPhone zoom degrade photo quality?
It depends on the type of zoom: you must distinguish « optical » zoom from « digital » zoom, as they don’t have the same effect on quality. OPTICAL ZOOM uses a real second lens of the camera (a telephoto lens, present on some iPhone models): it truly brings the subject closer WITHOUT quality loss, like a real camera zoom. If your iPhone has such a lens, using it (often via a button indicating a specific magnification) gives excellent results. DIGITAL ZOOM, on the other hand, only ENLARGES the image by « stretching » the pixels: beyond what the real lenses allow, the camera digitally zooms, which DEGRADES quality; the more you zoom this way, the more the image becomes blurry, grainy, and loses detail. It’s this excessive digital zoom that gives disappointing photos. The right reflex: zoom with MODERATION, and whenever possible, prefer to PHYSICALLY get closer to the subject rather than zooming a lot; your legs are the best zoom, without quality loss. Use optical zoom (the real second lens) if your model has one; but avoid pushing digital zoom to the max, unless you really have no choice and quality doesn’t matter. An alternative: take the photo without zooming too much, then CROP it afterward in the app to « bring the subject closer »; the result is often comparable, or even better, than excessive digital zoom, and you keep control. In short: optical zoom (real lens) doesn’t degrade quality; digital zoom (enlargement) degrades it the more you use it; so get closer when you can, zoom little, and crop afterward if needed.
Which mode to use depending on the situation?
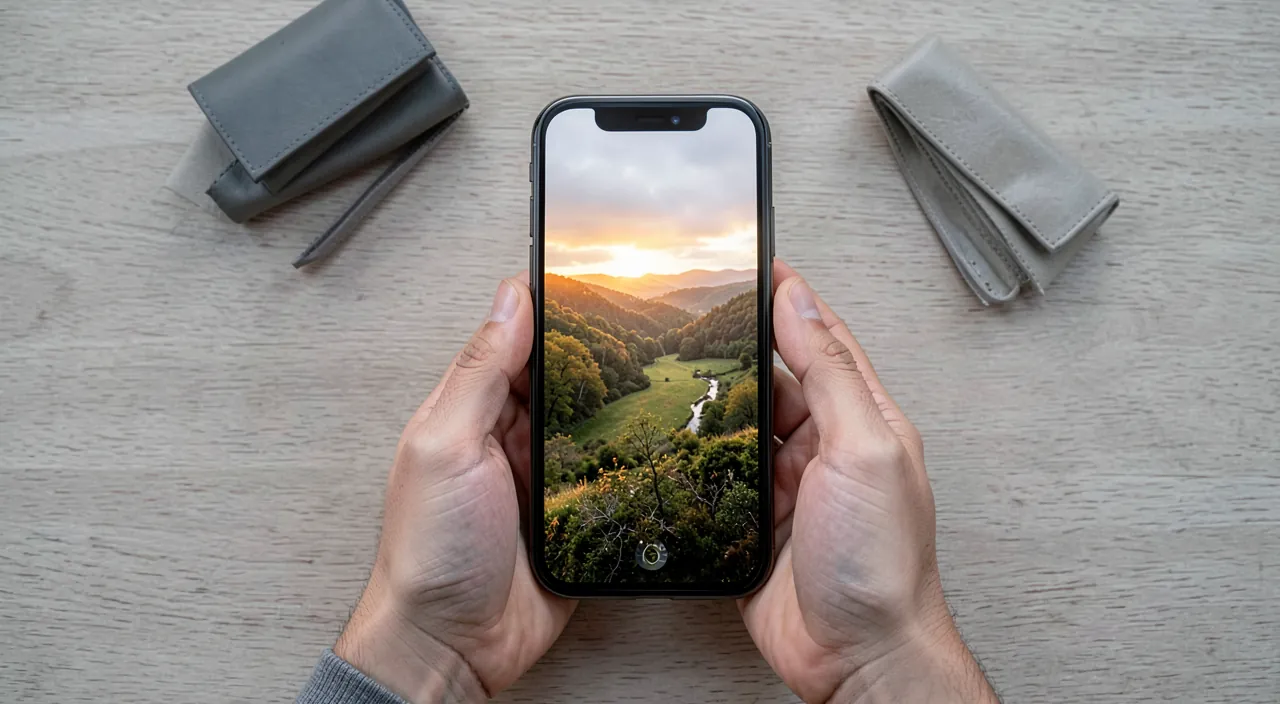
Adapting the camera mode to the situation is one of the secrets to succeeding more often with your photos; here are the main modes and when to use them. The standard PHOTO mode is suitable for most common situations in good light: it’s your default mode. PORTRAIT mode is designed to highlight a specific SUBJECT (a person, an animal, an object, a flower): it creates a nice background blur that isolates the subject and gives a « professional » effect; perfect for portraits and careful close-ups. NIGHT mode activates (often automatically) when LIGHT IS LACKING: in dim light, a dark interior, in the evening; it captures more light for successful photos where, otherwise, everything would be black; hold the phone very steady during the shot, which takes a little longer. PANORAMA mode is ideal for large LANDSCAPES or wide scenes that don’t fit in a normal frame: you slowly sweep the scene and the camera assembles a very wide image. For everything that MOVES (a running child, an animal, an action scene), think of BURST: a rapid series of photos from which you’ll keep the best one. For VIDEOS, you also have SLO-MO (for a spectacular effect on movement) and time-lapse (to speed up a long scene, like a sunset). The general principle: take the reflex to ask « what’s my situation? » before photographing — a subject to highlight (portrait), little light (night), a large landscape (panorama), movement (burst) — and choose the appropriate mode. This small reflex makes a big difference in your results, without any technical knowledge: you just have to use the tool that your iPhone already provides for each type of scene.
What to remember
Your iPhone camera is remarkably capable, but most people only use a fraction of it. By knowing a few simple functions, without knowing anything about photography, you transform the quality of your photos. The most rewarding gesture: before taking the shot, TOUCH the screen on your subject to focus on it (no more blurry photos in the wrong place), and slide your finger to adjust BRIGHTNESS (to save photos that are too dark or too bright). Then, adapt the MODE to the situation: PORTRAIT to highlight a subject (with a nice background blur), NIGHT when light is lacking, PANORAMA for large landscapes, and BURST for everything that moves (a series from which you’ll keep the best image). Frame with the grid, and always take care of the fundamentals: good LIGHT (avoid backlight) and a phone held STEADY make up most of the success. Don’t be afraid to EDIT your photos afterward (crop, straighten, brighten), a small edit improves things a lot. Keep a few limits in mind, however: DIGITAL ZOOM degrades quality (get closer instead, or crop afterward); the FLASH gives unflattering light (prefer natural light or night mode); and keep the lens clean (fingerprints blur photos). But beyond technique, remember what really matters: BACK UP your photos (in the cloud and/or on a computer), as these memories are precious and a phone can be lost or broken; MANAGE your storage space (photos and videos quickly fill up memory, and a full phone can no longer take photos); and respect PRIVACY (yours and others’, especially for sharing photos of people). The best camera is useless if you lose the photos it took. By combining a few simple reflexes (touch for focus, choose the right mode, take care of light and stability) with good hygiene (backup, space, respect for privacy), you fully enjoy the excellent camera you already have in your pocket — and you succeed more often with your memories.
Want to unlock the full potential of your iPhone, iPad, or Mac? Our Apple training courses take you to the next level.
Leave a Reply
You must be logged in to post a comment.