
An invoice to send, a form to return signed, old papers to archive, a receipt to keep: you often need to SCAN a document (convert it into a file). You think you need a scanner; in reality, your PHONE does a great job! Thanks to scanning apps, it photographs your documents, straightens them, cleans them, and produces a clean and neat PDF file, ready to send or archive. No need for a bulky printer-scanner. Here’s how to scan your documents with your phone, simply and with a professional result.
Scanning with your phone: more than just a photo
Let’s understand why the phone has become an excellent scanner. The DIFFERENCE with a simple photo: taking a photo of a document often gives a poor result (crooked document, shadows, distorted perspective, parasitic background); a SCAN app does much better: it DETECTS the document’s edges automatically, STRAIGHTENS it (corrects the perspective, as if seen head-on), CLEANS the image (improves contrast, removes shadows, whitens the background), and produces a CLEAN and neat file, like a real scan; the result is much more professional than a photo. The FORMAT: scan apps usually produce a PDF (the standard format for documents), which can contain multiple pages; sometimes also images (JPG). What it REPLACES: no need for a scanner or a bulky and expensive printer-scanner; your phone, always with you, scans anywhere, in a few seconds. The USES: sending a document by email (invoice, form, receipt), returning a SIGNED document (scan then sign, or sign then scan), ARCHIVING papers (scan to keep a digital version and get rid of paper), keeping receipts, scanning a receipt, a prescription, a letter, a card, a book page. The TOOLS: many phones have an INTEGRATED scan function (in the Notes app, the Files app, or the camera, depending on the model); there are also DEDICATED scanning apps (free or paid, more or less feature-rich); for most needs, the integrated function is enough. The COMMON functions: scan one or more pages (multi-page document), crop, enhance, choose color or black and white, save as PDF, share/send directly, sometimes text recognition (OCR: make the document’s text selectable/searchable). What to remember to get started: your phone is an excellent pocket scanner: with a scan app (often integrated), it detects, straightens, and cleans your documents to produce a clean and neat PDF, much better than a simple photo; no need for a physical scanner; it’s fast, free, and the result is professional. Let’s see how to do it.
Your phone can scan documents almost as well as a real scanner. It takes a photo, straightens it, removes shadows, and makes it look clean. You don’t need a big scanner machine anymore – your phone does it all in seconds.
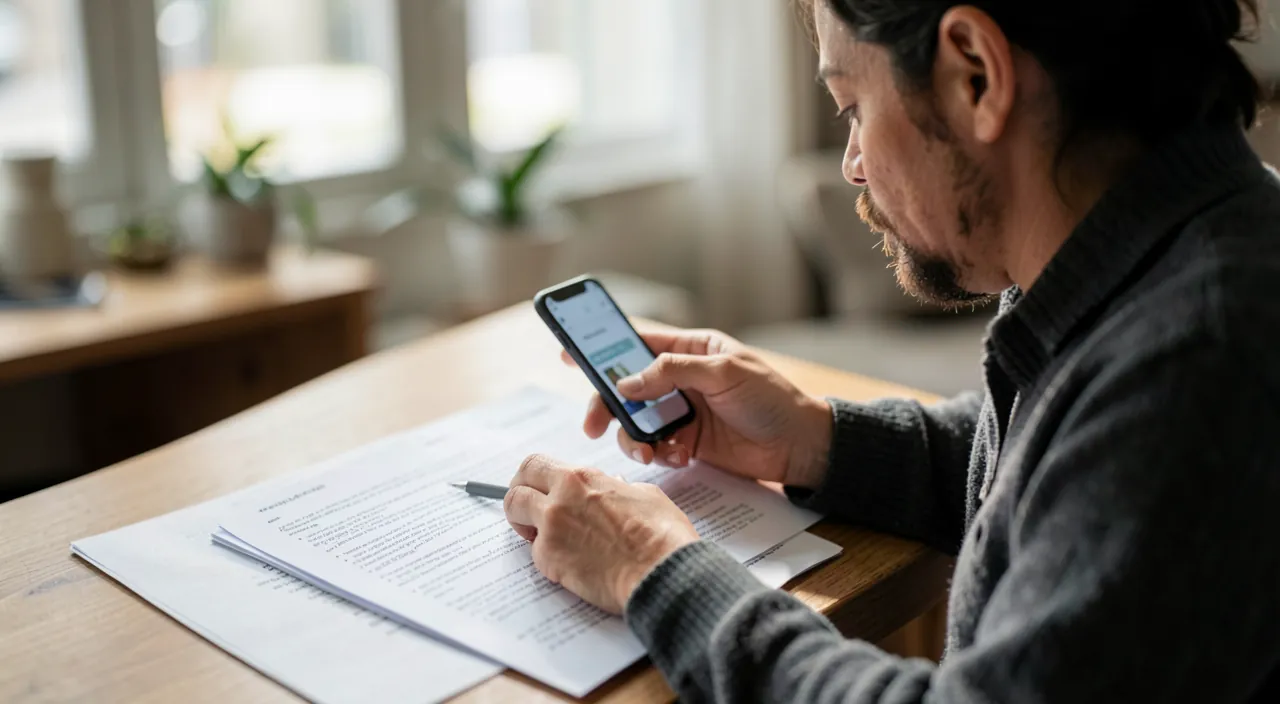
Imagine you need to send your electricity bill to your landlord. Instead of using a scanner, you place the bill on a dark table, take a photo with your phone’s scanning app, and in seconds you have a perfect PDF ready to email. The app automatically straightens the document and removes any shadows from your hand.
How to scan a document, step by step
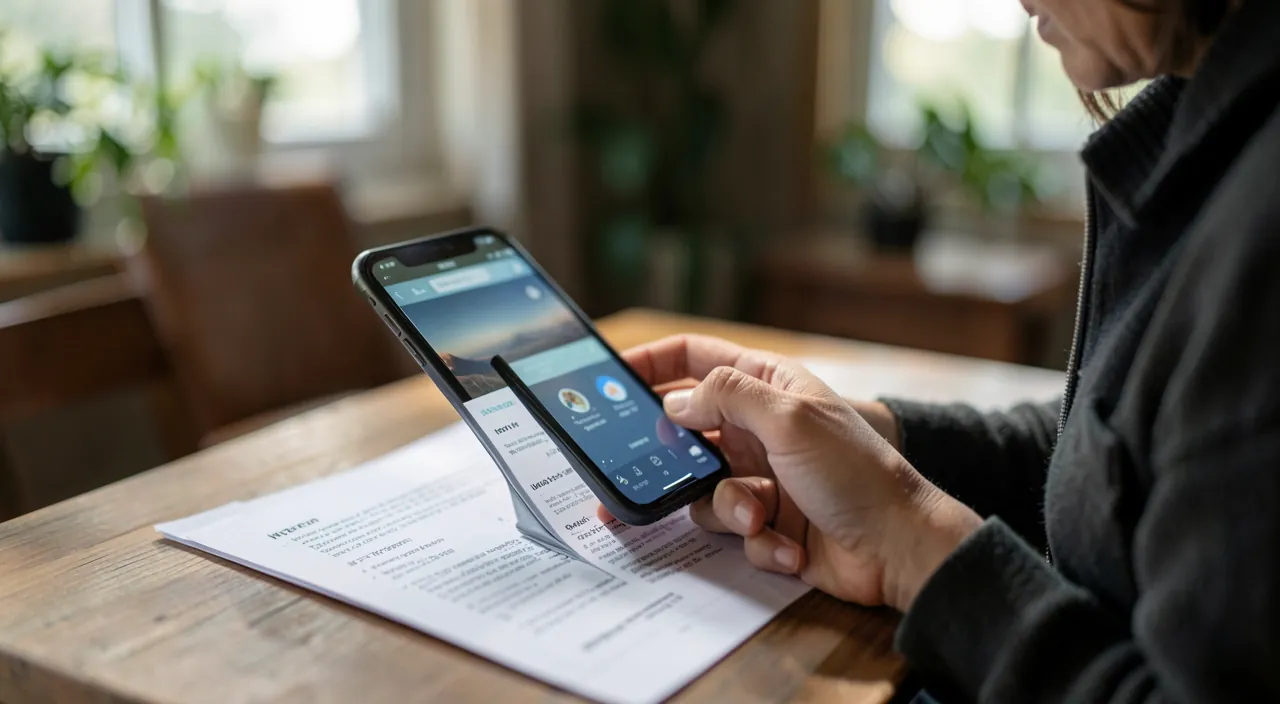
Scanning is simple; here’s how to do it for a good result. FIND the scan function: on many phones, it’s INTEGRATED — in the Notes app (option “Scan a document”), the Files app, or the camera; otherwise, install a dedicated scan app (reputable; there are free ones). PREPARE the document: place it FLAT on a Smooth and CONTRASTED surface (a white document on a dark table, for example, so the app can detect the edges well); make sure you have good LIGHTING, even, without shadows (avoid your hand or phone casting a shadow on the document; daylight or good lighting helps). FRAME and CAPTURE: hold the phone well ABOVE the document, PARALLEL (flat), and frame the document; the app automatically detects the edges (often highlighted); it captures either automatically when it’s clear and well-framed, or on your command; hold the phone STEADY to avoid blur. CHECK and ADJUST: the app automatically straightens and cleans; check the result; you can adjust the edges (cropping) if the detection isn’t perfect, choose the rendering (color, grayscale, black and white — black and white works well for text documents), improve the contrast. ADD PAGES: for a multi-page document, scan them one after the other; they’re added to the same PDF; you can reorganize the order. SAVE and NAME: save the document (usually as a PDF); give it a CLEAR NAME (for example, “invoice-march.pdf”) to find it later. SHARE/SEND: send it directly by email, message, or save it in your files/cloud; the PDF is ready to use. SIGN if needed: for a document to return signed, you can often sign it digitally (our guides on how to sign a document digitally) before sending it. Some TIPS for a good scan: good, even lighting (the enemy: shadows and lack of light), contrasted surface (for edge detection), phone well parallel and steady, document well flat (iron it if needed); these simple gestures guarantee a clean and neat result. In summary: find the scan function (often integrated), place the document flat on a well-lit, contrasted surface, frame with the phone parallel and steady, let the app detect/straighten/clean, check and adjust, add the pages, save as PDF with a clear name, and share; in a few seconds, you get a professional scanned document.
The secret to a clean scan: good lighting, contrasted surface, phone held flat. The quality of your scanned document depends mostly on the shooting conditions; three reflexes guarantee a professional result. ONE, good LIGHTING, even and without shadows. This is the most important factor: place the document in a well-lit area (daylight is ideal), and especially AVOID CAST SHADOWS — the classic mistake is that your hand, arm, or phone casts a shadow on the document at the time of capture; position yourself so that the light is even across the entire sheet; a poorly lit document or one with a shadow gives a dark and unreadable scan. TWO, a CONTRASTED surface. Place the document on a surface of a DIFFERENT and smooth color: a white document on a dark table (or vice versa), for example; this contrast allows the app to DETECT the document’s edges automatically and precisely, to crop and straighten it well; on a surface the same color as the document or cluttered, edge detection fails or is imprecise. THREE, the phone held FLAT (parallel) and STEADY. Hold the phone above the document, PARALLEL to the sheet (not at an angle): this makes straightening easier and avoids distortion; and hold it STEADY (don’t move at the time of capture) to avoid blur; rest your elbows or brace yourself if needed. With these three conditions — good lighting without shadows, contrasted surface, phone parallel and steady — the app perfectly detects the document, straightens and cleans it, and you get a clean and neat scan, worthy of a real scanner. Additional tips: IRON the document and place it flat (a crumpled paper scans poorly); for a TEXT document, choose the “black and white” or “grayscale” rendering (cleaner and lighter than a color scan); CHECK the result before saving (is it clean, readable, well-framed?); and for multiple pages, keep the same conditions for a consistent result. These simple gestures make all the difference between a poor photo and a professional scan: by taking care of the lighting, contrast, and stability, your phone rivals a real scanner, for free and anywhere. That’s where the quality of your scanned documents lies.
Managing and using your scanned documents well
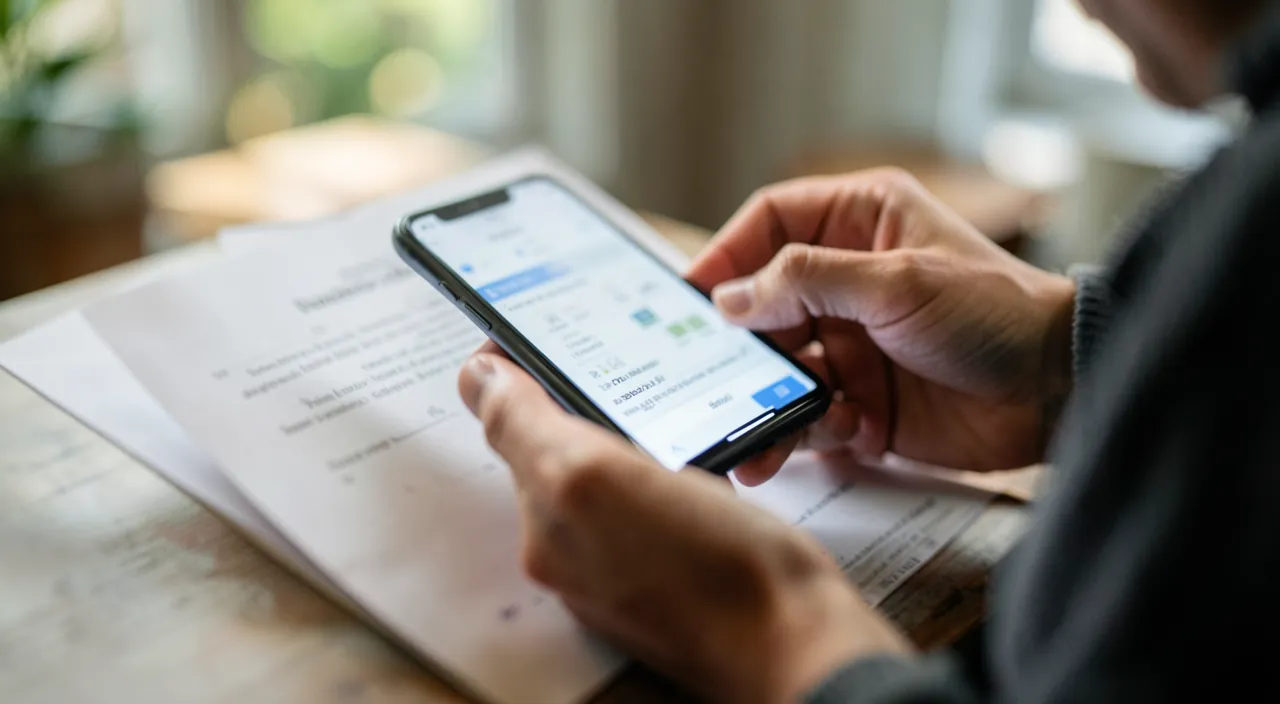
Once your documents are scanned, here are some good practices to use and store them. NAME them clearly: give each document an EXPLICIT name (type of document, date: “electricity-bill-march.pdf”); you’ll find it much more easily than with a generic name. ORGANIZE: sort your scanned documents into logical folders (in your files or the cloud): administrative, invoices, health, etc.; good organization makes searching easier. TEXT RECOGNITION (OCR): some apps “read” the text of the scanned document and make it SELECTABLE and SEARCHABLE; this way, you can find a document by its content (search for a word), copy text, etc.; very practical for archiving. SEND easily: the scanned PDF can be sent by email, message, or uploaded to the cloud; this is the main goal (returning a form, sending an invoice). SIGN digitally: for a document to return signed, combine scanning and digital signature; you no longer need to print-sign-scan (our guides on how to sign a document digitally). ARCHIVE and get rid of paper: scanning allows you to keep a digital version of your important papers and, for some, reduce paper (be careful: keep the ORIGINALS of documents that require them — see below). BACK UP: your important scanned documents must be BACKED UP (in the cloud, and/or a copy); a digital document lost (broken phone) without backup is lost like a paper one (our guides on how to back up your data); it’s even more critical for important documents. The QUALITY depending on the use: for sending, a light black-and-white scan often suffices; for archiving important documents, prioritize good quality and readability. CHECK before sending: read the scanned document (are all pages there, in the right order, readable? Is the document complete and clean?) before sending; an unreadable or incomplete scan will be rejected. PRIVACY and security: your scanned documents often contain SENSITIVE information (personal, financial, identity data); protect them: only share them with legitimate recipients, through secure channels; be careful where you store them (a cloud protected by a good password and two-factor authentication); beware of dodgy scan apps (see below). In summary: name and organize your scanned documents (makes searching easier; OCR allows searching by content), send them easily (the goal: email, form), sign digitally if needed, archive and reduce paper (while keeping necessary originals), BACK UP important documents, check before sending, and protect these often sensitive documents; this way, your phone becomes a complete document management tool.
Warning: protect your sensitive documents, keep necessary originals, and beware of dodgy scan apps. Scanning your documents is practical, but some precautions are necessary, as these documents are often SENSITIVE. PRIVACY and security: your scanned documents frequently contain personal, financial, medical, or identity information; handle them with care: only send them to LEGITIMATE recipients and through secure channels; be EXTREMELY wary of requests for copies of identity documents or sensitive documents from suspicious senders (a common scam — our guides on how to avoid identity theft); store these documents in a protected place (a cloud secured by a good password and two-factor authentication), not just anywhere; and protect access to your phone (strong code). Beware of DODGY SCAN APPS: prefer the scan function INTEGRATED into your phone, or a REPUTABLE app (downloaded from official stores); some free and dodgy scan apps may send your documents (sensitive ones!) to their servers, be full of ads, or collect your data; understand what the app does before entrusting it with important documents; the integrated app processes everything locally, which is safer. KEEP the NECESSARY ORIGINALS: scanning a document doesn’t always replace the original; some important documents (official documents, deeds, papers with legal value) must be kept in ORIGINAL form; don’t throw away an important original just because you’ve scanned it; the digital version is practical for everyday use and sending, but don’t assume it replaces the original in all cases (especially legal ones); if in doubt, keep the paper. CHECK READABILITY before sending: a dark, blurry, incomplete, or shadowed scan will be rejected by the recipient (administration, company); always check: are all pages there, in the right order, clean and readable? BACK UP important scanned documents: a unique digital document on an unsaved phone is as vulnerable as a paper one (loss, breakage, theft of the phone); make sure they’re backed up (cloud, copy — our guides on how to back up your data); this is even more important for documents you want to keep for a long time. Be careful with DELETING PAPER too quickly: before getting rid of a paper, make sure its digital version is properly saved, readable, and backed up (and that you have the right to dispose of the original). Finally, don’t SHARE these documents lightly on unsecured networks or in unsecured conversations; they contain information you wouldn’t want to see circulating. By protecting your sensitive documents (secure channels, protected storage, caution with suspicious requests), using a reliable scan app (preferably the integrated one), keeping necessary originals, checking readability, and backing up important documents, you can enjoy scanning safely — without exposing your information or losing precious documents.
Frequently asked questions
Do you need a scanner to scan a document?
No: your phone does a great job, and often better than expected. Thanks to scanning apps (often INTEGRATED into your phone), your camera becomes an excellent pocket scanner: it DETECTS the document’s edges, STRAIGHTENS it (corrects the perspective), CLEANS the image (contrast, shadows, background), and produces a clean and neat PDF, like a real scan; the result is much better than a simple photo, and suffices for almost all everyday uses (sending an invoice, returning a form, archiving a paper). You therefore DON’T NEED to buy a scanner or a bulky and expensive printer-scanner: your phone, always with you, scans anywhere, for free, in a few seconds. Where to find the scan function? Many phones have it INTEGRATED: in the Notes app (option “Scan a document”), the Files app, or the camera, depending on the model; otherwise, a dedicated scan app (reputable, often free) does the job; for most needs, the integrated app is enough. For a good result: take care of the lighting (even, without shadows), place the document on a contrasted surface (for edge detection), and hold the phone flat and steady; the app does the rest. When might a real scanner be preferable? For very LARGE regular volumes (scanning hundreds of pages), or professional needs for very high quality, a dedicated scanner may be faster and more comfortable; but for everyday and domestic use (a few documents from time to time), the phone is more than sufficient and much more practical. In summary: no, you don’t need a scanner; your phone scans your documents very well (with a professional result), for free and anywhere; use the integrated scan function or a reputable app, take care of the shooting conditions, and you’ll get beautiful PDFs ready to send or archive.
How to get a clean and readable scan?
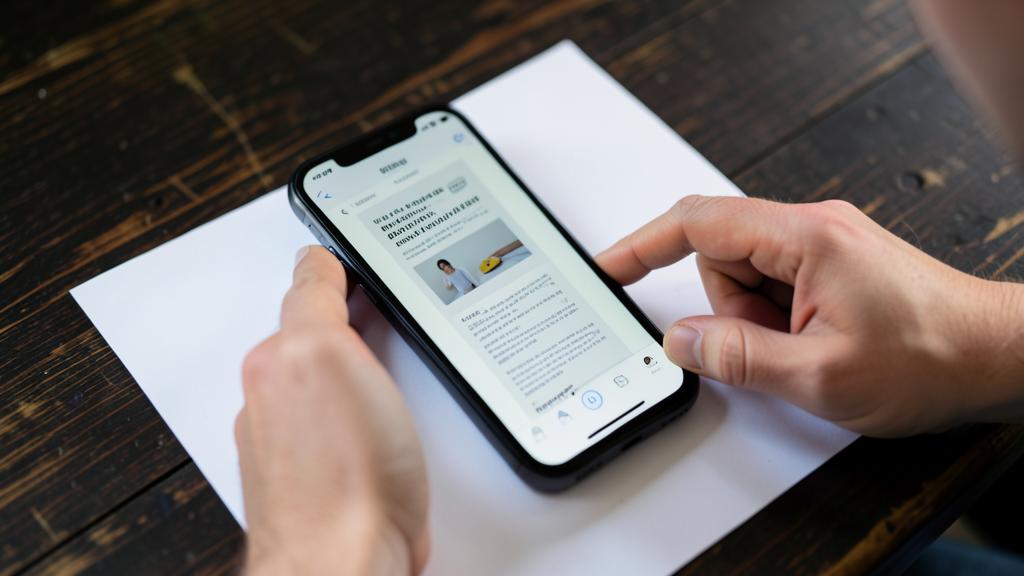
It all comes down to the shooting conditions; three reflexes make a professional scan. Good LIGHTING: this is the most important; place the document in a well-lit area (daylight is ideal), with even light across the entire sheet; ABOVE ALL, avoid CAST SHADOWS: the classic mistake is that your hand, arm, or phone casts a shadow on the document; position yourself to avoid this; good lighting without shadows guarantees a clear and readable scan. A CONTRASTED surface: place the document on a smooth surface of a DIFFERENT color (white document on a dark table, for example); this contrast allows the app to DETECT the document’s edges well, so it can crop and straighten it correctly; avoid cluttered backgrounds or the same color as the document. The phone held FLAT and STEADY: hold it above the document, PARALLEL to the sheet (no angle, to avoid distortion), and STEADY (don’t move at capture, to avoid blur); brace your elbows if needed. With these three conditions, the app straightens and cleans perfectly, and the result is clean. Additional tips: IRON the document and place it flat (a crumpled paper scans poorly); for a TEXT document, choose the “black and white” or “grayscale” rendering (often cleaner and more readable than a color scan for text, and lighter); use the app’s automatic edge detection, but ADJUST the cropping if it’s not perfect; and ALWAYS CHECK the result before saving: is it clean, readable, complete, well-framed? Retake if needed, it’s quick. If your scan is dark, blurry, or distorted, it’s almost always due to the lighting (shadow, lack of light), the contrast (poor edge detection), or the stability (blur); correct these points. By taking care of lighting, contrast, and stability, your phone produces clean and readable scans, worthy of a real scanner; it’s simple, and it makes all the difference for documents that the recipient can read without problem.
Does the scanned document replace the paper original?
Often for everyday use, but not always for legal value: be careful. For MANY everyday uses, a scanned document (a clean PDF) perfectly replaces the original: sending an invoice, returning a form, transmitting a receipt, archiving a paper to consult; it’s often what’s REQUESTED (you’re asked to send the scanned document); in these cases, the digital version does the job perfectly, and scanning allows you to reduce paper. HOWEVER, for some IMPORTANT documents, the paper original retains a value that the digital copy doesn’t replace: OFFICIAL documents, deeds, papers with particular legal or administrative value, may need to be kept in ORIGINAL form; a scanned copy doesn’t always have the same legal value as the original; if in doubt, KEEP the paper original. Don’t throw away an important original just because you’ve scanned it: the digital version is practical for everyday use and sending, but don’t assume it replaces the original in all cases (especially legal ones). The rule of caution: scan for convenience (consult, send, archive a copy), but KEEP the originals of documents whose value or importance justifies it; if in doubt about a specific document, ask or keep the paper. Moreover, if you rely on the digital version, make sure it’s properly BACKED UP (a unique digital document on an unsaved phone is vulnerable; loss, breakage — our guides on how to back up your data); a poorly backed-up digital copy isn’t safer than a lost paper. In summary: the scanned document replaces the original for most everyday uses (sending, archiving, consulting), but NOT always for the legal value of important documents; keep the originals of official or legally valuable documents, don’t throw them away lightly, and properly back up your digital versions; if in doubt about a document, keep the paper.
What to remember
Your PHONE is an excellent pocket scanner: no need for a physical scanner. Thanks to scan apps (often INTEGRATED: Notes app, Files app, or a reputable dedicated app), it DETECTS the document’s edges, STRAIGHTENS it, CLEANS it, and produces a clean and neat PDF, much better than a simple photo, ready to send or archive; it’s fast, free, everywhere, and the result is professional. The SECRET to a good scan lies in the shooting conditions: good, even LIGHTING WITHOUT SHADOWS (the key factor; be careful not to cast a shadow on the document), a CONTRASTED surface (so the app can detect the edges well: white document on a dark table, for example), and the phone held FLAT (parallel) and STEADY (to avoid blur and distortion); iron the document, choose black and white for text, and check the result before saving. The STEPS TO FOLLOW: find the scan function, place the document, frame it, let the app detect/straighten/clean, add the pages (multi-page document), save as PDF with a CLEAR NAME, and share (email, message, cloud). To MANAGE your scanned documents well: name and organize them clearly (OCR even allows searching by content), sign digitally if needed (no more print-sign-scan), and BACK UP important documents (an unsaved digital document is as vulnerable as a paper one). CAUTION POINTS: your scanned documents are often SENSITIVE (personal, financial, identity data) — protect them (secure channels, secure storage, caution with suspicious requests for identity document copies); use a RELIABLE scan app (the integrated one processes locally, safer than dodgy apps that could send your documents elsewhere); KEEP the PAPER ORIGINALS of important or legally valuable documents (the digital copy doesn’t always replace them; don’t throw them away lightly); and check READABILITY before sending (a dark or incomplete scan will be rejected). With these reflexes — good shooting conditions, reliable app, protection of sensitive documents, keeping necessary originals, and backup — your phone advantageously replaces a scanner and becomes a complete and safe document management tool, practical and secure.
Want to go further with your phone and your apps? Our practical training courses are made for you.
Leave a Reply
You must be logged in to post a comment.