
The best camera is the one you have with you — and the one in your pocket outperforms technically the DSLRs from fifteen years ago. Yet, between two people photographing the same scene with the same phone, the gap remains enormous: it’s not the megapixels that make the photo, but ten habits — of light, framing, settings, and selection. Here they are, in the order they pay off: enough to transform your family, travel, and everyday photos without buying anything.
Light first: 80% of the photo
The rule that all photographers follow and that the phone cannot bypass: the photo IS the light. The habits that change everything: look for soft light — the golden hour (the hour following sunrise and preceding sunset: everyone looks good, every landscape is better), overcast skies (the ideal giant diffuser for portraits — the harsh midday sun, on the other hand, deepens shadows and makes people squint), luminous shadows (a portrait in the shade of a light wall beats a portrait in full sun, always); place the light behind YOU or to the side — backlighting ruins nine out of ten photos (the dark face in front of a window: turn the subject toward the window, you between them — the indoor photo changes instantly): intentional backlighting, however, is a style (silhouettes at sunset — tap the sky for exposure and it becomes deliberate); indoors, open and turn off — window light flatters, ceiling lights yellow and flatten: bring the subject closer to the window, cut mixed lamps; and at night, stabilize — the night mode of recent phones works wonders PROVIDED you stay still (leaning on a wall, elbows tucked) during the exposure: blurry night photos are moved photos, not failed ones.
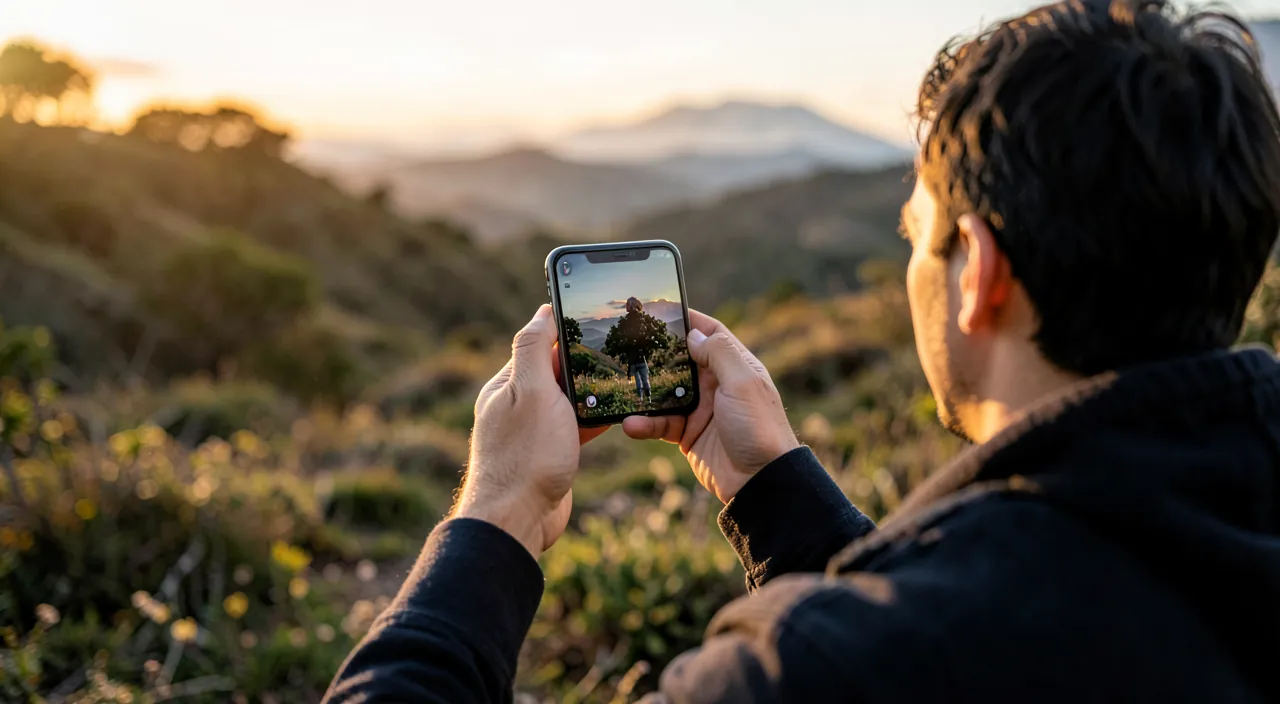
Light is the most important part of a photo. Soft light (like during golden hour or on cloudy days) makes people and landscapes look better. Avoid harsh sunlight, and when indoors, use natural light from a window instead of artificial lights. At night, keep your phone steady to avoid blurry photos.
Imagine you’re taking a portrait of your child in the backyard. Instead of shooting at noon when the sun is harsh, wait for golden hour (around 6 PM) when the light is softer. Place your child so the light is behind you, not directly in their face. If you’re inside, position them near a window and turn off the ceiling lights. For a night shot, lean against a wall to keep the phone steady while using night mode.
Framing: the four gestures that make it look « pro »
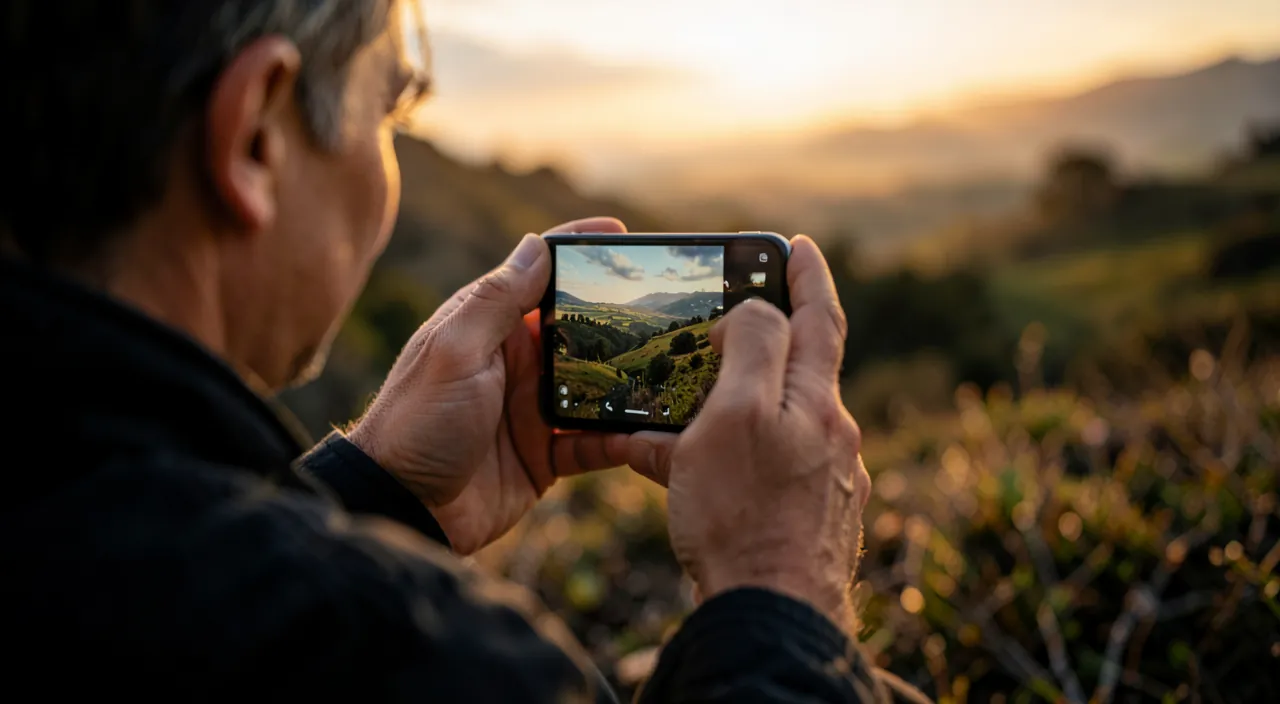
Four composition habits, visible from the first outing: get closer — the universal mistake is the tiny subject lost in the frame: two steps forward (with your legs — not the digital zoom that degrades: the phone’s optical zoom, yes; beyond that, sparingly), fill the frame, and for portraits — frame at the shoulders without fear; activate the grid (camera settings) and place strong elements on the lines and intersections — the horizon on the high or low line (NEVER in the middle — and straight: a tilted horizon is the signature of the rushed amateur, the grid straightens it), the portrait’s gaze on a high intersection: the « rule of thirds » is not a dogma, but it saves 90% of hesitant compositions; change your height — the camera at the height of YOUR eye is the viewpoint everyone has already seen: crouch down to the height of a child and an animal (radical transformation of family photos — the child photographed from above is crushed, at their height they exist), shoot from above for tables and patterns, get low for flowers and reflections; and care about the background — the second of inspecting the frame before shooting (the pole coming out of the head, the trash can, the drying laundry): a step to the side cleans up the photo — the background makes the difference between a nice subject and a nice photo.
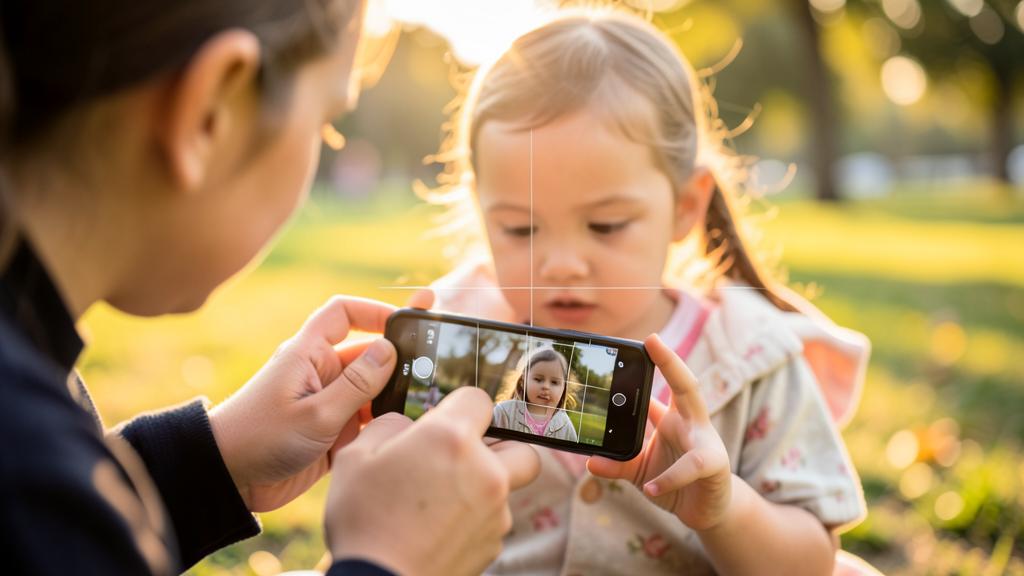
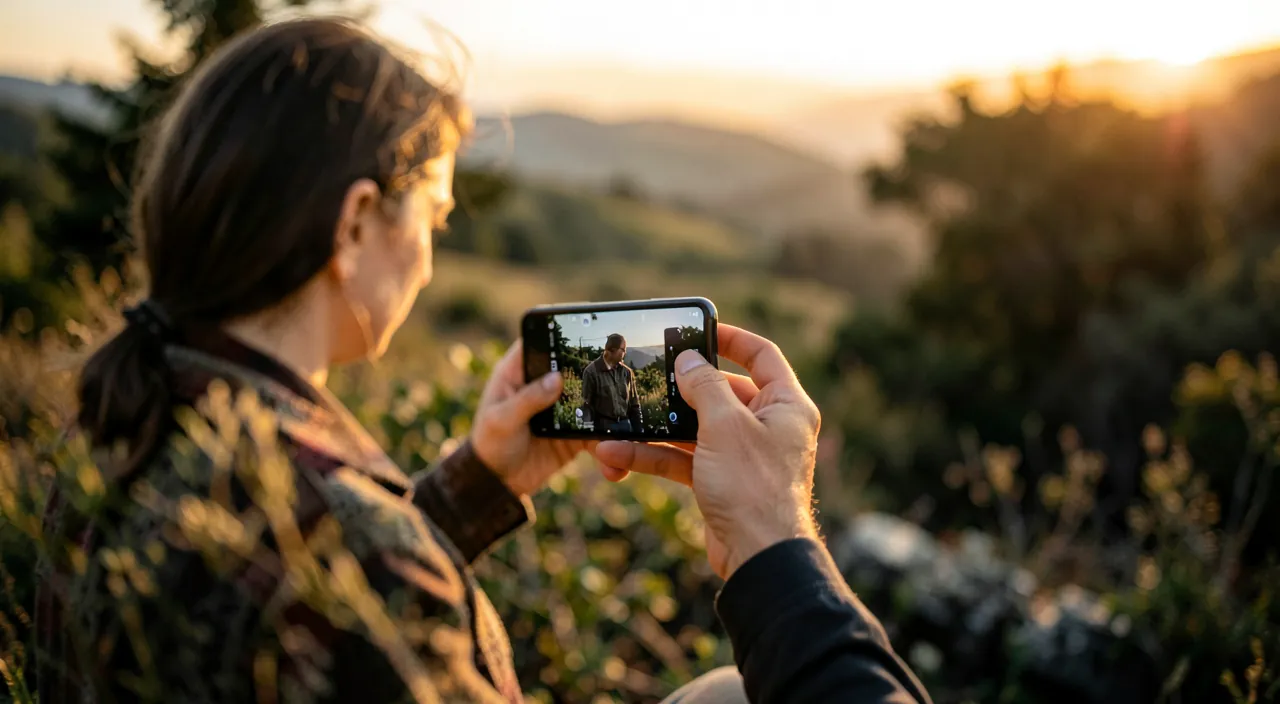
The right reflex. Learn the two hidden gestures of the camera that most people ignore: pressing the screen sets the focus AND exposure on that point — the small sun that appears slides up or down to lighten or darken (THE correction that saves backlit and snowy scenes); a held press locks the focus (the subject stays sharp while you reframe). Thirty seconds of practice, and you control what the automatic mode decided for you — it’s the first real step out of the « shoot and hope » mode.
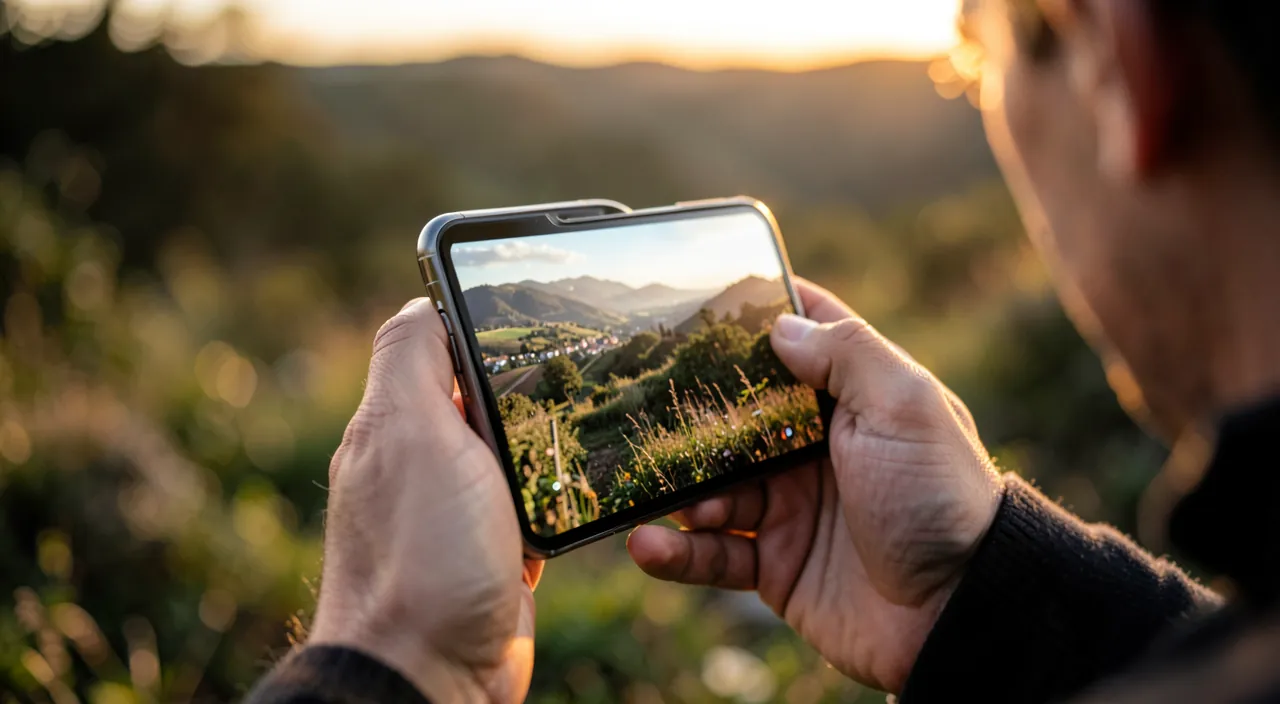
Phone modes: which ones are actually useful
Sorting through the onboard arsenal: the portrait mode — simulated background blur: great for faces (at the right distance — one to two meters — and checking the hair outlines), a gimmick for objects: use it frankly, it’s the mode that « looks pro » the fastest; the burst mode for anything that moves (kids, animals, sports — hold or swipe the shutter depending on the model): you shoot a bunch, keep THE good one, delete the rest (our photo selection guides); the wide-angle for landscapes and interiors (watching the edges that distort faces — never a close-up portrait in wide-angle); the telephoto lens (optical zoom) to compress landscapes and isolate details; the raw/high-quality format for important photos (wedding, dream trip) if you edit later — otherwise, the standard format is enough; the self-timer and improvised tripod (phone propped against a book) to FINALLY be in the family photo; and the Live/motion that saves eye blinks (you choose the image in the sequence). To disable, however: the flash indoors (the enemy of ambiance — night mode does better) and beautifying filters at capture (edit AFTER, the original stays clean).
After the shot: selection and light editing
« Pro » photos often become so after the fact: the ruthless selection — the pro photographer discards 95% of their shots: out of ten photos of the same moment, keep the best, delete the rest (your photo library will breathe — our storage guides) — it’s the selection that makes the beautiful albums, not luck; the three-slider editing — in the Photos app, automatic adjustment first (often just right), then three sliders are enough in 90% of cases: exposure (overall brightness), contrast or black point (depth), saturation WITH MODERATION (the fluorescent sky gives it away): thirty seconds per important photo; the cropping — composition can be fixed: horizon straightened, distractions cropped, cropping to square or vertical depending on the destination; the modern magic tools — object removal (the tourist erased from the monument — amazing on simple backgrounds), night mode enhancement: to know and use sparingly; and the album consistency — for a trip or event, uniform editing (same tone) makes the « pro series » look more than each photo taken individually. All in the native app: advanced editing apps will wait until these basics are reflexes.
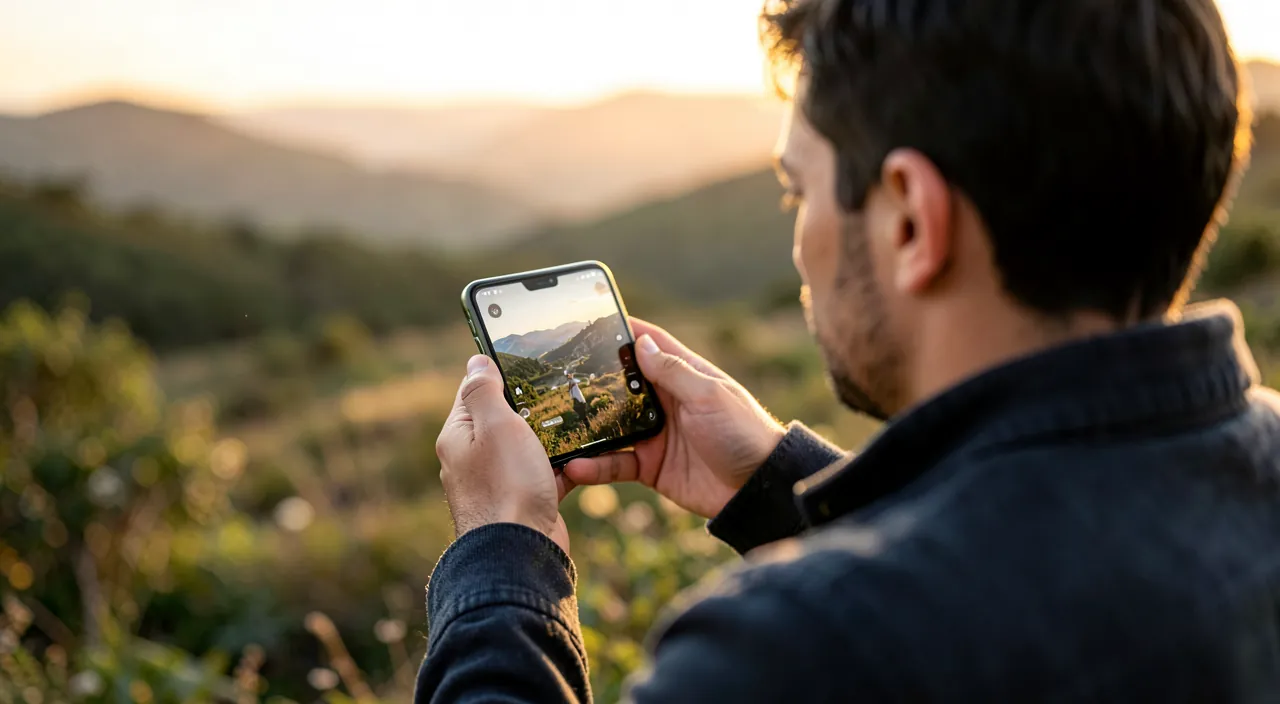
Beware of the gear and megapixel trap. The industry sells sensors (« 200 megapixels! ») and accessories — but no recent phone is the limiting factor in your photos: light, framing, and selection weigh ten times more than the model, and changing phones « for photos » without changing habits reproduces the same images in higher definition. The only purchases that make a difference, in order: nothing (the habits above), a small tripod if you love night and group photos, and storage to keep everything (our backup guides). The day your well-framed and selected photos still frustrate you — then, and only then, gear becomes a conversation.
Frequent questions
Why are my photos less beautiful than on the phone screen?
The phone screen flatters (small, bright, oversaturated): judge on a large screen (the living room TV — our projection guides) and with a clear mind. If the gap persists: it’s almost always sharpness (slightly moved photo — hold steadier, shoot with volume) or exposure (the small sun gesture). Large-screen control is actually the best teacher: defects invisible in thumbnails jump out.
How to succeed with photos of children who won’t stay still?
The winning combo: abundant light (outside, near a window — speed follows), systematic burst mode, YOU at their height, and the patience of a documentarian — real kids’ photos are the ones where they play, not the ones where they pose (« look at the man » produces grimaces; letting them live produces treasures). Shoot a lot, sort in the evening, keep the gems.
Should you learn the manual/pro mode of the phone?
Not at first — modern automatic mode + finger exposure control cover the vast majority of situations. The pro mode (ISO, speed, white balance) becomes interesting for specific desires: water trails, starry nights (our astronomy guides), neon — learn it then by project, one setting at a time. Photography always progresses this way: light, then framing, then technique — never the opposite.
What to remember
The phone is no longer an excuse — the difference lies in ten habits: seeking soft light and putting it behind you, getting closer, using the grid and rule of thirds, changing height, inspecting the background, mastering the small sun of exposure, using portrait and burst modes wisely, avoiding flash and digital zoom, selecting like a pro (keep one out of ten), and light editing (three sliders, cropping, moderation). Nothing to buy, everything to practice — one outing is enough to see the improvement, a month for it to become invisible it’s so natural. The best camera is in your pocket; the best photographer, on the other hand, is reading these lines — they just needed the habits.
Want to gain confidence with your digital tools? Our personalized training adapts to your level.
Leave a Reply
You must be logged in to post a comment.