
Typing a message on your iPhone screen, letter by letter, with two thumbs or a single finger, can quickly become tedious—especially for long words. What if you could write an entire word without ever lifting your finger, simply by SLIDING from one letter to another? That’s exactly what “SLIDE TO TYPE” (also called “SWIPE TO WRITE”) does, a feature of the iPhone keyboard. Instead of pressing each key, you slide your finger from letter to letter without lifting it, and the iPhone guesses the word. It’s often faster, smoother, and particularly practical for one-handed typing. Many people don’t know about it or have accidentally turned it off. Let’s explore what this feature is, how to use and master it, and how to get the most out of touch typing.
Writing by sliding: what is it?
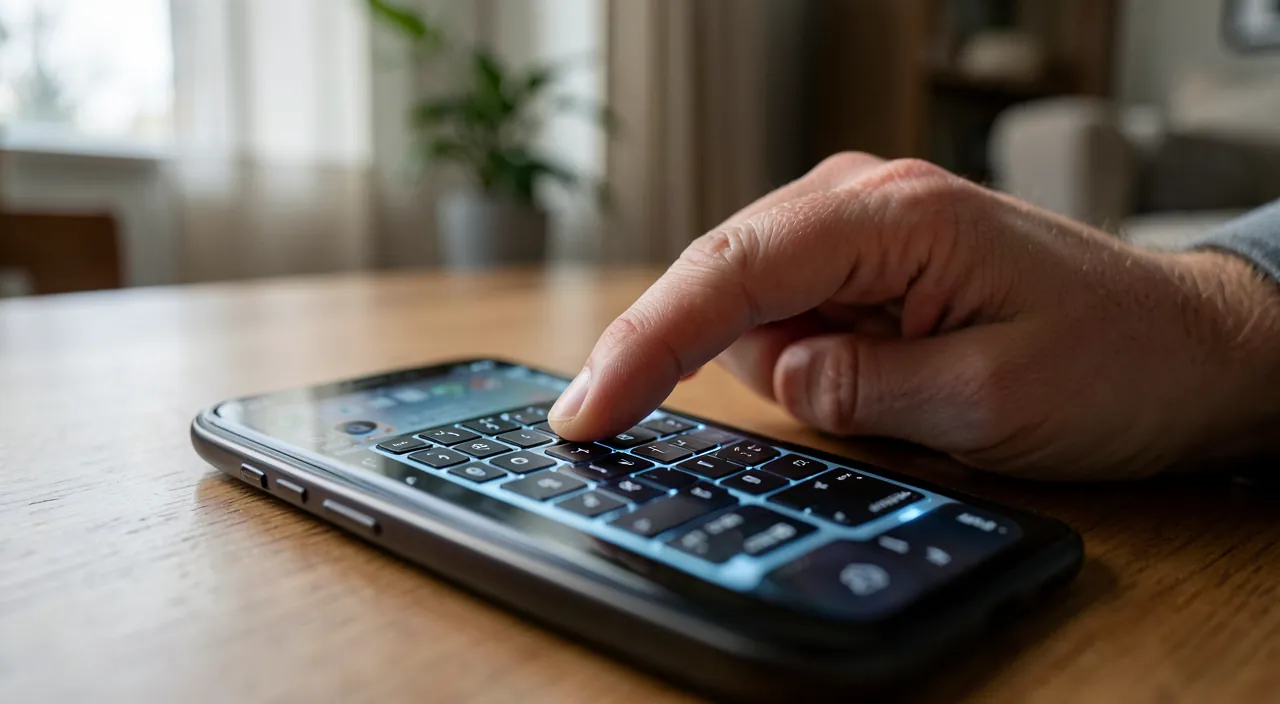
Slide-to-type lets you write without lifting your finger; let’s understand it. The PRINCIPLE: instead of TYPING each letter separately, you SLIDE your finger from one letter to another without lifting, tracing a path on the keyboard; the iPhone GUESSES the word you want to write; another way to input text. How it WORKS: place your finger on the first letter, slide to the second, the third… up to the last, then LIFT your finger; the iPhone recognizes the traced word and types it; one continuous motion per word; smooth. The GUESSED word: the iPhone analyzes your finger’s path and suggests the most likely word; it “guesses” intelligently, even if your trace isn’t perfect; the recognition does the work; surprisingly effective. Often FASTER: sliding is often quicker than typing letter by letter, especially for long words; a smooth motion vs. multiple taps; a speed boost; tactile efficiency. Ideal with ONE hand: slide-to-type is particularly practical with ONE hand (your thumb slides on the keyboard); perfect when the other hand is busy; a natural one-handed use; convenient. The NAMES of the feature: it’s called “SWIPE TO WRITE,” “SLIDE TO TYPE,” or by the technology’s name; the name doesn’t matter; what’s important is knowing it exists; remember the principle (slide instead of type). One word at a TIME: you slide one word, lift your finger, and the space is added automatically; words chain together; no need to press the spacebar; practical. You can MIX: you can alternate sliding and regular typing in the same text; slide the words you want, type the others; both coexist; flexible; use what works for you. It IMPROVES with use: at first, it takes some practice; with time, you slide faster and more accurately; the iPhone also learns your habits; it becomes natural (we’ll come back to this). Often UNKNOWN or turned off: many people don’t know about this feature or have accidentally turned it off; it’s a shame given its usefulness; (re)discovering it changes typing; give it a try. What it’s FOR: to write faster and more comfortably on the touchscreen, with a smooth motion, especially one-handed; typing comfort; a pleasant alternative to regular typing. The key idea: “SLIDE TO TYPE” (swipe to write) is another way to type on the iPhone: instead of pressing each letter separately, you SLIDE your finger from one letter to another without lifting, tracing a path on the keyboard, then lift your finger—and the iPhone intelligently GUESSES the word you wanted to write (even if your trace isn’t perfect). The space between words is added automatically. It’s often FASTER than typing letter by letter (especially for long words) and particularly practical with ONE hand (with your thumb). You can also mix sliding and regular typing as you like. It takes some practice at first, but quickly becomes natural, and the iPhone learns your habits. Often unknown or accidentally turned off, this feature offers real typing comfort: a smooth and fast alternative to regular typing, to (re)discover.
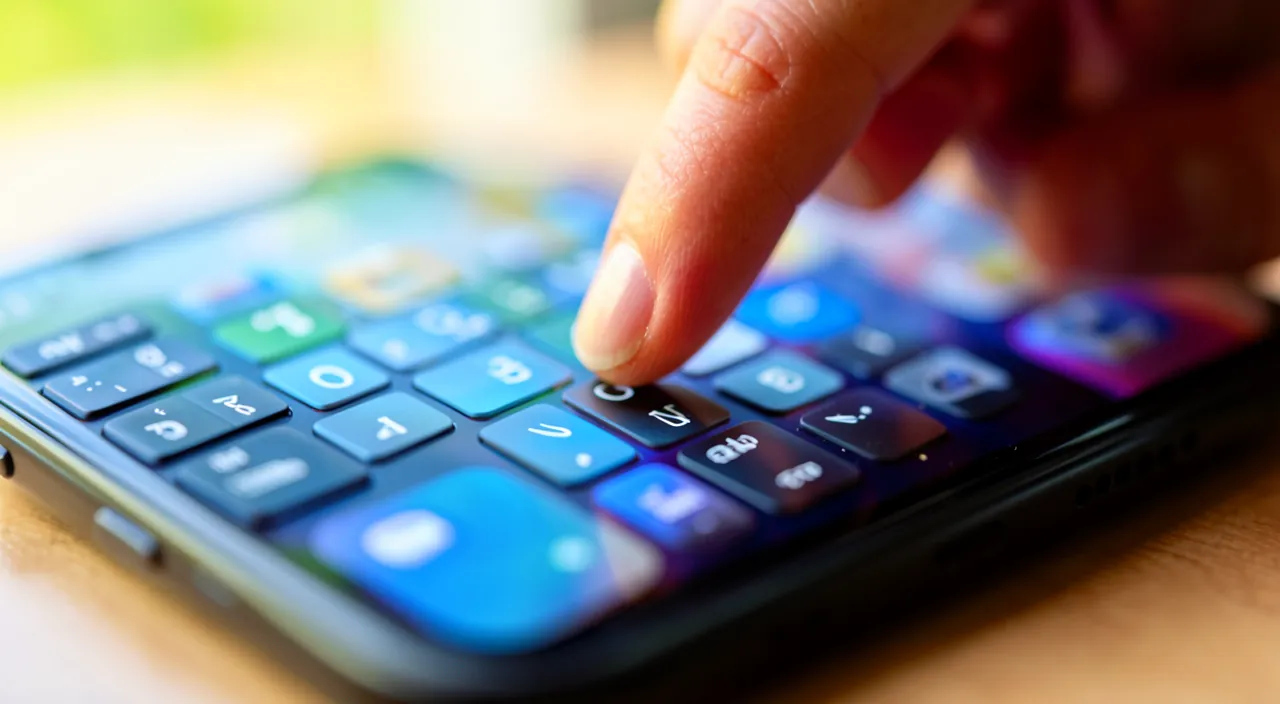
Slide-to-type lets you write by swiping your finger across the keyboard without lifting it. The iPhone guesses the word based on your finger’s path. It’s faster than tapping each letter, especially for long words, and works well with one hand. You can mix sliding and regular typing as you prefer. It takes a bit of practice, but the iPhone learns your habits over time.
Imagine you want to type the word “hello.” Instead of tapping each letter (H, E, L, L, O), you place your finger on “H,” slide to “E,” then to the first “L,” then the second “L,” and finally to “O,” lifting your finger at the end. The iPhone recognizes the path and types “hello” automatically, adding a space after the word.
How to use and master slide-to-type
Here’s how to enable, use, and master this way of writing. CHECK that it’s enabled: slide-to-type is often enabled by default, but check in the keyboard settings (an option “SWIPE TO WRITE” or similar); if it’s turned off, turn it on; this is the prerequisite; make sure it’s active. The BASIC gesture: place your finger on the FIRST letter of the word, then SLIDE without lifting to the next letters, in order, up to the last; then LIFT your finger; the word is typed; one continuous motion per word. Don’t aim for PERFECTION: no need to pass exactly over each letter; approach the letters in order, the iPhone will guess; the recognition tolerates imprecision; slide naturally, without tension; relax the motion. LIFT to finish: lift your finger at the end of the word; the iPhone types the word and adds the space; chain the next word by sliding again; lifting the finger marks the end of the word. CHAIN words: slide one word, lift, slide the next; spaces are added automatically; you don’t have to press the spacebar; words flow smoothly; practical. CORRECT a guessed word: if the iPhone guesses the wrong word, alternative suggestions appear (above the keyboard); tap the correct one; or delete and retry/type; correction is easy; don’t worry about mistakes (we’ll come back to this). MIX sliding and typing: alternate as you like; slide common words, type difficult ones (proper nouns, rare words) or punctuation; both methods coexist; use the most suitable for each word. WITH ONE hand: try with one hand (your thumb slides); that’s where sliding shines; perfect when the other hand is busy; the “ONE-HAND” keyboard (more compact) can help; test it. PRACTICE a bit: at first, go slowly, get used to the motion; with practice, you’ll slide faster and more surely; the iPhone also learns your words; mastery comes with use; persist for a few days. DIFFICULT words: for proper nouns, rare words, or terms the iPhone doesn’t guess well, type them classically or add them to your dictionary; sliding excels with common words; adapt based on the word. PUNCTUATION and capitals: punctuation is typed classically; capitals and autocorrect work as usual; sliding is mainly for words; combine with your usual gestures. In summary, to use and master slide-to-type: check that it’s ENABLED (keyboard settings); the gesture: place your finger on the first letter, SLIDE without lifting to the next letters in order, then LIFT your finger (the word is typed, the space is added automatically). No need to aim perfectly (the iPhone guesses). Chain words by sliding, correct a wrong guess via suggestions, and MIX sliding and regular typing based on the words (slide common words, type difficult ones and punctuation). Try with ONE hand (your thumb), and practice for a few days (it quickly becomes natural, the iPhone learns your habits). These gestures unlock smoother typing; the continuous slide, lifting the finger to end a word, and tolerance for imprecision are the keys.
The secret to sliding well: don’t aim for perfection, let the iPhone guess. The biggest mistake beginners make with slide-to-type—the one that often discourages them from the first try—is trying to be too PRECISE. You think you have to pass exactly over each letter, in a perfect trace, carefully letter by letter; you then slide slowly, tense up, constantly check—and the result is laborious and frustrating, to the point of giving up by saying “it doesn’t work.” Yet it’s the opposite you should do: the secret to smooth and effective slide-to-type is to RELAX and TRUST the iPhone to guess. The recognition technology is surprisingly smart: it doesn’t just check if you passed right over each letter; it analyzes the GENERAL SHAPE of your trace, compares it to all possible words, and determines the most PROBABLE word—taking into account the context of your sentence. Result: even if your slide is approximate, even if you cut corners, even if you don’t pass exactly over each letter, the iPhone guesses correctly in the vast majority of cases. You can therefore slide RAPIDLY and RELAXED: aim roughly at the letters in the right ORDER (the order matters more than the precision of each point), and lift your finger—the correct word will most often appear. It’s by sliding fast and relaxed, without worrying about perfection, that you get the best results, paradoxically. A second liberating aspect: don’t be afraid to MAKE MISTAKES. If the iPhone guesses the wrong word, it’s not a big deal: ALTERNATIVE SUGGESTIONS appear right above the keyboard (the other likely words), and you just have to tap one to correct; or you delete and retry, or you type that word classically. Mistakes are corrected in one gesture, so slide without fear: it’s better to slide fast and occasionally correct than to type slowly letter by letter. Third tip: GIVE YOURSELF a few days. Like any new gesture, slide-to-type takes a little time to adapt—the first minutes may seem strange. But persist: in a few days of use, the gesture becomes natural, you slide faster and more accurately, and—important detail—the iPhone LEARNS your habits and vocabulary, becoming more and more accurate in its guesses over time. What seemed awkward at first quickly becomes faster than regular typing. Finally, remember that you can always MIX the methods: slide common words (where recognition excels), and type classically difficult words (proper nouns, rare terms) or punctuation. You’re never forced to slide everything. In summary, the real secret is a change of mindset: stop aiming for perfection letter by letter, slide fast and relaxed while just respecting the order of the letters, trust the iPhone to guess (it’s very good), correct without stress via suggestions when it’s wrong, and give yourself a few days to get used to it. Adopt this relaxed approach, and slide-to-type will reveal all its benefits: smooth, fast, and surprisingly pleasant writing, especially one-handed.
Getting the most out of touch typing
Beyond sliding, a few tips and settings improve your typing comfort; here’s the essential. SLIDE for COMMON words: sliding excels with everyday common words; use it for them (speed gain), type rare words; play on the complementarity; the right gesture for the right word. The ONE-HAND keyboard: the iPhone offers a “ONE-HAND” keyboard (shifted and more compact) to type/slide more easily with your thumb; enable it if you often type one-handed; combined with sliding, very practical; explore this option. VOICE DICTATION: to go even faster, DICTATION (speaking instead of typing) is another option; dictate your messages, the iPhone transcribes them; complementary to sliding; check out our guides on dictation; a fast alternative. WORD SUGGESTIONS: the suggestion bar (above the keyboard) proposes words as you type; tap a suggestion to insert it; this also speeds up typing; combine with sliding; save time. AUTO-CORRECTION: autocorrect automatically fixes typos; useful, but check that it doesn’t change a word you intended (the famous “automatic corrections” gone wrong); proofread before sending; autocorrect helps but monitor it. ADD words to the dictionary: add words you use often and that the iPhone doesn’t know (names, terms) to your dictionary/shortcuts; it will then suggest them; customize your keyboard; gain on your frequent words. TEXT SHORTCUTS: create shortcuts (typing “adr” inserts your full address); for repetitive texts; a time saver on frequent phrases; explore text shortcuts. HAPTIC FEEDBACK: enable keyboard haptic feedback (a small vibration with each key) if you like feeling the typing; a tactile comfort; to your taste; test this option. ADAPT to YOUR needs: everyone has their preference (slide, type, dictate); try the different methods and keep those that suit you; the best typing is the one that WORKS FOR YOU; personalize. KEEP UPDATED: the keyboard improves with updates (recognition, languages, features); keep your iPhone updated; software updates improve typing; update. In summary, to get the most out of touch typing: use SLIDING for common words (and typing for rare ones), enable the ONE-HAND keyboard if you type with your thumb, try VOICE DICTATION (speaking instead of typing) as a fast alternative, use WORD SUGGESTIONS, monitor AUTO-CORRECTION (proofread before sending), add your frequent words to the DICTIONARY, create TEXT SHORTCUTS for repetitive phrases, and enable haptic feedback if you like it. Adapt to YOUR preferences (slide, type, dictate—the best method is the one that suits you), and keep your iPhone updated (the keyboard improves). These tips make typing faster and more comfortable; sliding, dictation, suggestions, and personalization are the keys.
Warning: sliding (like autocorrect) guesses—proofread before sending, and don’t force yourself if another method suits you better. Two points deserve your attention to use slide-to-type peacefully. The first: since sliding (and autocorrect) rely on GUESSING the word, you must PROOFREAD what you write before sending. Recognition is excellent, but it’s not infallible: sometimes the iPhone guesses one word for another—a word with a similar trace, a homonym, or an unfortunate automatic correction. These “misses” are sometimes funny, but they can also change the MEANING of your message, or even create a misunderstanding or an embarrassing message if you send without checking. The famous phenomenon of “automatic corrections” that turn a word into another (sometimes inappropriate) is well known! Sliding, by guessing words, can produce the same kind of surprise. The good reflex is therefore simple: take a second to PROOFREAD your text before pressing “send,” especially for an important message or in a formal context. It only takes a moment and avoids misunderstandings. This is all the more important because, when you slide fast and relaxed (which is the right technique), you don’t always carefully check each guessed word; the final proofreading catches any mistakes. If you spot a wrongly guessed word, correct it easily (tap it, choose the right suggestion, or retype it). Also be careful with autocorrect on proper nouns and unusual words, which it tends to “correct” wrongly: add your frequent words to the dictionary to avoid this. The second point is more of an invitation to freedom than a warning: don’t FORCE yourself to use sliding if it doesn’t suit you. Slide-to-type is a COMFORT offered, not an obligation. It appeals to some people (speed, fluidity, one-handed use) and less to others, who prefer the precision of regular typing or the convenience of voice dictation. All these methods are valid: the best way to type on your iPhone is simply the one that SUITS YOU best. If you try sliding for a few days and it doesn’t appeal to you—because you find regular typing more precise, or that the guesses annoy you—it’s absolutely fine: go back to regular typing, or explore voice dictation, without guilt. You can also, and it’s often the best of both worlds, MIX the methods depending on the moment: slide when you type one-handed while walking, type classically for a precise text, dictate when your hands are busy. Don’t lock yourself into a single method by principle. Similarly, if you had accidentally turned off sliding and you discover it, try it properly (with the recommended relaxed mindset) before judging: many people who found it “weird” at first end up adopting it after a few days. But if, after a real try, it doesn’t suit you, turn it off without hesitation in the keyboard settings. In summary: sliding guesses words (like autocorrect), so ALWAYS PROOFREAD before sending to avoid words guessed wrong that would change the meaning; and remember that it’s an optional comfort—use it if you like it, mix the methods depending on the moment, and don’t force yourself if it doesn’t suit you. The best typing is the one that makes writing more pleasant for you: it’s up to you to find yours.
Frequently asked questions
Slide-to-type makes mistakes, how to improve it?
Slide in a more relaxed way (without aiming for perfection, while respecting the order of the letters), correct via suggestions, add your words to the dictionary, and give yourself a few days of practice: recognition improves with use. Let’s see. Slide more RELAXED: paradoxically, sliding too slowly while aiming for each letter often gives worse results; slide faster and more relaxed, while respecting the ORDER of the letters (not their precision); the iPhone guesses better a natural trace; relax the motion. Respect the ORDER of the letters: what matters is passing near the letters in the right order, not exactly on them; focus on the order, not the precision; recognition is based on the shape of the trace; the order is key. CORRECT via suggestions: when a word is guessed wrong, tap the right suggestion (above the keyboard); it’s quick; correcting also “teaches” the iPhone; use the suggestions rather than tensing up. ADD your words: for words the iPhone guesses poorly (names, rare terms), add them to your dictionary; it will recognize them afterward; customize for your frequent words; reduce errors on your vocabulary. The iPhone LEARNS: with use, the iPhone learns your words and habits; its guesses improve over time; errors decrease; give it time to learn; it progresses. PRACTICE for a few days: precision comes with practice; after a few days, you slide better and the iPhone knows you better; the initial errors fade; persist a bit before judging. TYPE difficult words: for words that sliding always misses (proper nouns, technical terms), type them classically; sliding excels with common words; mix the methods; don’t force sliding on rare words. PROOFREAD before sending: proofread your text (sliding guesses, errors are possible); correct before sending; proofreading catches the misses; a useful reflex; check the meaning. Check the LANGUAGE: make sure the keyboard is in the right language; sliding guesses based on the active language; a wrong language causes errors; set the keyboard language. KEEP UPDATED: updates improve recognition; keep your iPhone updated; the feature progresses with versions; update. The ADVICE: to improve sliding, slide more relaxed (order of letters, not precision), correct via suggestions, add your words to the dictionary, type difficult words, and practice for a few days (the iPhone learns); proofread before sending. In summary, if slide-to-type makes mistakes, several levers will improve it. First, change your technique: slide in a more RELAXED and slightly faster way, focusing on the ORDER of the letters rather than the precision of each point (paradoxically, sliding slowly while aiming for each letter gives worse results—the recognition analyzes the general shape of the trace). Then, CORRECT the wrongly guessed words via the suggestions that appear above the keyboard (this also helps the iPhone learn), and ADD to your dictionary the words it guesses poorly (proper nouns, rare terms), so it recognizes them afterward. Above all, GIVE YOURSELF a few days of practice: precision comes with practice, and the iPhone PROGRESSIVELY learns your vocabulary and habits, so its guesses improve significantly over time—the initial errors fade. For words that sliding always misses, simply type them classically (sliding excels with common words, not necessarily with rare terms—mix the methods). Also check that the keyboard is in the right LANGUAGE (sliding guesses based on the active language) and keep your iPhone updated (recognition improves with versions). Finally, take the habit of PROOFREADING before sending, to catch any wrongly guessed words. With these adjustments and a bit of patience, slide-to-type becomes much more reliable and pleasant.
How to enable or disable slide-to-type?
In the iPhone keyboard settings: look for the option “SLIDE TO TYPE” (or similar) and enable or disable it based on your preference. It’s simple. WHERE to FIND it: the option is in the iPhone SETTINGS, section “GENERAL” then “KEYBOARD” (or directly “KEYBOARD” in settings); look for an option related to sliding; that’s where it’s set. The NAME of the option: it’s called “SLIDE TO TYPE,” “SLIDE TO WRITE,” or a similar name; look for the word “SLIDE”; the label varies slightly depending on versions; spot it. ENABLE: to enable it, turn the switch of this option to “ON”; sliding is then available on the keyboard; you can start sliding; simple. DISABLE: to disable it (if it bothers you), turn the switch to “OFF”; the keyboard reverts to regular typing only; no more sliding; reversible at any time. Often ENABLED by default: slide-to-type is often enabled by default; if you slide without wanting to, it’s active; you can disable it if it bothers you; or tame it. Disabled by ACCIDENT: if you can’t slide, it may have been disabled by accident; check the setting and re-enable it; a simple switch; it’s quickly fixed. TEST after setting: after enabling, test by sliding a word in a message; check that it works; adjust if needed; confirm the setting. REVERSIBLE at will: you can enable/disable as much as you want; try sliding, keep it or go back; nothing is definitive; test freely. Based on LANGUAGE: sliding is available in many languages, but not necessarily all; check for your language; in French, it works; availability may vary based on the keyboard language. The ADVICE: to enable or disable, go to the Keyboard settings, find the “SLIDE TO TYPE” option, and toggle the switch based on your preference; test afterward; it’s reversible at will. In summary, to enable or disable slide-to-type, go to your iPhone SETTINGS, section “GENERAL” then “KEYBOARD” (or directly “KEYBOARD” in settings), and look for the option related to sliding—it’s called “SLIDE TO TYPE,” “SLIDE TO WRITE,” or a similar name (spot the word “SLIDE”). Simply toggle the switch: to “ON” to be able to slide, to “OFF” to revert to regular typing only. This function is often ENABLED BY DEFAULT: if you catch yourself “sliding” without wanting to, it’s active (you can then disable it, or tame it); conversely, if you can’t slide, it may have been disabled by accident, and you just need to re-enable it. The setting is REVERSIBLE at will: don’t hesitate to enable it to really try it (a few days, with the recommended relaxed mindset), even if you go back afterward—or vice versa. Make sure to test after the setting by sliding a word in a message. Also note that sliding is available in many languages (including French); make sure the keyboard is in the right language. In a few seconds, you thus have total control over this function, to enable or disable based on your preference.
Should you slide, type, or dictate?
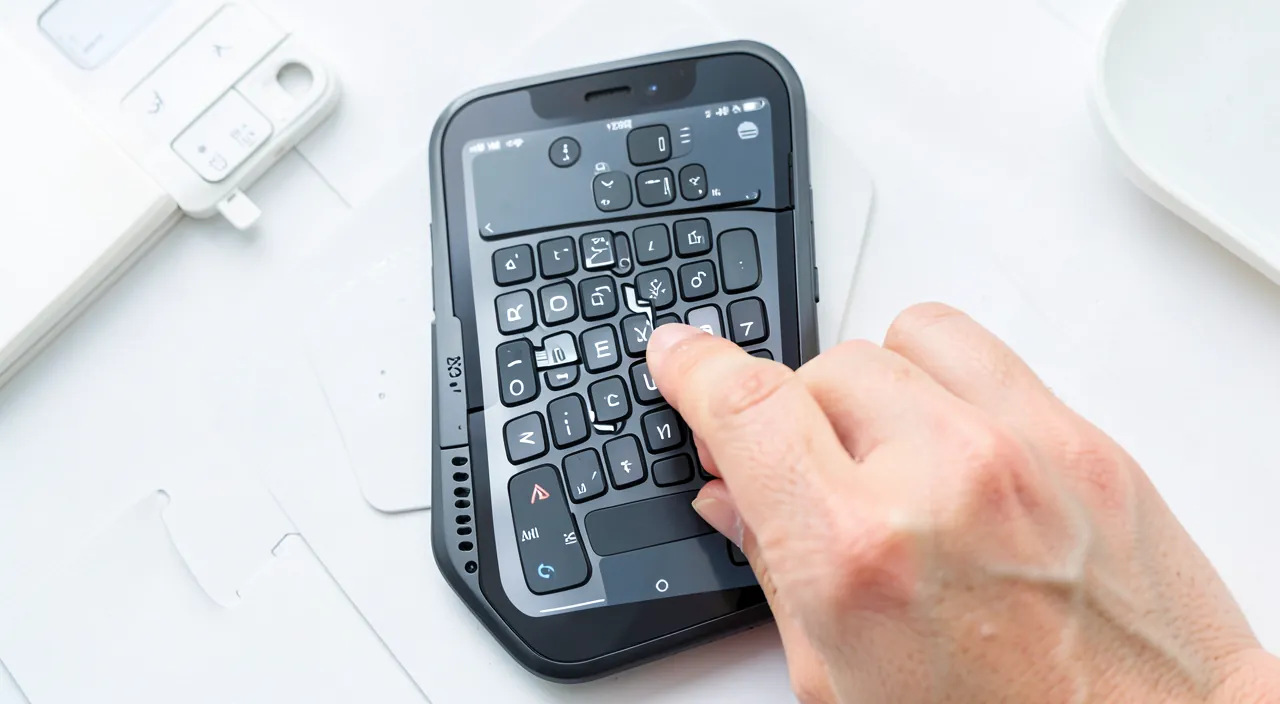
It depends on you and the moment: sliding is fast and practical one-handed, typing is precise, dictation is the fastest when you can speak; the best is often to combine based on the situation. Let’s compare. SLIDING: fast and smooth, especially with ONE hand (thumb); ideal while walking, when one hand is busy; excellent with common words; takes some practice; a good speed/precision compromise. REGULAR TYPING: precise (each intended letter), no guessing; ideal for difficult words, proper nouns, precise texts, punctuation; slower for long words; the sure value, mastered by all. VOICE DICTATION: the FASTEST when you can speak; you say the text, the iPhone transcribes it; perfect hands-free, for long texts; but not discreet (you have to speak) and requires proofreading; check out our guides on dictation. Based on CONTEXT: in public/silence → slide or type (discreet); alone and in a hurry → dictate (fast); one hand busy → slide; precise text → type; adapt to the context; each method has its moment. Based on PREFERENCE: some love sliding, others prefer typing or dictating; there’s no “BEST” universal method; the best is the one that SUITS YOU; listen to your comfort. COMBINE, the ideal: the best is often to MIX based on the moment; slide while walking, type for a precise text, dictate when your hands are busy; mastering the three gives the most flexibility; the real asset. PROOFREAD for sliding/dictation: sliding and dictation “GUESS” (guessed words, transcription); proofread before sending; typing is more “SAFE” but slower; adapt your vigilance to the method. TRY the three: really try the three methods (a few days each); you’ll discover your preferences based on situations; experience reveals what suits you; test before choosing. Don’t LIMIT yourself: don’t lock yourself into a single method out of habit; alternatives can save you time based on moments; stay open; explore. The ADVICE: there’s no universally better method; sliding for one-handed speed, typing for precision, dictation for hands-free speed; the best is to combine based on the context, and keep the one(s) that suit you. In summary, there’s no universal answer: it depends on you and especially the MOMENT, because each method has its strengths. SLIDING is fast and smooth, particularly practical with ONE hand (ideal while walking or when the other hand is busy), and excels with common words. REGULAR TYPING is the most PRECISE (each intended letter, no guessing), ideal for difficult words, proper nouns, demanding texts, and punctuation. VOICE DICTATION is often the FASTEST when you can speak (you say the text, the iPhone transcribes it), perfect hands-free and for long texts, but not discreet (you have to speak aloud) and requiring proofreading. The choice thus depends on the context: in public or in silence, you slide or type (discreet); alone and in a hurry, you dictate; one hand busy, you slide; a precise text, you type. It also depends on your PERSONAL preference: some love sliding, others don’t—and that’s fine. The real secret, rather than looking for THE best method, is to know how to COMBINE them based on the moment: it’s by mastering the three that you gain the most flexibility and comfort. Just keep in mind that sliding and dictation “GUESS” (so proofread before sending), whereas typing is safer but slower. Really try the three (a few days each) to discover your preferences based on situations, and don’t lock yourself into a single habit: the best way to type is the one that makes writing, for you and at each moment, the most pleasant and effective.
What to remember
“SLIDE TO TYPE” (swipe to write) is a little-known but very practical way to type on the iPhone: instead of pressing each letter separately, you SLIDE your finger from one letter to another without lifting, tracing a path on the keyboard, then lift your finger—and the iPhone intelligently GUESSES the intended word (the space between words is added automatically). It’s often FASTER than typing letter by letter, especially for long words, and particularly pleasant with ONE hand (with your thumb), when the other hand is busy. The gesture is simple: finger on the first letter, slide to the next ones in order, lift your finger; chain words this way. The SECRET to sliding well, and the key that makes all the difference: don’t SEEK perfection. The biggest mistake beginners make is trying to aim precisely at each letter, slowly and tensely; it’s exactly the opposite you should do. Slide fast and RELAXED, while only respecting the ORDER of the letters (not their precision), and TRUST the iPhone to guess: its recognition analyzes the general shape of your trace and the context of the sentence, so an approximate slide gives the right word in the vast majority of cases. Don’t be afraid to make mistakes: when the iPhone is wrong, ALTERNATIVE SUGGESTIONS appear above the keyboard—tap the right one to correct in one gesture. And give yourself a few DAYS to adapt: the gesture quickly becomes natural, and the iPhone LEARNS your vocabulary and habits, becoming more and more accurate over time. To improve results: add your frequent words (proper nouns, rare terms) to the dictionary, check the keyboard language, and type classically difficult words (sliding excels with common words). Two points of vigilance. First, since sliding (and autocorrect) GUESS words, take the habit of PROOFREADING your text before sending: a wrongly guessed word can change the meaning or create a misunderstanding, especially for an important message—the proofreading of a second avoids misunderstandings. Then, remember that sliding is an OPTIONAL comfort, not an obligation: it appeals to some and less to others, and all typing methods are valid. Don’t force yourself if it doesn’t suit you after a real try: you can go back to regular typing (precise), explore voice dictation (the fastest when you can speak), or—often the best choice—COMBINE the three methods based on the moment (slide while walking, type for a precise text, dictate hands-free). You can enable or disable sliding at any time in the Keyboard settings. Complete your typing comfort with other tips: the one-hand keyboard, word suggestions, text shortcuts for repetitive phrases, and keeping your iPhone updated (the keyboard improves). In short, slide-to-type is a smooth and fast alternative to regular typing, to (re)discover with a relaxed mindset: slide without seeking perfection, let the iPhone guess, proofread before sending, and keep the freedom to mix methods based on what suits you. Once tamed, it makes screen writing much more pleasant—but the essential is to find, among sliding, typing, and dictating, the way to write that suits you best.

Want to unlock the full potential of your iPhone, iPad, or Mac? Our Apple training will take you to the next level.
Leave a Reply
You must be logged in to post a comment.