
Your phone photos are often good, but rarely perfect the first time: a bit dark, a cropping to straighten, dull colors, an annoying detail in the background. The good news is that you no longer need to be a professional or own complicated software on a computer to improve an image: your phone already has powerful editing tools, and many free apps allow you to go further in a few gestures. Cropping, brightening, enhancing colors, removing an unwanted element: all this is done with a fingertip, in a few seconds. Let’s see how to edit your photos simply, to enhance them without distorting them.
What photo editing allows you to do
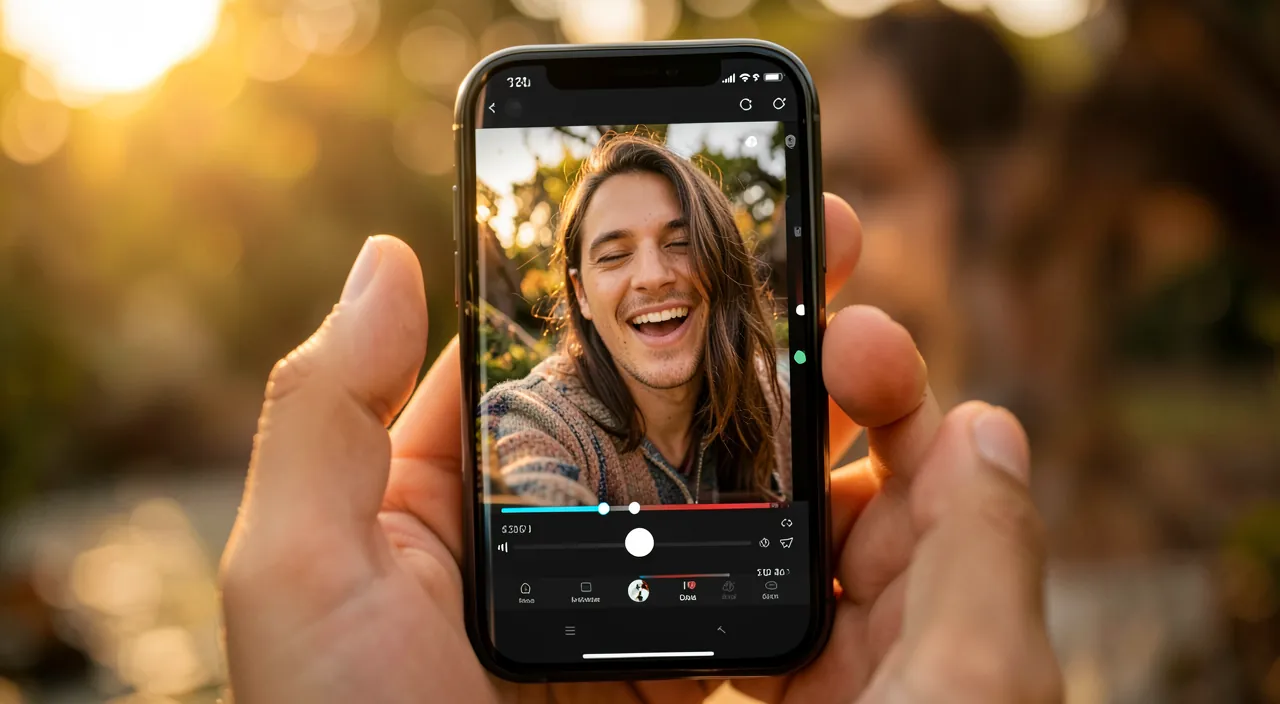
Editing a photo is improving it after taking it; the possibilities are vast, but a few adjustments often suffice. THE ESSENTIAL edits, those that transform an image the most: CROPPING — cropping the image to improve the composition, straightening a tilted horizon, or tightening on the subject; LUMINOSITY and CONTRAST — brightening a too-dark photo, or giving relief to a flat image; COLORS — enhancing dull tones, adjusting the warmth (warmer or cooler), saturation; SHARPNESS — slightly accentuating the details. These few adjustments are enough, on their own, to transform most photos. MORE ADVANCED edits, available in many applications: ERASING an unwanted element (a passerby, an annoying object in the background) thanks to erasing tools often assisted by artificial intelligence; applying FILTERS or predefined moods with a tap; EDITING a portrait (softening, brightening); playing with specific areas; adding TEXT or elements; correcting a perspective. THE TOOLS ALREADY PRESENT: don’t forget that the Photos app on your phone already includes GOOD editing tools (cropping, light, colors, filters); for many needs, you don’t even need to install anything else. WHAT IT’S FOR: to ENHANCE your memories (a well-edited beautiful photo has more impact); to SAVE failed photos (too dark, poorly framed); to SHARE better images; and simply for the PLEASURE of creating. The main idea: editing your photos on your phone has become simple and accessible to everyone; a few basic adjustments — cropping, brightness, colors — are enough to transform an ordinary image into a beautiful photo, and more advanced tools (erasing an element, filters, portrait editing) allow you to go further. The Photos app on your phone already offers many of them, and free apps complete the arsenal. All of this, with a fingertip, without technical skills. The key to a good result: edit with MEASURE, to reveal the best of a photo without distorting it.
Editing photos means fixing small problems like darkness, bad cropping, or dull colors. The most useful edits are cropping (to improve composition), adjusting brightness and contrast, and enhancing colors. More advanced tools can remove unwanted objects or apply filters. Your phone’s built-in app already has most of these tools, so you don’t need special software.
Imagine you took a photo of a sunset but the horizon is tilted and the colors look flat. First, you’d crop the image to straighten the horizon. Then, you’d adjust the brightness to make the sky pop and increase the saturation slightly to make the colors more vibrant. These simple edits would turn an okay photo into a stunning one, all done in under a minute on your phone.
How to edit a photo simply
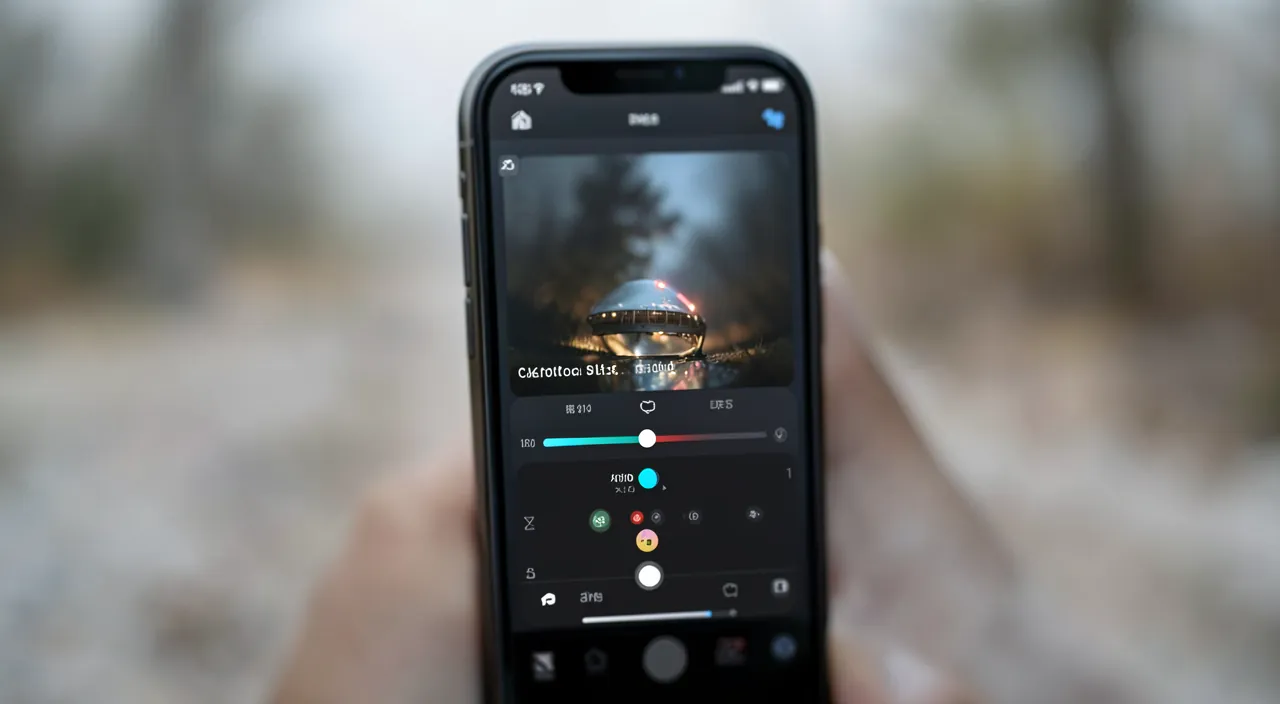
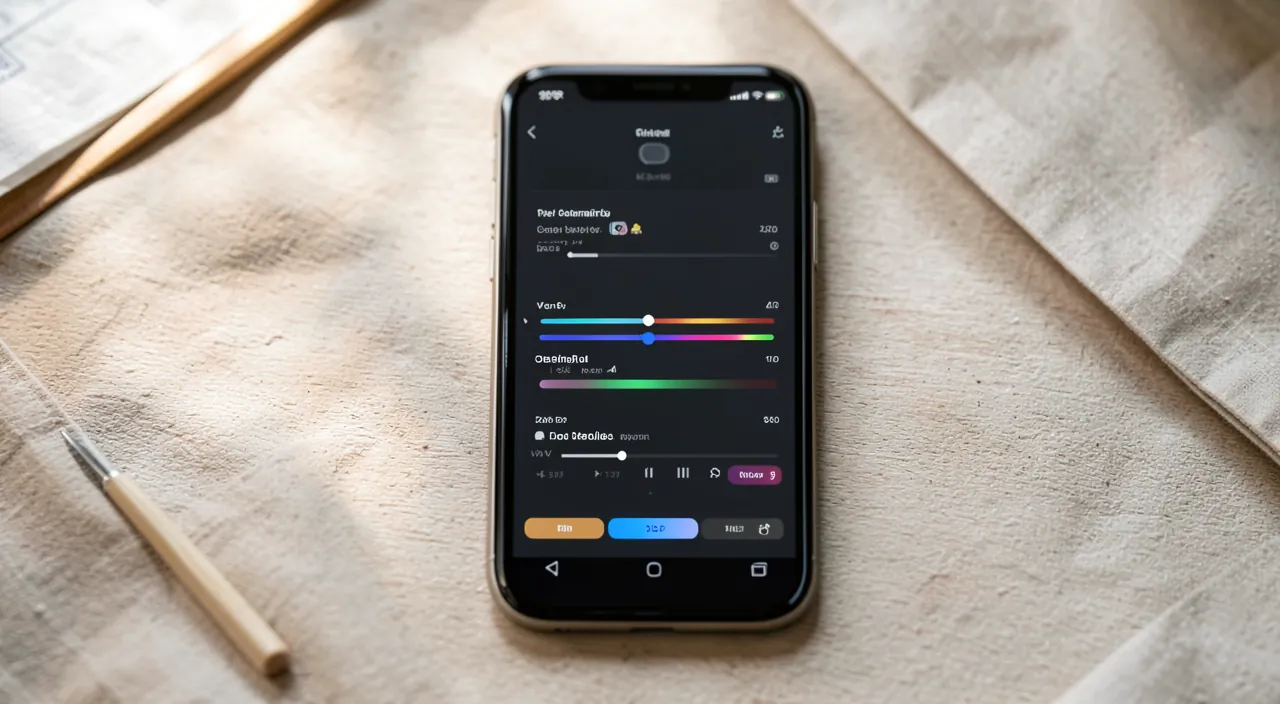
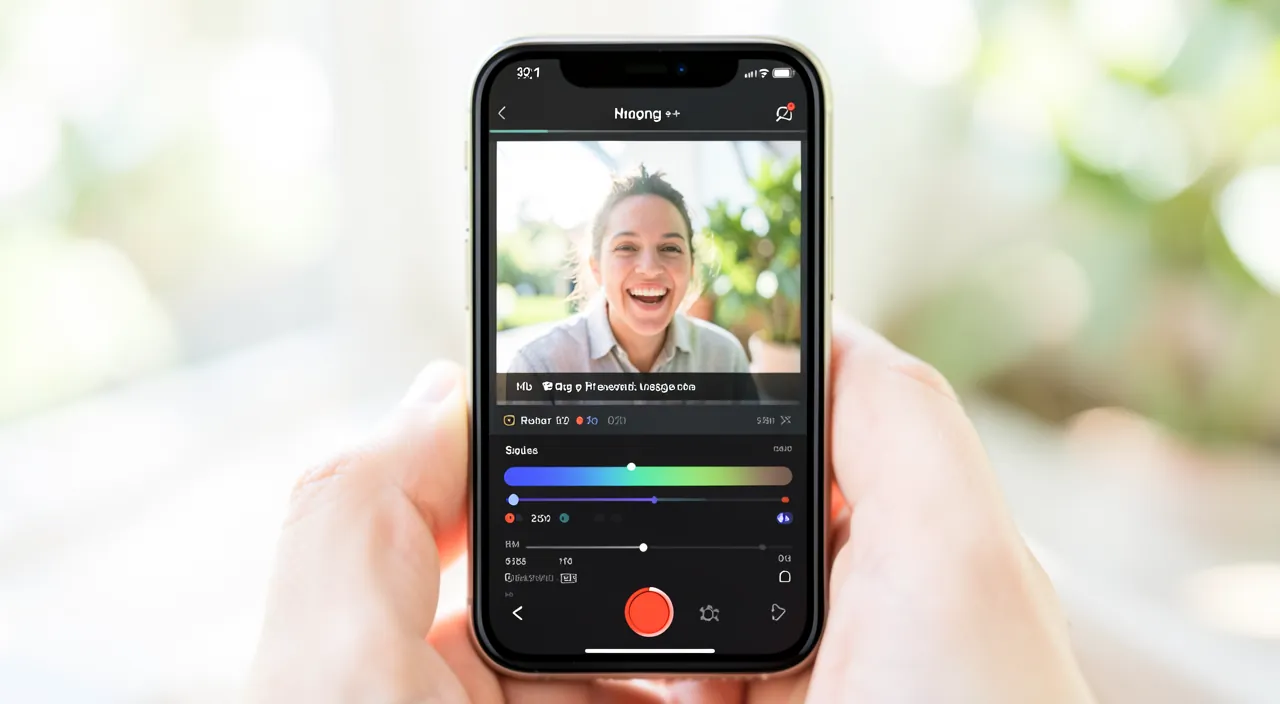
Here’s a simple method to get beautiful edits, starting with the tools already present on your phone. Start with the built-in PHOTOS app — open a photo, tap “Edit” (or the editing icon); you’ll already find the essentials there: cropping, brightness, colors, filters; for many photos, that’s more than enough. CROP and straighten first — this is often the most effective edit: tighten on the subject, improve the composition, straighten a tilted horizon; a good composition changes everything. Adjust the LIGHT — brighten if it’s too dark, adjust the contrast to add depth; do it gradually. Enhance the COLORS with moderation — slightly increase the saturation for more vibrant tones, adjust the warmth if the colors are off; be careful not to overdo it (overly saturated colors look “fake”). Test the FILTERS — filters apply a mood with a tap; practical, but moderate the intensity (many apps allow you to reduce the filter’s strength). To go further, install an app — if you want to erase an element, edit finely, or have more tools, install a free and recognized editing app (our guides on how to install an app safely); several excellent ones are free. ERASE annoying elements — erasing tools (often AI-assisted) allow you to make a passerby, an unwanted object disappear; swipe your finger over the element, the app reconstructs the background; amazing. Compare before/after — most apps allow you to see the original with a tap; compare regularly to avoid overdoing it. SAVE without overwriting the original — prefer saving a COPY, to keep the original photo; some apps preserve the original and allow you to undo (non-destructive editing); it’s safer. Edit with MEASURE — the best sign of a good edit is that it’s not noticeable: a natural and vibrant photo, not an over-processed image. In summary: start with the built-in tools (crop, adjust light and colors, test a light filter), install a free app to go further (erase an element, fine editing), compare before/after, save a copy to preserve the original, and always keep a light touch. Beautiful photos, without spending hours on them.
The right reflex. The most powerful edit is neither a spectacular filter nor a complicated effect: it’s the simple CROPPING, too often neglected. Before any other adjustment, get into the habit of cropping: tighten on your subject to eliminate empty space and distractions around, apply the “rule of thirds” by placing the subject slightly off-center rather than in the middle, and above all, STRAIGHTEN the lines — a tilted horizon or crooked verticals instantly betray an amateur photo, while a simple straightening gives a clean and professional image. A good crop transforms a bland photo into an image with meaning and strength, and it’s free, immediate, available in the Photos app on your phone. Second golden reflex: RESTRAINT. The temptation, when discovering the sliders, is to push everything to the max — maximum saturation, extreme contrast, very marked filter; the result seems impressive at first, but artificial and dated in the long run. Overly bright colors, unreal skies, overly smoothed faces stand out and age poorly. The best edit is the one you don’t notice: a photo that just seems… successful, as if the light had been perfect. For this, take the reflex to COMPARE constantly with the original (a long press is enough in most apps): if your edited version looks “too much” next to the original, go back. Adjust first strongly to see the effect, then reduce until it’s just right. Finally, an essential safety reflex: always save a COPY rather than overwriting the original, or use a non-destructive editing app (which preserves the original photo and allows you to undo everything); this way, you can experiment freely, start over, or return months later to the original version, without ever losing anything. Crop first, adjust next, always preserve the original: with these three reflexes, your edits will be natural, successful, and risk-free.
Pitfalls to avoid and the right balance
Editing is a pleasure, but a few pitfalls lurk; here’s how to avoid them for natural and lasting results. OVER-EDITING: the number one pitfall; by pushing the sliders too much (saturation, contrast, sharpness, filters), you get an artificial, garish image that “looks fake”; moderation is key; always compare with the original and keep a light touch. UNREALISTIC COLORS: overly blue skies, fluorescent greens, orangey skin tones betray over-editing; aim for vibrant but credible colors. OVER-SMOOTHED PORTRAITS: smoothing a portrait too much (skin smoothed like plastic) gives an artificial result; stay subtle, respect the natural. OVERWRITING the original: if you save over the original photo, you lose the ability to undo or redo; save a COPY, or use non-destructive editing. QUALITY LOSS: cropping too strongly (keeping only a tiny portion of the image) reduces the resolution; similarly, exporting in very low quality degrades it; crop reasonably and save in good quality. AUTHENTICITY: editing to enhance is legitimate; but radically transforming an image (especially if you present it as real) raises questions; keep in mind the difference between enhancing and falsifying, especially for photos others will take for reality. Apps that OVERDO IT: some free editing apps are funded by intrusive ads, aggressive subscriptions, or collect your photos and data; choose recognized apps and read the privacy policy (your photos are personal — our guides on protecting your privacy). WATERMARKS and limitations: some free apps add a watermark or block features behind a subscription; check before investing. Not EVERYTHING needs editing: not all photos need editing; sometimes, the raw image is already perfect; only edit what deserves it. TIME: you can spend hours perfecting; set a limit; most improvements come in the first few seconds. In summary, pitfalls to avoid: over-editing (unrealistic colors, over-smoothed portraits), overwriting the original, quality loss from excessive cropping, intrusive apps, and falsification. The key word remains MEASURE: edit to reveal the best of your photos, with a light touch, while preserving the original and the natural. The most beautiful edit is the one you don’t see.
Warning: your photos are personal — beware of editing apps that demand too many permissions or send your images to their servers. This is a point of vigilance often overlooked in the enthusiasm of editing. An editing app naturally needs access to your photos to work; that’s normal. But some free apps go well beyond what’s necessary: they request excessive permissions, UPLOAD your photos to their servers to process them (instead of doing everything on the device), collect data, or reserve extended rights on the images you entrust to them. Yet your photos are among your most intimate data: faces of your loved ones, your children, places you frequent, private moments; entrusting them to an unscrupulous app, or whose servers could be compromised, is not trivial. Be particularly attentive to “magical” editing apps that are popular for a time: some, especially those that transform portraits with artificial intelligence, send your faces to remote servers and have not always been transparent about the actual use made of them. Before installing an editing app: prioritize RECOGNIZED and well-rated apps; read (at least quickly) the privacy policy to understand if your photos are processed on the device or sent elsewhere, and what happens to your data; check the requested permissions and refuse those that seem irrelevant; beware of apps that, under the guise of being free, make money by exploiting your images. Remember that the Photos app ALREADY present on your phone processes your images locally, without sending them anywhere, and covers most needs: for many edits, it’s the safest choice. Second point of vigilance, less sensitive but real: AUTHENTICITY. Editing to enhance a memory is perfectly legitimate; but keep in mind the line between enhancing and falsifying, especially for a photo others will take as a faithful reflection of reality. A deeply transformed image is no longer quite a testimony. Finally, always preserve your ORIGINALS (save copies): your raw photos are your authentic memories, and a failed edit or a faulty app should never make you lose them. Edit with pleasure, but choose your tools carefully and keep control of your images: they belong to you, and they are precious.
Frequent questions
Do I need an app or are the phone’s tools enough?
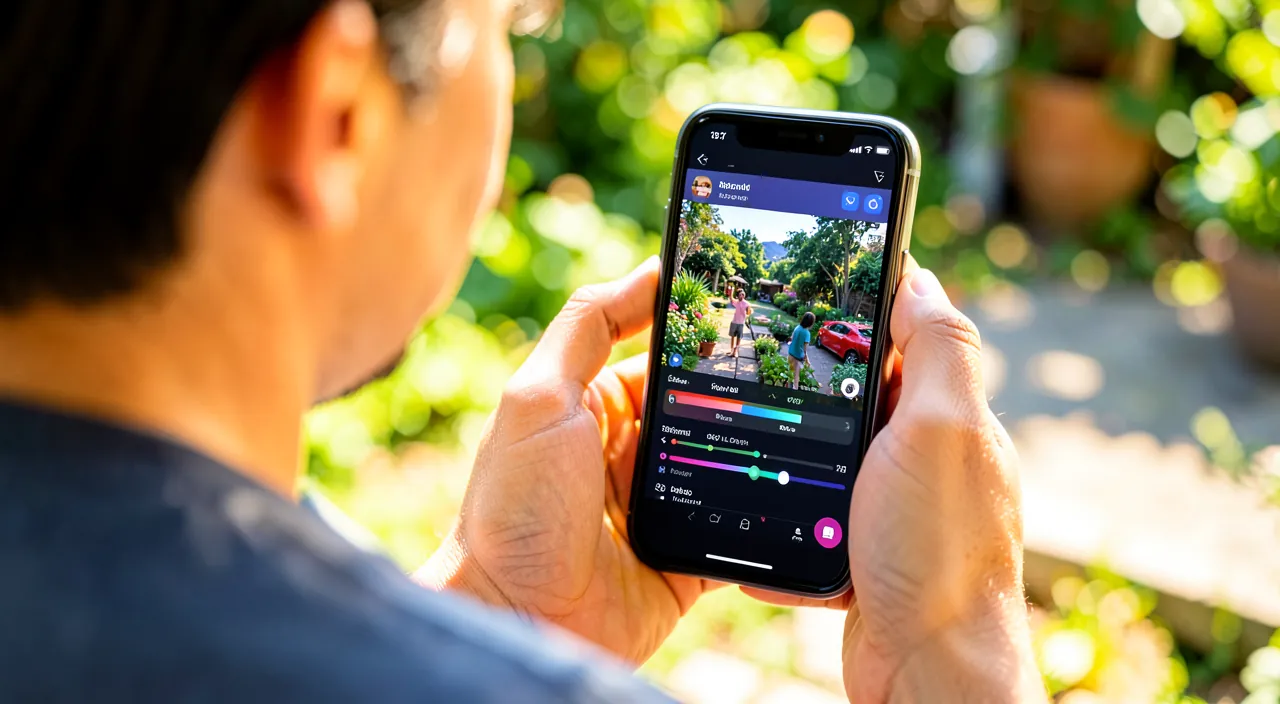
For most common edits, the tools ALREADY integrated into your phone are more than sufficient; you only need an additional app for more specific uses. Let’s take stock. The PHOTOS app on your phone (the one that stores your images) includes a retouching mode that is often very complete: cropping and straightening, adjusting brightness and contrast, color adjustments and their intensity, mood filters, and sometimes even more advanced tools. For the most frequent needs — brightening a dark photo, cropping, straightening, enhancing colors, applying a light filter —, it’s more than enough, and it has a major advantage: your photos are processed LOCALLY, without leaving the device, which is the safest for your privacy. So always start there: you’ll be surprised by everything you can do without installing anything. When is an additional app useful? In a few cases: if you want to ERASE an unwanted element from an image (AI-assisted erasing tools that the Photos apps don’t always offer); if you’re looking for more FINE or numerous editing tools (zone editing, advanced corrections); if you want more varied filters and effects; or if you’re making editing a real creative hobby. In these cases, several excellent free editing apps exist; choose a recognized and data-respectful one. My advice: don’t install an app “just in case”; first explore the built-in tools thoroughly (you already have them, they’re safe and free); and only add an app if you hit a specific need they don’t cover. In summary, the phone’s tools are enough for the vast majority of common edits and are the simplest and safest choice; an additional app is only necessary for specific needs like erasing an element or for more advanced practice.
How to erase an object or a person from a photo?
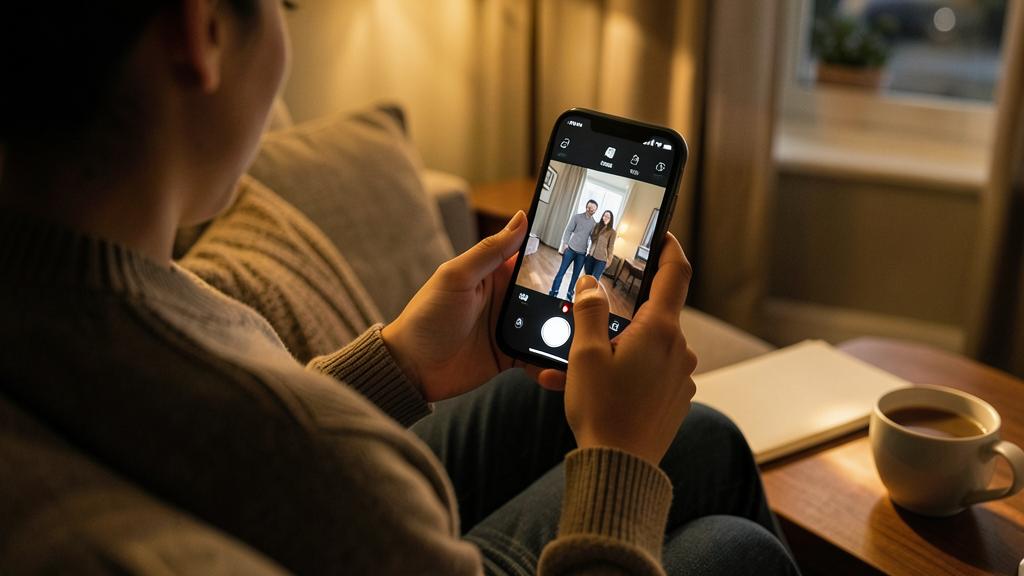
This has become surprisingly simple thanks to AI-assisted erasing tools, present in many apps (and sometimes in the Photos app itself); here’s how it works. The idea: these tools allow you to MAKE DISAPPEAR an unwanted element from a photo — a passerby in the background, an annoying object, a pole, a shadow —, and automatically reconstruct what should be behind. How to proceed, concretely: open the photo in an app with this function (often called “eraser,” “retouch,” “erase,” or “corrector”); select the tool, then swipe your finger over the element to erase (as if you were coloring it); the app analyzes the surroundings and fills the area so that the object disappears, the background reconstructing itself; in one or two seconds, the element is gone. The result is often AMAZING on simple backgrounds (a sky, a wall, a uniform expanse); it may be less perfect on very detailed or complex areas, where you sometimes notice the edit — in this case, go over the imperfections or adjust. A few tips: proceed in small touches rather than trying to erase everything at once; zoom in to be precise; and check the result closely. Where to find this function? More and more built-in Photos apps now offer it; otherwise, several free editing apps provide it; choose a recognized and data-conscious one (erasing ideally happens on the device). A word of caution: erasing an annoying element to improve a photo is perfectly legitimate; just keep in mind the difference between enhancing a memory and transforming reality, especially for an image others will take as a faithful testimony. In summary, to erase an object or a person: use the erasing tool of an app (or your Photos app), swipe your finger over the element, let the AI reconstruct the background, and refine if needed; it’s simple, fast, and often spectacular, especially on uniform backgrounds.
Does editing damage the photo’s quality?
Reasonable editing doesn’t significantly damage the quality; however, certain excesses can degrade it; it’s all a matter of measure and good practices. Here’s what you need to know. COMMON adjustments (brightness, contrast, colors, light filters) change the image’s appearance without notably reducing its resolution; you can apply them without fearing quality loss, provided you stay moderate (extreme settings can, however, create “noise” or unsightly flats). What can REDUCE quality: EXCESSIVE cropping — if you only keep a tiny portion of the photo, you retain fewer pixels, thus a less defined image, which will appear blurry when enlarged; crop reasonably; EXPORTING in low quality — some apps, when saving or sharing, strongly compress the image; make sure to save in good quality; SUCCESSIVE edits — reopening, re-editing, and re-saving the same compressed image multiple times can, over time, slightly degrade the quality (each JPEG save recompresses). Good practices to preserve quality: always start from the ORIGINAL (not a version already compressed or reduced); save a COPY in good quality rather than overwriting the original (you thus keep the source intact); when possible, prefer non-destructive editing apps, which preserve the original image and only apply modifications at display or final export (no cumulative loss); crop moderately; and avoid multiplying the open/edit/save cycles. In summary, no, editing doesn’t damage quality if you stay reasonable: common adjustments are safe; the only real risks come from excessive cropping, low-quality export, and repeated recompressions. By starting from the original, saving a copy in good quality, and cropping with measure, you edit your photos with peace of mind, without visible loss.
What to remember
Editing your photos on your phone is now simple, fast, and accessible to everyone, without technical skills or complicated software: a few fingertip adjustments are enough to transform an ordinary image into a beautiful photo. The most effective edits are also the simplest: CROPPING and straightening (often the most rewarding edit: it improves the composition and corrects a tilted horizon), adjusting the LIGHT (brightening, contrasting), and enhancing the COLORS with moderation. More advanced tools — erasing an unwanted element thanks to AI-assisted erasing, filters, portrait editing — allow you to go further. Good news: the Photos app ALREADY present on your phone offers most of these tools, processes your images locally (without sending them elsewhere, which is the safest), and is enough for most needs; start there, and only install a free additional app for specific uses (erasing an object, fine editing). The secret of a beautiful edit lies in one word: MEASURE. The most beautiful edit is the one you don’t notice — a natural and vibrant photo, not an over-processed image with garish colors or over-smoothed portraits. Constantly compare with the original (the best safeguard), adjust strongly to see the effect then reduce until it’s just right, and keep a light touch. Always preserve your ORIGINALS by saving copies (or using non-destructive editing): your raw photos are your authentic memories, and you must always be able to return to them. Be mindful of quality (avoid excessive cropping and low-definition exports) and above all your PRIVACY: your photos are personal; beware of apps that demand too many permissions, send your images to their servers, or make money by exploiting your data; prioritize recognized apps and read their privacy policy. Finally, keep in mind the line between enhancing a memory (perfectly legitimate) and falsifying reality, especially for an image others will take as a faithful testimony. Crop first, adjust next, preserve the original, and choose your tools carefully: with these principles, you enhance your photos and memories, simply, beautifully, and safely.
Want to go further with your phone and apps? Our practical training is made for you.
Leave a Reply
You must be logged in to post a comment.